Depending on the job, commercial or residential, there may be a need for fiber glass acoustical lining on the inside of the duct work. Duct liner, in it’s simplest form, is there to help reduce noise and provide a minimal R-value—much less than duct wrap—to provide more consistent temperatures and energy efficiency.
K&E Sheet Metal’s morning was full of duct liner, one inch thick to be exact. The thickness can range from 1/2” to 2”. Our shop mostly deals with half-inch and one-inch. Occasionally, we will get a spec (specification) for 1 1/2” or 2”, but it’s rare for the size jobs—commercial vs. Industrial— we fabricate for. In future, as the shop grows, that could change.
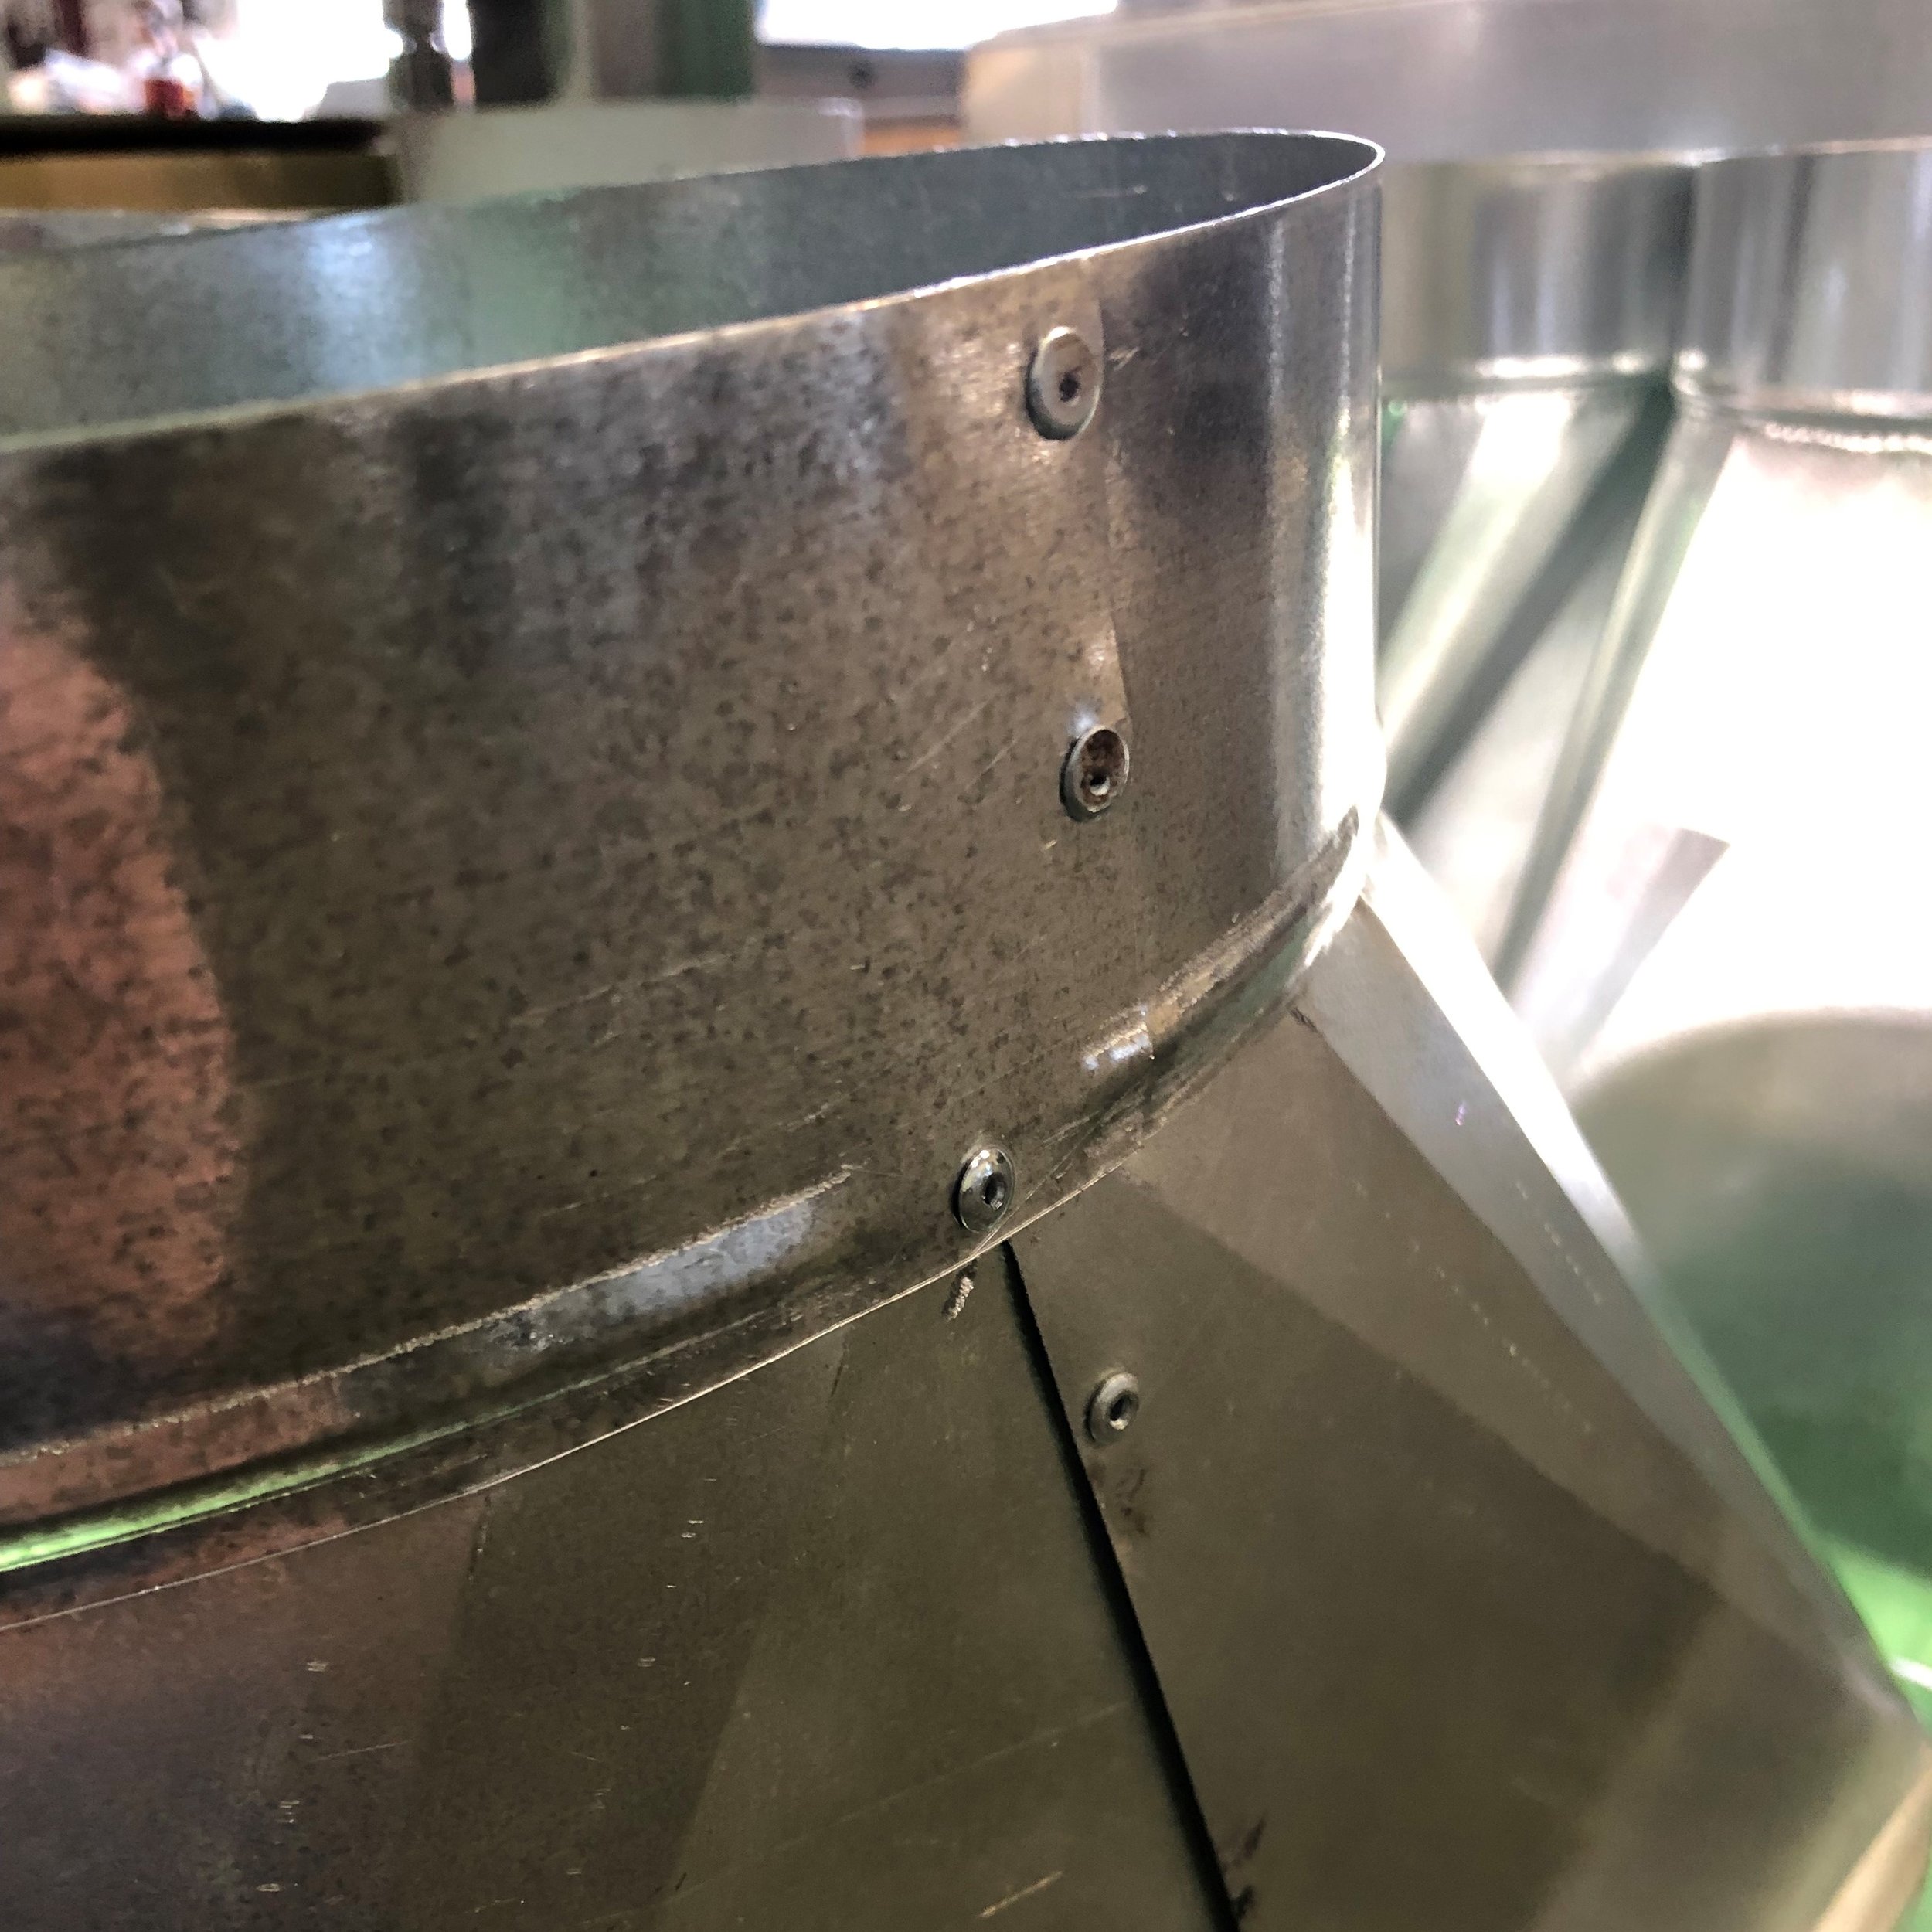
The liner is cut to size, adhered to the metal with glue, and then secured with corresponding weld pins.
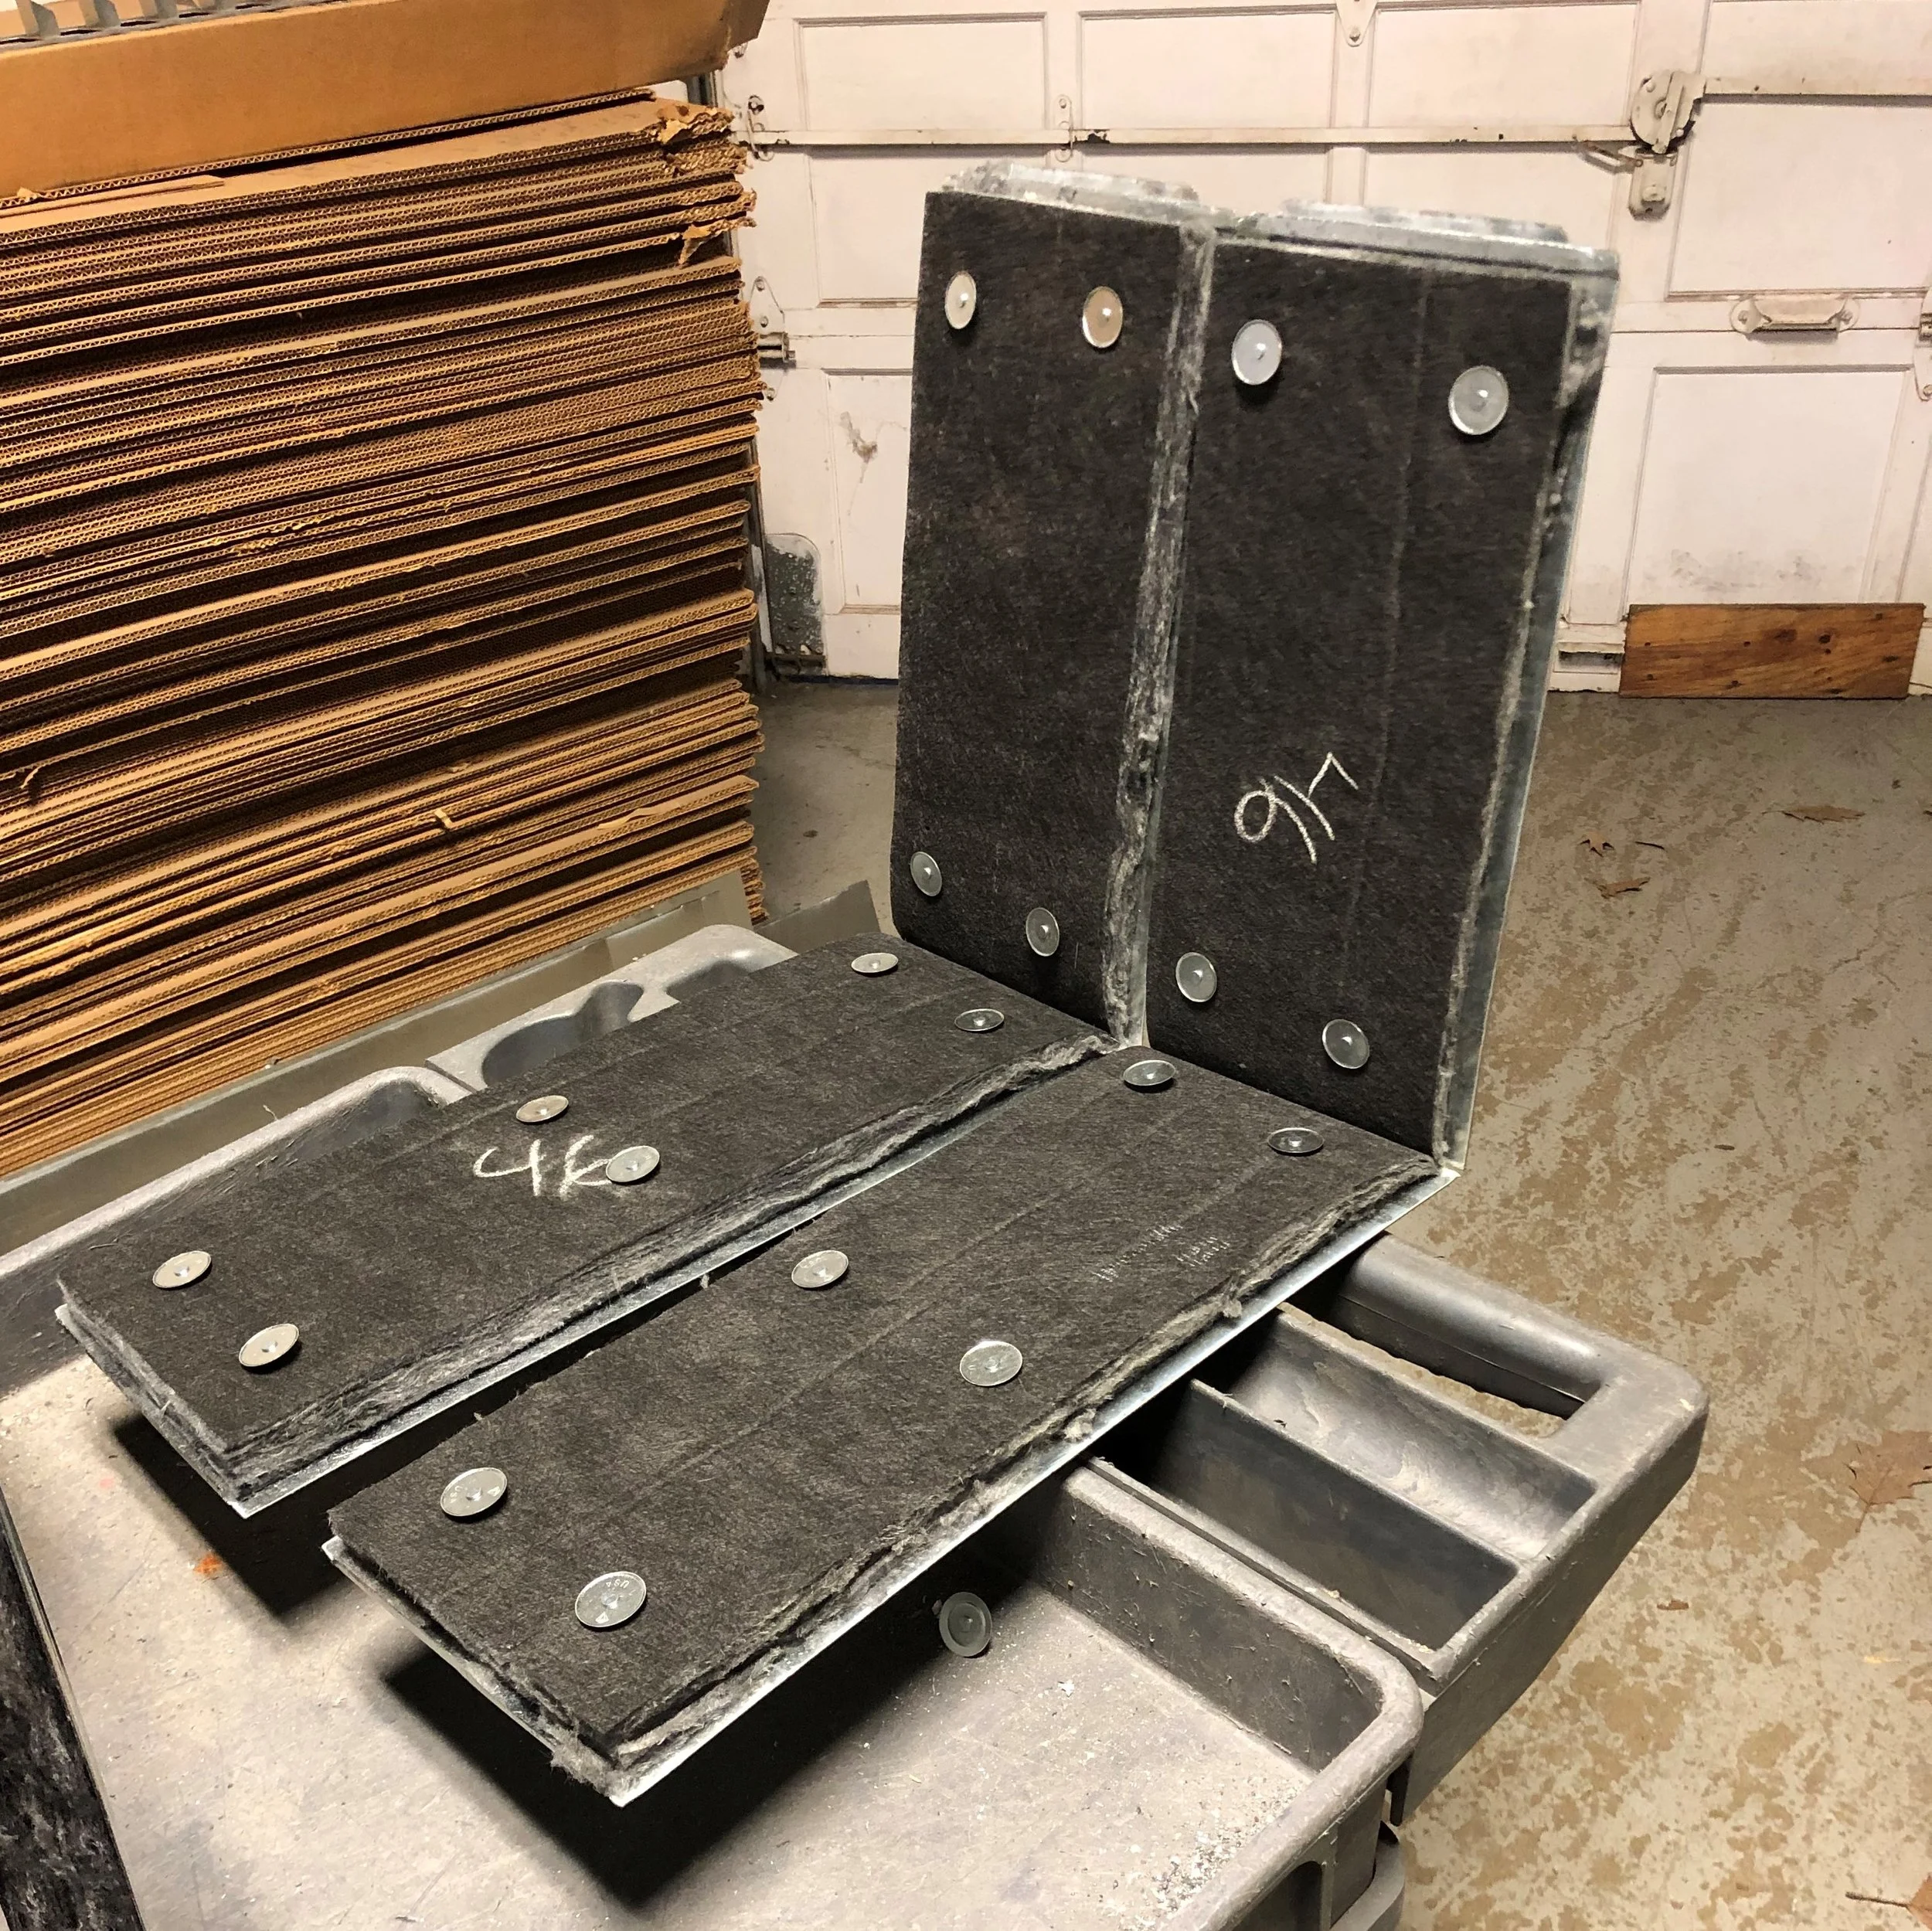
Plenum Sleeves with liner glued; waiting for pins to be welded down.
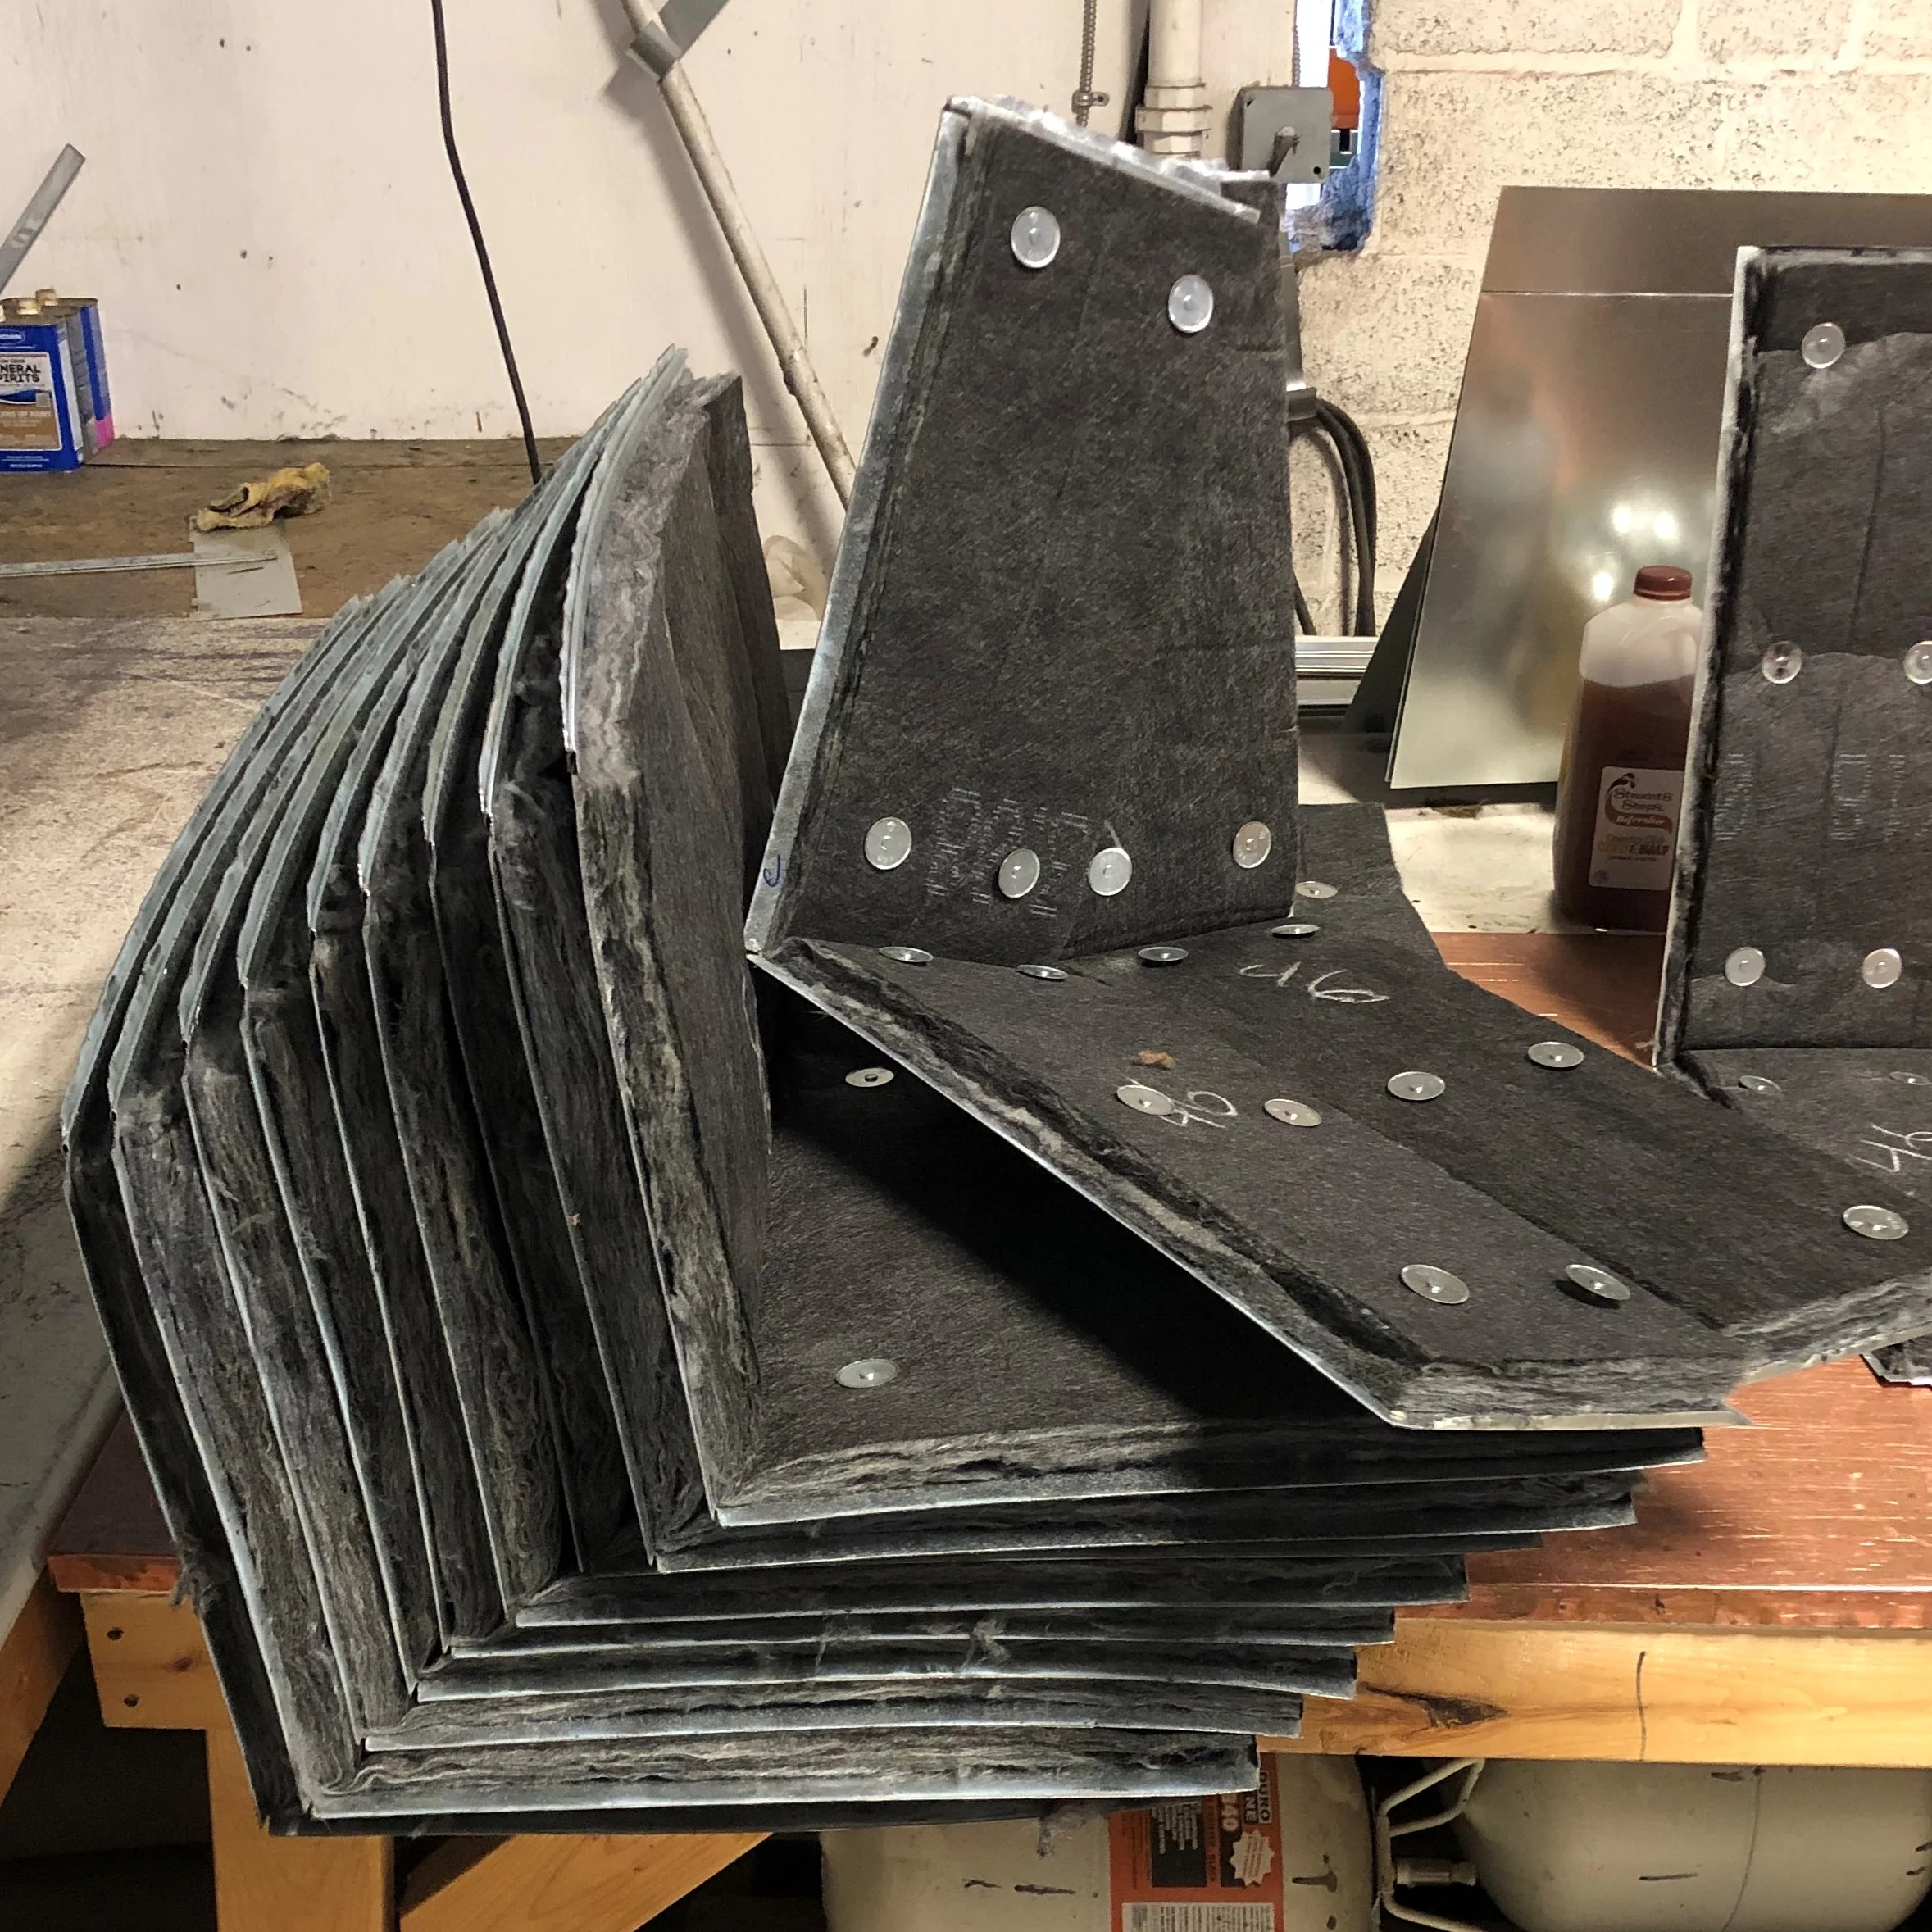
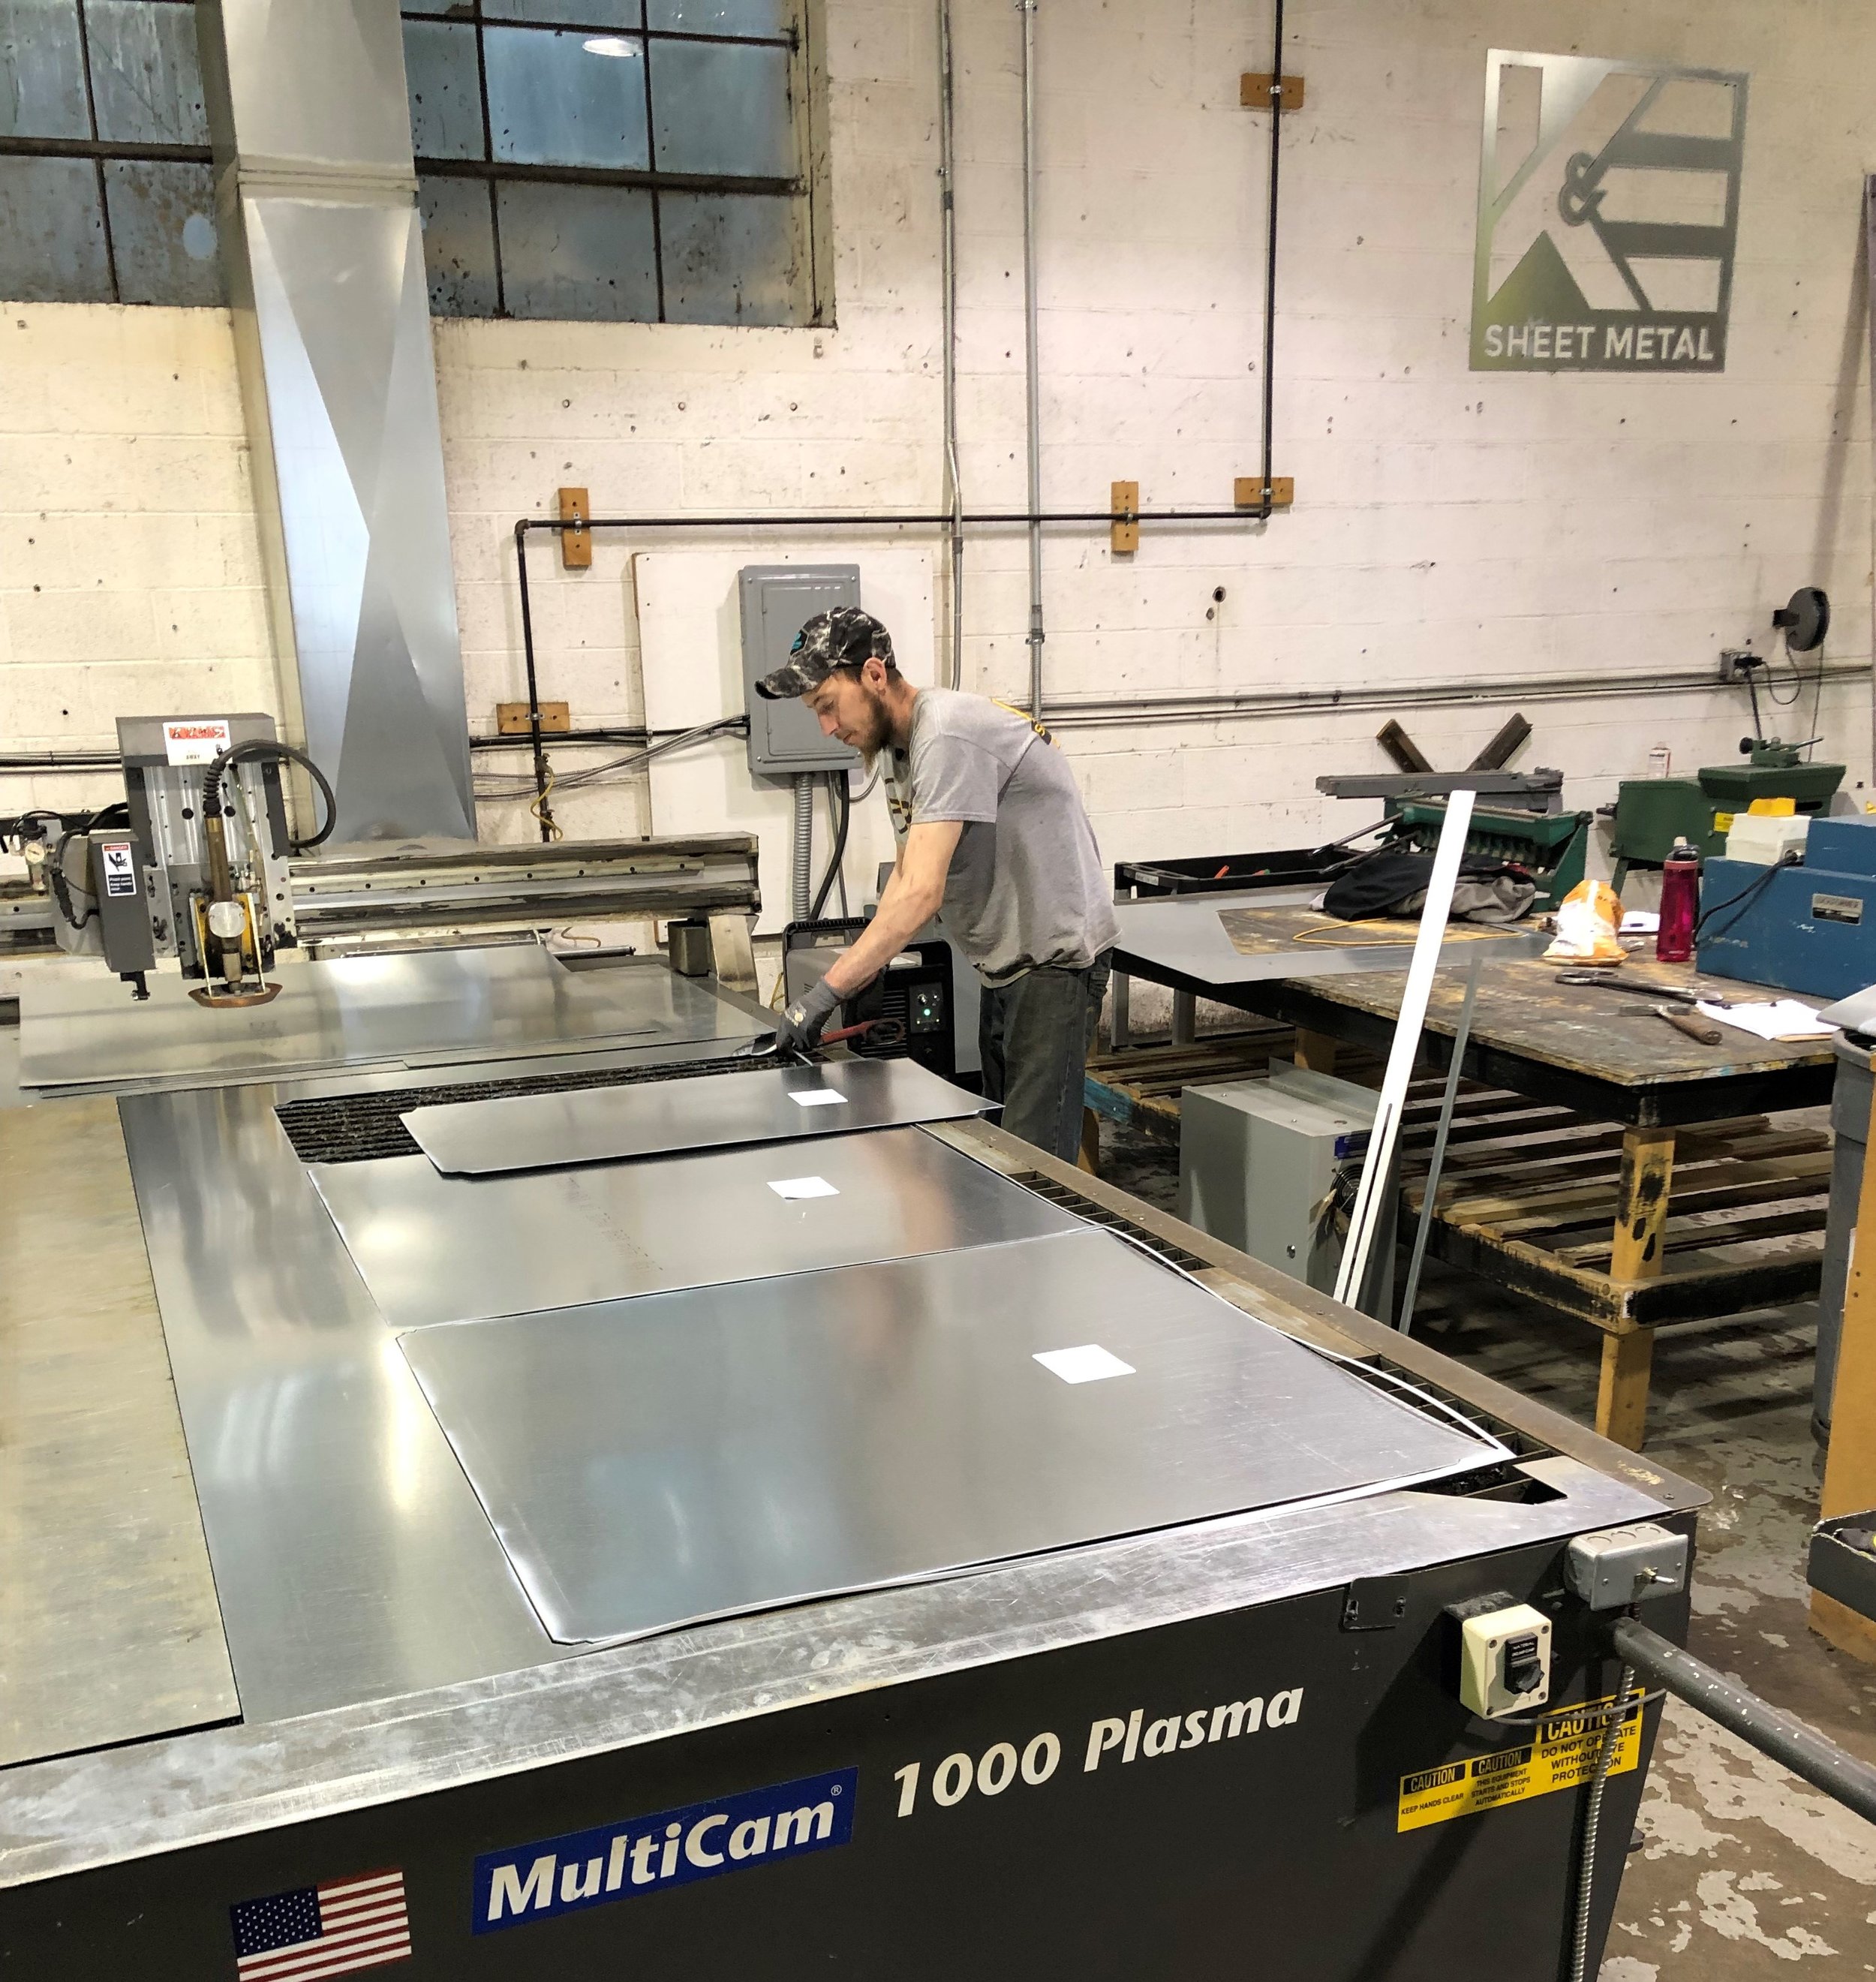
Plenums and Sleeves in multiple stages of the lining process

Steve finishing up weld pinning some plenum sleeves

Joe placing pins for the next step
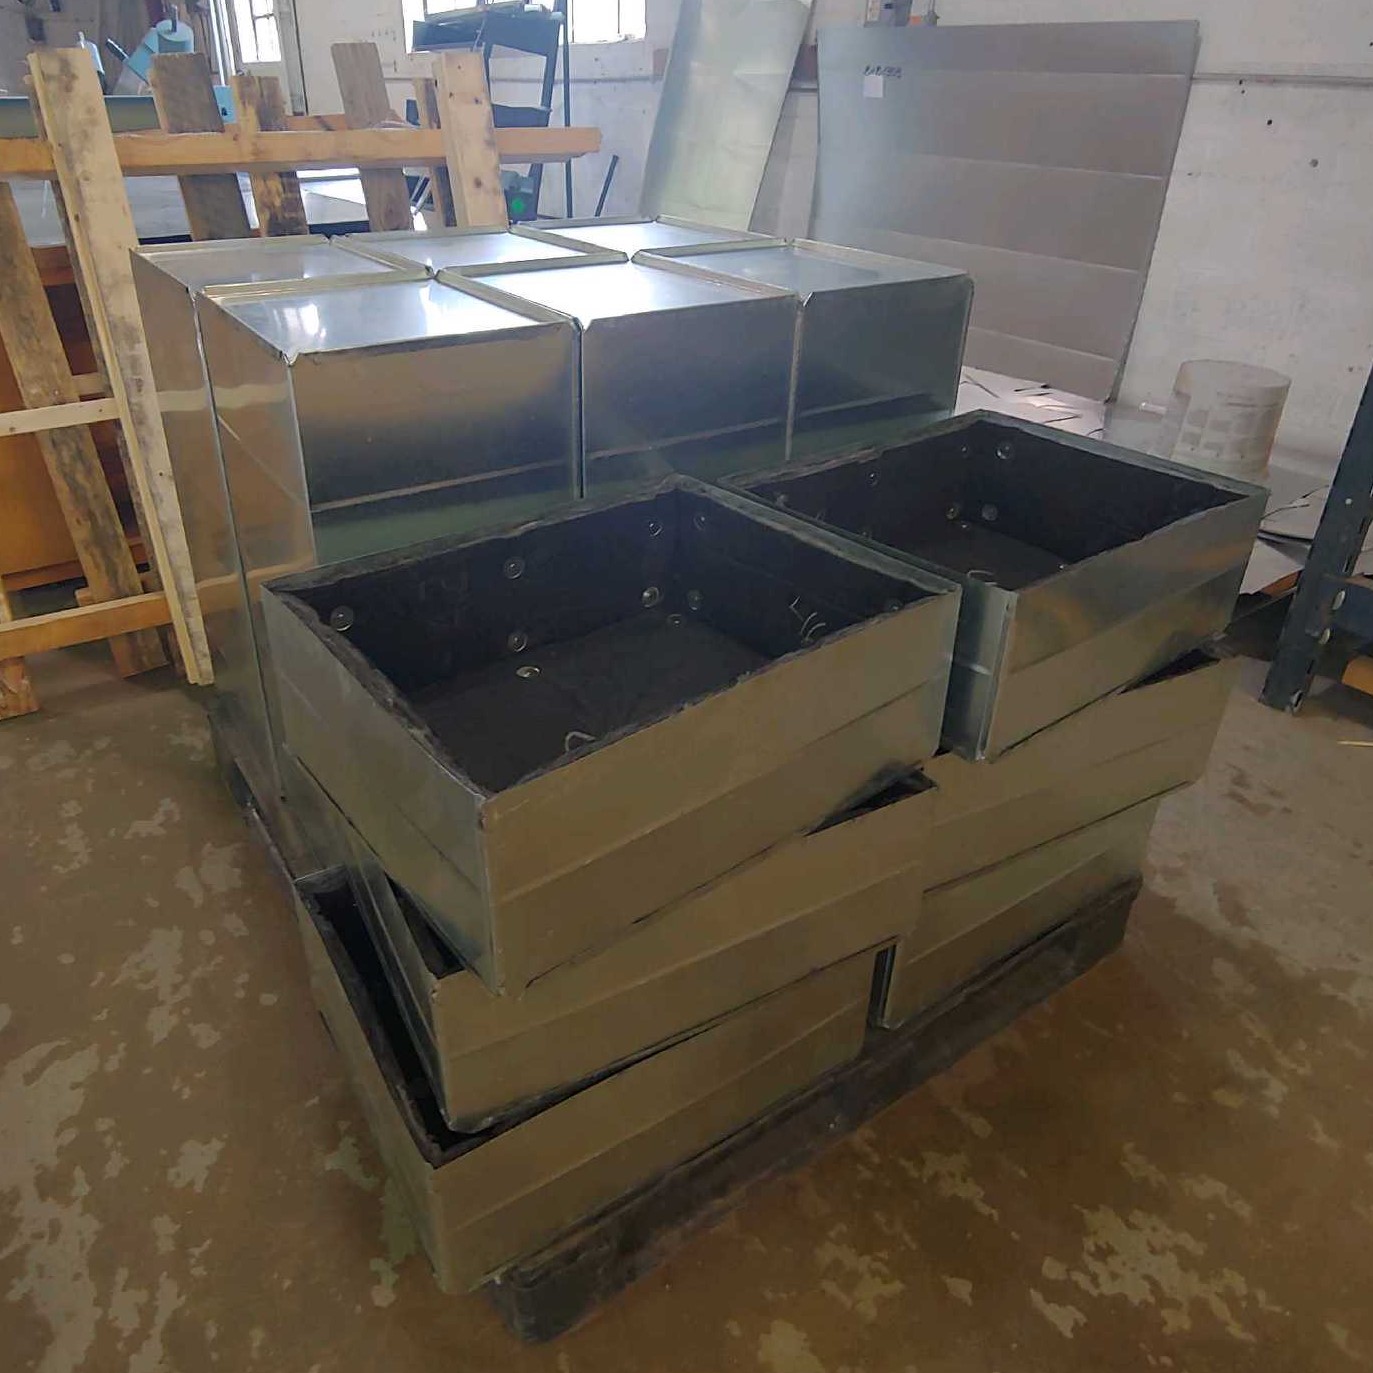
Finished and ready for pickup