When you’re choosing duct, two specs matter most: steel gauge (thickness) and galvanized coating weight (zinc layer, e.g., G60 or G90). Thicker steel resists dents and spans farther; more zinc slows rust at seams and scratches. (Intro to coating weights and ASTM overview: GalvInfoNote, U. S. Steel quick conversions.)
Gauge (Thickness): What it Means
30 ga (thin, light): common on small-diameter round pipe for low-pressure runs.
Pros: light, inexpensive. Cons: dents easily; not ideal for long spans or rough handling.28 ga: step up in stiffness for round and small fittings.
Pros: better durability. Cons: slightly higher cost/weight.26 ga: standard for many residential trunks and larger fittings.
Pros: sturdier panels, cleaner seams. Cons: heavier, pricier than 28–30.24 ga: for larger trunks, long spans, light commercial, or tougher handling.
Pros: strong, holds shape, reduces oil-canning. Cons: more cost/weight; may need heavier hangers.
Rule of thumb: As duct gets larger, longer, or exposed to abuse, go thicker (lower gauge number). (SMACNA context: see the HVAC Duct Construction Standards.)
Reference: SMACNA HVAC Duct Construction Standards (overview/PDF excerpts) and Ductmate quick guide referencing SMACNA.
G-Ratings (Zinc Coating): Why G60 vs. G90 Matters
The G-number is total zinc weight on both sides (ASTM A653). More zinc = better corrosion resistance.
G60: balanced protection for interior duct in conditioned spaces.
G90: extra margin for damp areas, basements, crawlspaces, garages, rooftop curbs, or where condensation risk is higher.
Important: G60 vs. G90 does not change steel thickness—only the protective zinc layer. (Definitions and conversions: GalvInfoNote, G60 vs G90 explainer.)
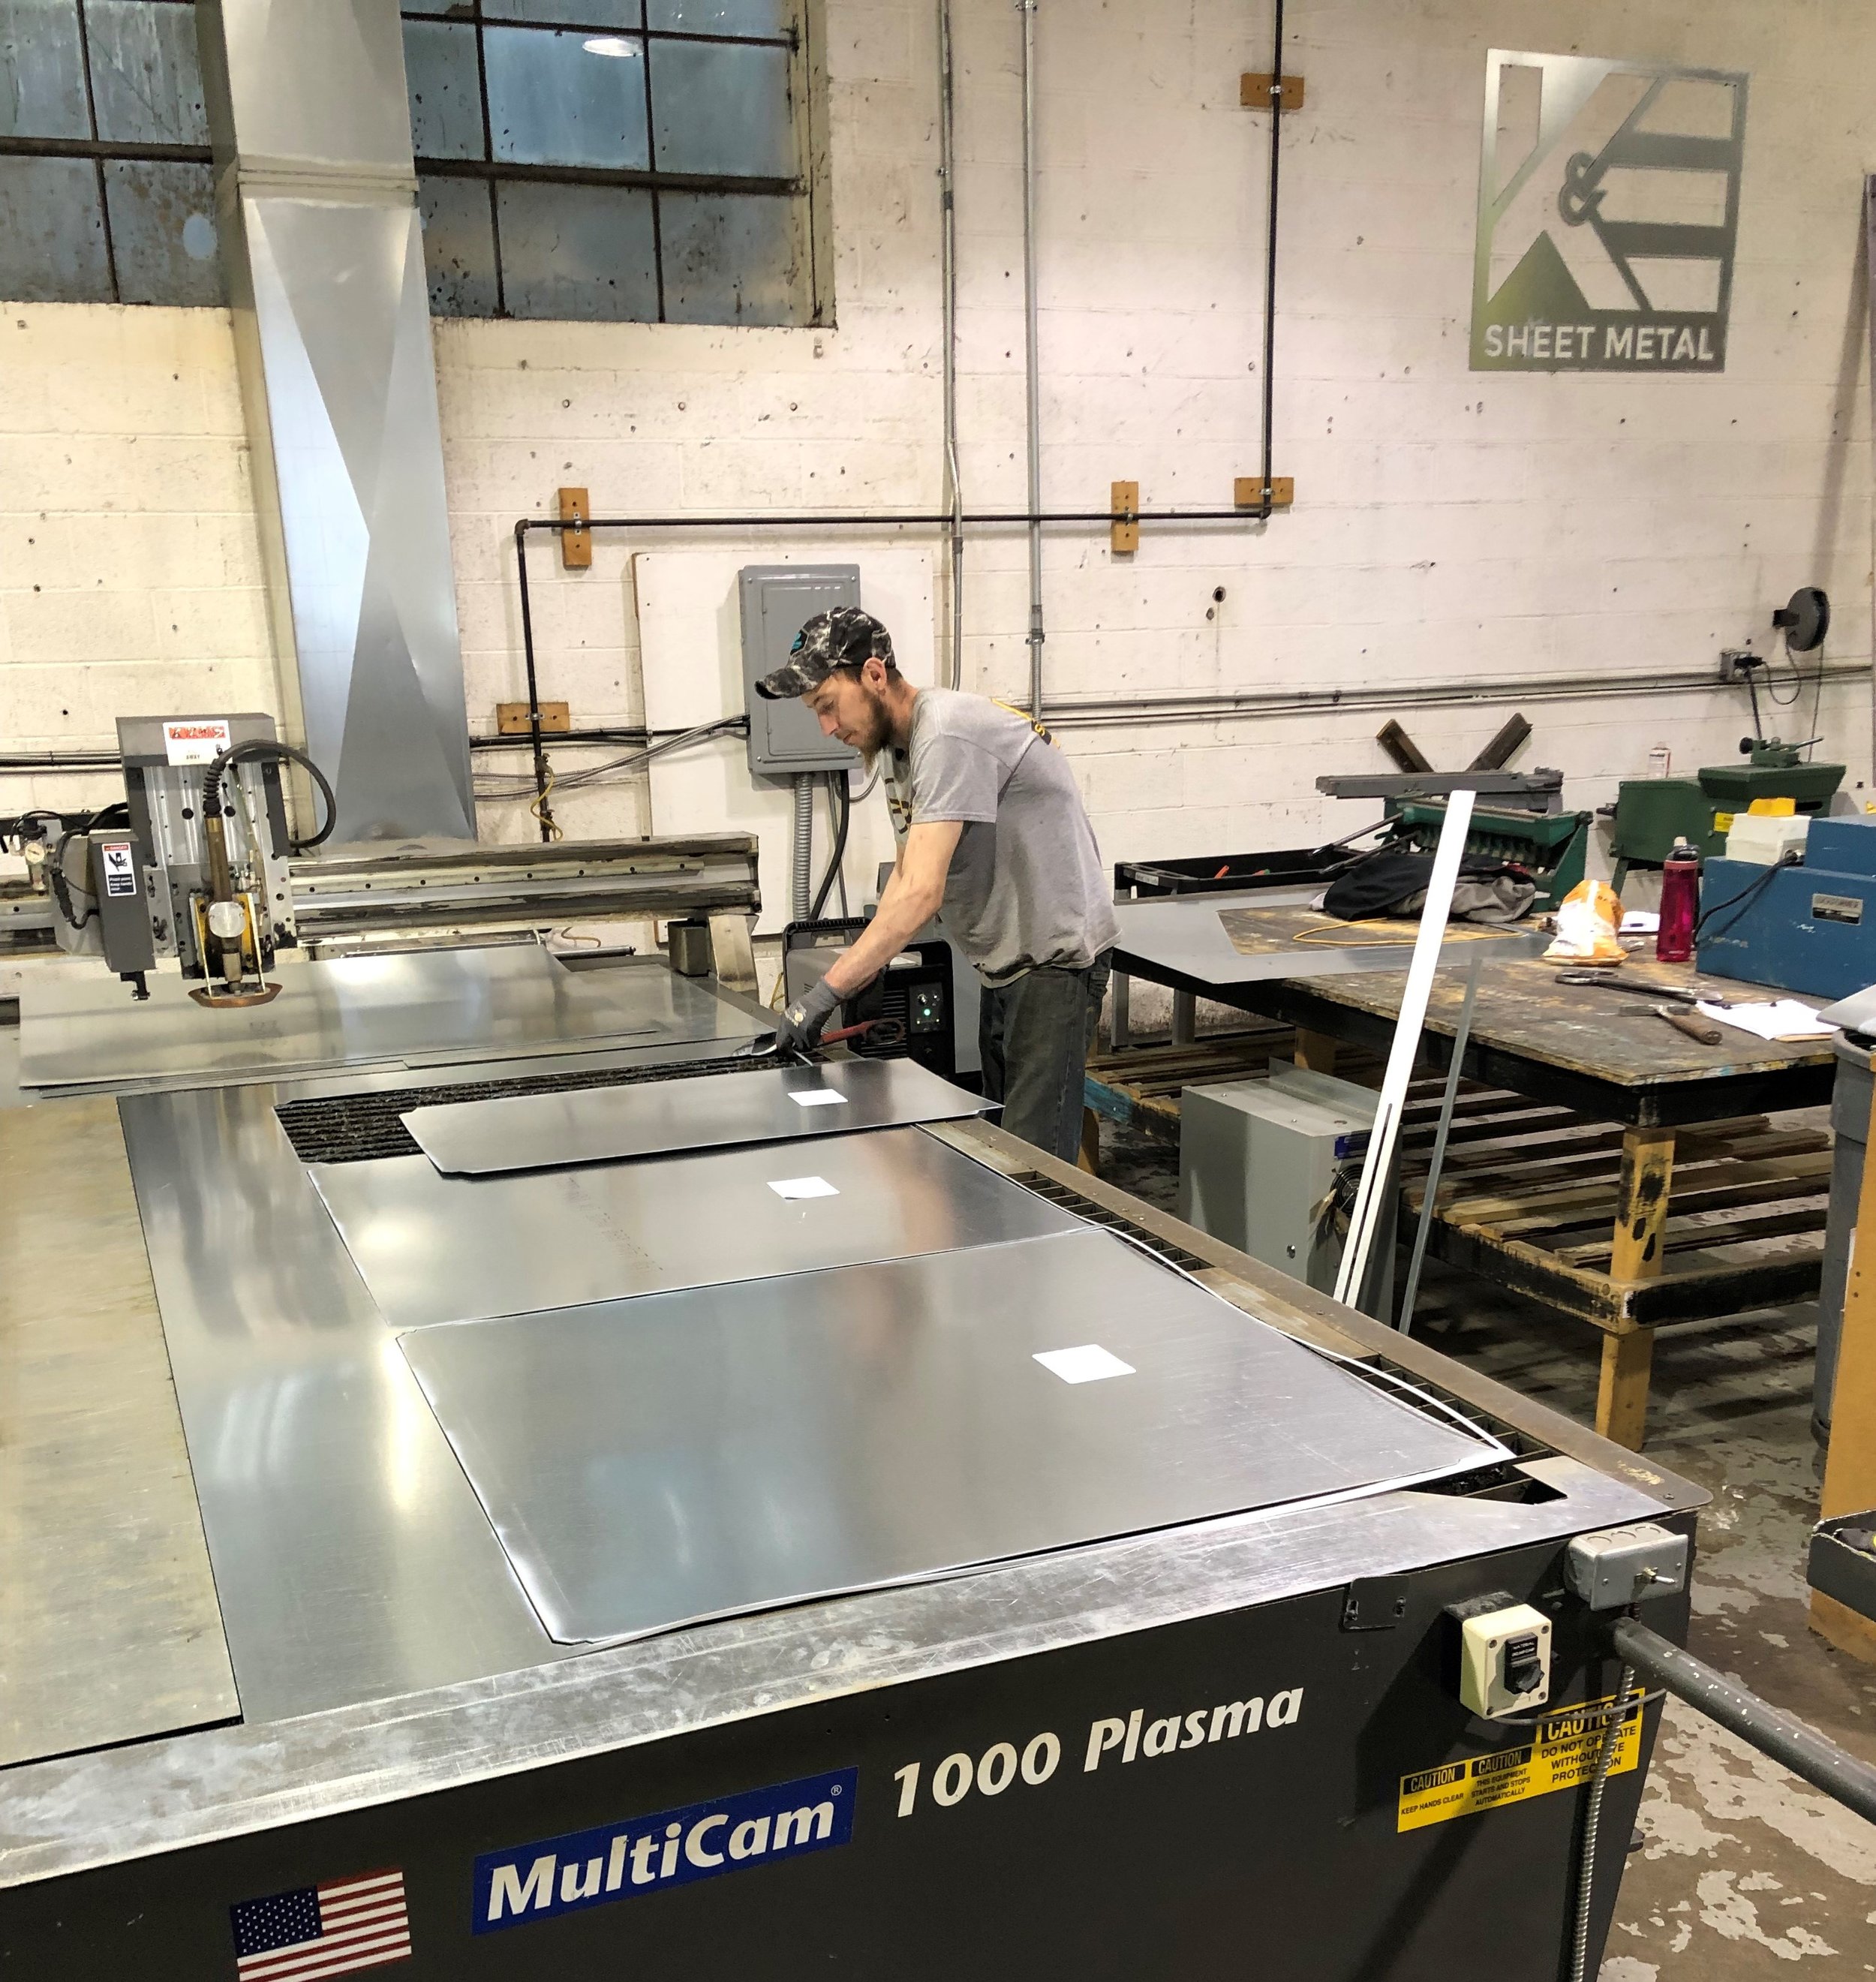
K & E Shop Standards
We stock and fabricate 26 ga and 24 ga as our core thicknesses.
For both 26 ga and 24 ga we use G60 and G90 zinc coatings depending on environment.
Heavier gauges (22 ga, 20 ga) are used as the job and specifications require (size, pressure class, span, and reinforcement).
For sealing, we follow UL 181 listed mastics/tapes for HVAC duct systems. (UL 181 context.)
Quick Picks (Save & Share)
Small round runs (dry interior): 28–30 ga, G60
Typical residential trunks/returns: 26 ga, G60
Basement/crawl/garage or any condensation risk: 26 ga, G90 (or 24 ga if large spans)
Large trunks/long spans/light commercial: 24 ga, G60/G90 per environment
Outdoor/rooftop/curb: G90 minimum; consider 24 ga or heavier
Advantages & Tradeoffs at a Glance
Thicker gauge (24 vs. 26): more rigidity, fewer oil-cans, longer spans → higher cost/weight.
Higher zinc (G90 vs. G60): longer rust resistance → slightly higher material cost.
Smart combo: match gauge to size/span and G-rating to moisture risk.
Helpful Definitions & Deep Dives
ASTM A653 (galvanized sheet) overview & conversions: U. S. Steel note and GalvInfoNote 1.1.
Process background (continuous vs batch hot-dip): American Galvanizers Association explainer.
UL 181 (mastics & tapes): Carlisle/Hardcast UL 181 note.
Amazon affiliate picks
As an Amazon Associate, K & E may earn from qualifying purchases.
Cold-galv touch-up (zinc-rich) — helps protect field cuts/screws
UL 181 duct mastic (water-based) — for sealing joints: (UL 181 reference above.)
UL 181B-FX foil tape — for code-compliant sealing:
Sheet-metal screws (hex-washer, self-drilling) — for field assembly: