
Your Custom Text Here
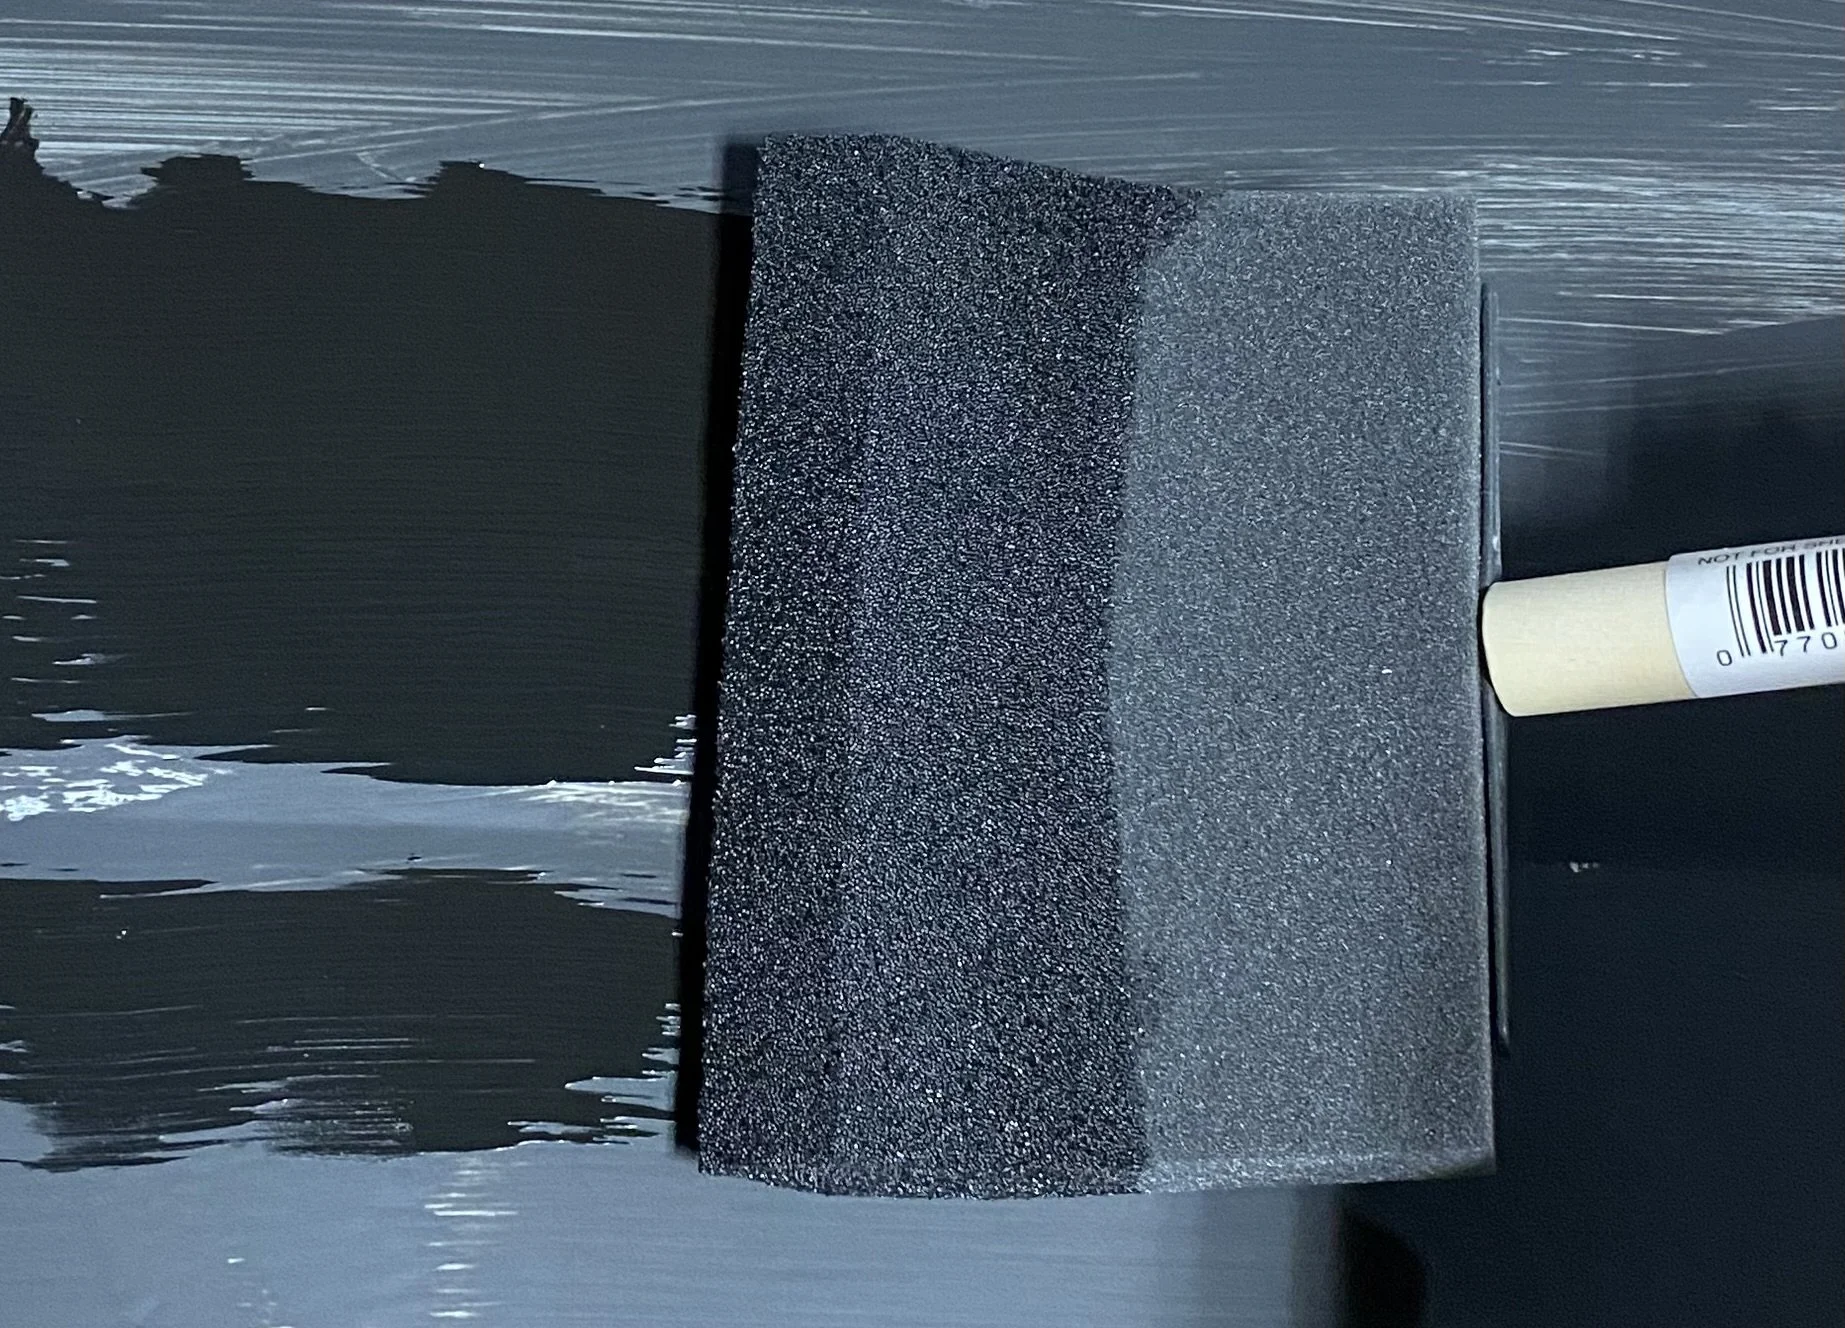
The Best Way to Paint Galvanized Metal
Painting galvanized metal requires some preparation to ensure proper adhesion and durability. Galvanized metal has a zinc coating to protect it from corrosion, but this coating can make it challenging for paint to adhere. Here's the best process:
1. Clean the Surface
Remove dirt and grease: Use a degreaser or soapy water to remove any oils, dirt, or grease from the surface. Rinse thoroughly and allow it to dry.
Eliminate white rust: If there is white rust (a chalky residue from the zinc), scrub it off with a wire brush or fine-grit sandpaper.
2. Scuff the Surface
Use fine sandpaper (120–150 grit) or a scuff pad to lightly roughen the surface. This helps the primer and paint adhere better.
Wipe down the surface with a clean, damp cloth to remove sanding dust.
3. Choose the Right Primer
Use a primer specifically designed for galvanized metal, such as a zinc-rich or self-etching primer. These primers adhere well to zinc-coated surfaces and create a good base for paint.
Apply the primer in thin, even coats according to the manufacturer’s instructions. Allow it to dry completely.
4. Select the Proper Paint
Opt for an acrylic latex paint or a paint specifically formulated for galvanized metal. Avoid alkyd- or oil-based paints unless they are explicitly labeled for galvanized surfaces, as these can react poorly with the zinc coating.
5. Paint Application
Apply the paint using a brush, roller, or spray, depending on the size and shape of the surface.
Use thin, even coats and let each coat dry completely before applying the next one. Typically, two coats are sufficient for full coverage.
6. Cure and Protect
Allow the paint to cure fully before subjecting the surface to heavy use or outdoor elements.
For additional protection, you can apply a clear sealant or topcoat if needed.
Tips:
New galvanized metal: If the metal is newly galvanized, it may have a shiny surface that makes adhesion difficult. Let it weather for a few weeks or use a vinegar solution (1:1 vinegar and water) to etch the surface before priming.
Test adhesion: Before painting a large area, test the primer and paint on a small, inconspicuous spot to ensure they adhere well.
Following these steps will ensure your painted galvanized metal is durable and looks great for years.
5 Venting Issues When Installing Your New Built in Microwave
Are you installing a new built in microwave for the first time? Before you rip the box open, take a minute to make sure you have checked out the area where you will be installing the microwave first. Over the years I have helped many customers who have entered the fabrication shop looking for duct fittings needed to vent their brand new microwave oven.
Here are five of the most common venting issues they have conveyed to me.
Are you installing a new built in microwave for the first time? Before you rip the box open, take a minute to make sure you have checked out the area where you will be installing the microwave first. Over the years I have helped many customers who have entered the fabrication shop looking for duct fittings needed to vent their brand new microwave oven.
Here are five of the most common venting issues they have conveyed to me.
1. Cabinet space above is never big enough
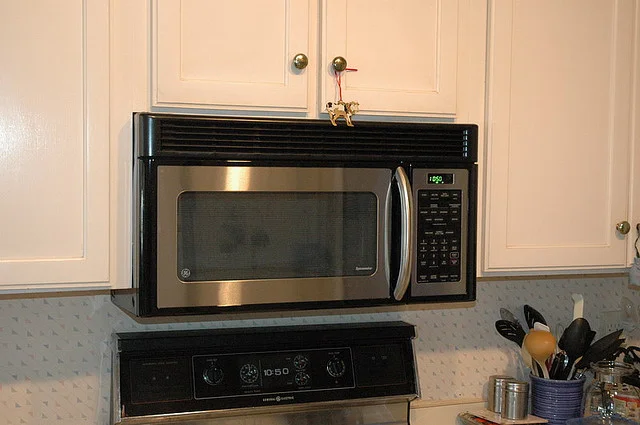
The cabinet above your microwave is notoriously tiny. Obvious reasons are because of ceiling height and most of our homes aren't blessed with 12' vaulted ceilings. If you happen to have ample space where your new microwave will live, then you probably won't have these issues. Either way, the space provided most of us for venting your brand spanking new microwave is extremely tight, leaving limited space to vent the appliance properly.
2. Manufacturers don't provide venting accessories of any kind
Nothing's as easy as they make it seem in those Home Depot or Lowe's commercials where the couple stroll into their friendly neighborhood warehouse and find exactly what they're looking for. They take it home, it fits perfectly into place and both stand back in glorious satisfaction.
Sadly, this is not how it usually happens in real life. During the project you will inevitably run into some issues while installing your new hanging microwave. Especially because the manufactures of your new microwave have no accessories for installing the vent duct to the outside of your house. They give you some basic direction, leaving it up to you for the rest of the installation. Obviously this is a major problem when trying to finish what seems like such a simple installation.
3. Manufacturers always have a rectangular outlet for venting
Another major issue, related to no accessories, is the outlet for the vent on your new microwave will almost assuredly be rectangular. Why is this such an issue? Well, the answer brings me to number four.

4. Most stock venting is round
If you're hooking your new vent to an existing vent, there's a good chance the already installed duct is round. Or if you take a trip to the local hardware store, the majority of new duct and duct fittings for venting will be round. You may find some square to round duct fittings, but it's a crap shoot on whether or not you will find the size--usually 3 1/4" x 10"-- of the outlet vent on your brand new microwave.


Again, the issue when trying to install your vent in such a small cabinet. The more fittings you use, the more space is taken up. There's only so much to go around.
5. Keeping the vent rectangular means custom made
If the existing vent does happen to be rectangular, there's an even better chance the sizes of each will be completely different, leaving you looking for shops like mine to have a custom transition fabricated.
Many times this will be your best solution due to lack of resources, especially if you are a laymen when it comes to a project like this. One fabricated duct piece is much easier to fit inside your tiny cabinet rather than two or three from Home Depot. And, the cost savings is immense if you are able to find a custom fitting because the alternative is hiring someone to install the microwave for you.
Now, if you are installing the microwave in a new home or for the first time in your older home there are many more options. What do I mean by this? Well, you may have enough room to buy a stock square to round fitting and run the rest of the vent round. Or you may be able to use the stock rectangular duct from the hardware store to run the entire vent.
No matter what your situation, taking the time to map out the project to avoid these pitfalls is always a good rule of thumb.
Good Luck!
Do you need a custom transition for your built in microwave vent? We can help! Visit our contact page to get in touch with the fabrication shop.
How to Assemble a Pittsburgh Seam for Sheet Metal Plenums
Have you gone to your local HVAC supply house to buy a plenum with a Pittsburgh seam that was not assembled? If you are an HVAC professional or do-it-yourselfer, more than likely you have. The purpose of this short tutorial is to show how to assemble a Pittsburgh seam in a few simple steps, with a couple simple tools.
Have you gone to your local HVAC supply house to buy a plenum with a Pittsburgh seam that was not assembled? If you are an HVAC professional or do-it-yourselfer, more than likely you have. The purpose of this short tutorial is to show how to assemble a Pittsburgh seam in a few simple steps, with a couple simple tools.
The Tools of the Trade
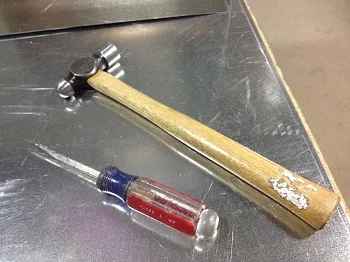
There are two hand tools you will need to get the job done and there's a pretty good chance you have them both in your tool bag, basement or kitchen junk drawer, a hammer and a screwdriver. The picture shows an 8oz. ball pein hammer, which is a good size and weight for getting a nice, flat seam. However, any normal hammer will work just fine as long as it's not heavy duty, like a sledge hammer. The screwdriver is a standard flat head which will be used to spread the seam of the Pittsburgh joint, making it easier to assemble the plenum.
The Look of a Pittsburgh Seam
So what is a Pittsburgh seam anyway? Basically, the seam shown below on the left is a Pittsburgh seam and gets it's name from the machine that forms it. A Pittsburgh machine is very common in the sheet metal fabrication trade and something we use on a daily basis. The seam is created by feeding flat stock through a set of rollers forming the seam as the sheet metal rolls through.
All this talk about Pittsburgh seams and I'm forgetting the other player in this assembly scenario. A sheet metal plenum with a Pittsburgh joint needs a quarter inch bend on the opposite side that will sit inside the Pittsburgh joint. The photo on the right shows the quarter inch bend that will be inserted into the Pittsburgh joint on the left.


The Steps
Step 1
The first thing you want to do, like mentioned above, is spread the Pittsburgh joint so the 1/4" bend will fit easily. Next, place the 1/4" seam inside the Pittsburgh seam, starting at one corner or joint of the plenum, shown in the photo below on the left.
Below, on the right, you can see what the joint should look like after placing the 1/4” seam inside the Pittsburgh seam.


Step 2
Next you want to pein or hammer over the 1/4” that is extending up above the flat plane of the plenum side. The first thing I do is pein over the top, middle and bottom (shown in the photo underneath on the right) corner to pin the side in place, helping to keep the side from sliding.


One trick to help the process:
After you have one side to this stage, take the other Pittsburgh side and start the opposite corner. This will help to prop up the first side you started, making the hammering process much easier to finish.
Step 3
Now you want to hammer down the entire side flat to finish the joint.
When these two joints are complete, flip the piece over and repeat the same steps to finish the un-capped portion of the plenum.

Do you need a custom supply air or return air plenum? Or do you have any questions? Let us help. Click here to contact our fabrication shop!
Related Blog Posts
Custom Duct Transitions For AC Coil
Installing a new AC coil
There are times when installing a new AC coil to existing duct work can be simple and times when the task can be difficult. Usually you can get the proper cased AC coil for the furnace you are installing and either easily transition the duct to the existing duct line or you can have a custom plenum made fitting the coil to the furnace.
Then there are times when you need to transition from your furnace to the size of the uncased AC coil and then back again to the custom size of your existing duct work. When this happens your first call should be to us, K & E Sheet Metal, because this is exactly why we exist. Custom plenums and transitions are our specialty :)
Installing a new AC coil
There are times when installing a new AC coil to existing duct work can be simple and times when the task can be difficult. Usually you can get the proper cased AC coil for the furnace you are installing and either easily transition the duct to the existing duct line or you can have a custom plenum made fitting the coil to the furnace.
Then there are times when you need to transition from your furnace to the size of the uncased AC coil and then back again to the custom size of your existing duct work. When this happens your first call should be to us, K & E Sheet Metal, because this is exactly why we exist. Custom plenums and transitions are our specialty :)
Taking measurements
Today we received an order for a plenum with transitions needing to get from one measurement, to another and then back to yet another. Below is a crude drawing of the sizes needing to be transitioned.

In order to make the transitions and fit the AC coil, I will need to fabricate two transitions and a straight plenum, placed in the center, that will house the coil and have a door for servicing. The transitions can be entered into the computer system and cut with our new CNC plasma machine, while the straight box I will cut with tin snips.

Looking down inside the AC coil plenum at the shelf that will hold the coil
The fabrication
The bottom transition, 13 1/4 x 18 up to 17 1/4 x 19 3/4 will have a 1/2" flange on the new furnace side and S-lock on the top side that will accept the straight plenum box. Inside the plenum box will be a 24 gauge metal shelf (Picture to the right) to hold the AC coil inside the 17 1/4 x 19 3/4 box.
From the top of the AC coil box I will transition to the existing duct inside the customer's home. Basically, the old duct work leftover after tearing out the old furnace.
All being said the fabrication for this order sounds much harder than it actually is. Many times the hardest thing is translating what the customer is thinking into how my brain processes things. Once this hurdle is completed the process goes rather quick and easy. This particular order foe example ended up being two simple custom transitions with a straight AC coil box sandwiched in between.
Below is a photo of the finished plenum ready to be picked up and installed

Related Blog Posts
Air Conditioning and AC Coil Books
Bending Custom Trunk Duct With 8' Sheet Metal Break
Even though we have stepped up our game in regards to cutting sheet metal, we still kick it old school when it comes to bending all of our custom trunk duct and fittings.
Building Ductwork With Your Hands
Well, we don't go about building ductwork completely with our hands, but when it comes to fabricating a section of trunk duct for installation, our method is as close to handmade as one might get. Most of the mass produced sections of trunk ductwork and duct fittings are fabricated by machines with giant coils of sheet metal that are mechanically fed. Many of the laborers in these shops are there to monitor and assemble the sections or pieces as they come off the line.
Here at K & E Sheet Metal, building ductwork is a little different. The steps we use to fabricate a section of straight trunk ductwork are old school to most of the fabricators you will come across these days.
So where does the whole process start?
Bingo! You guessed it...
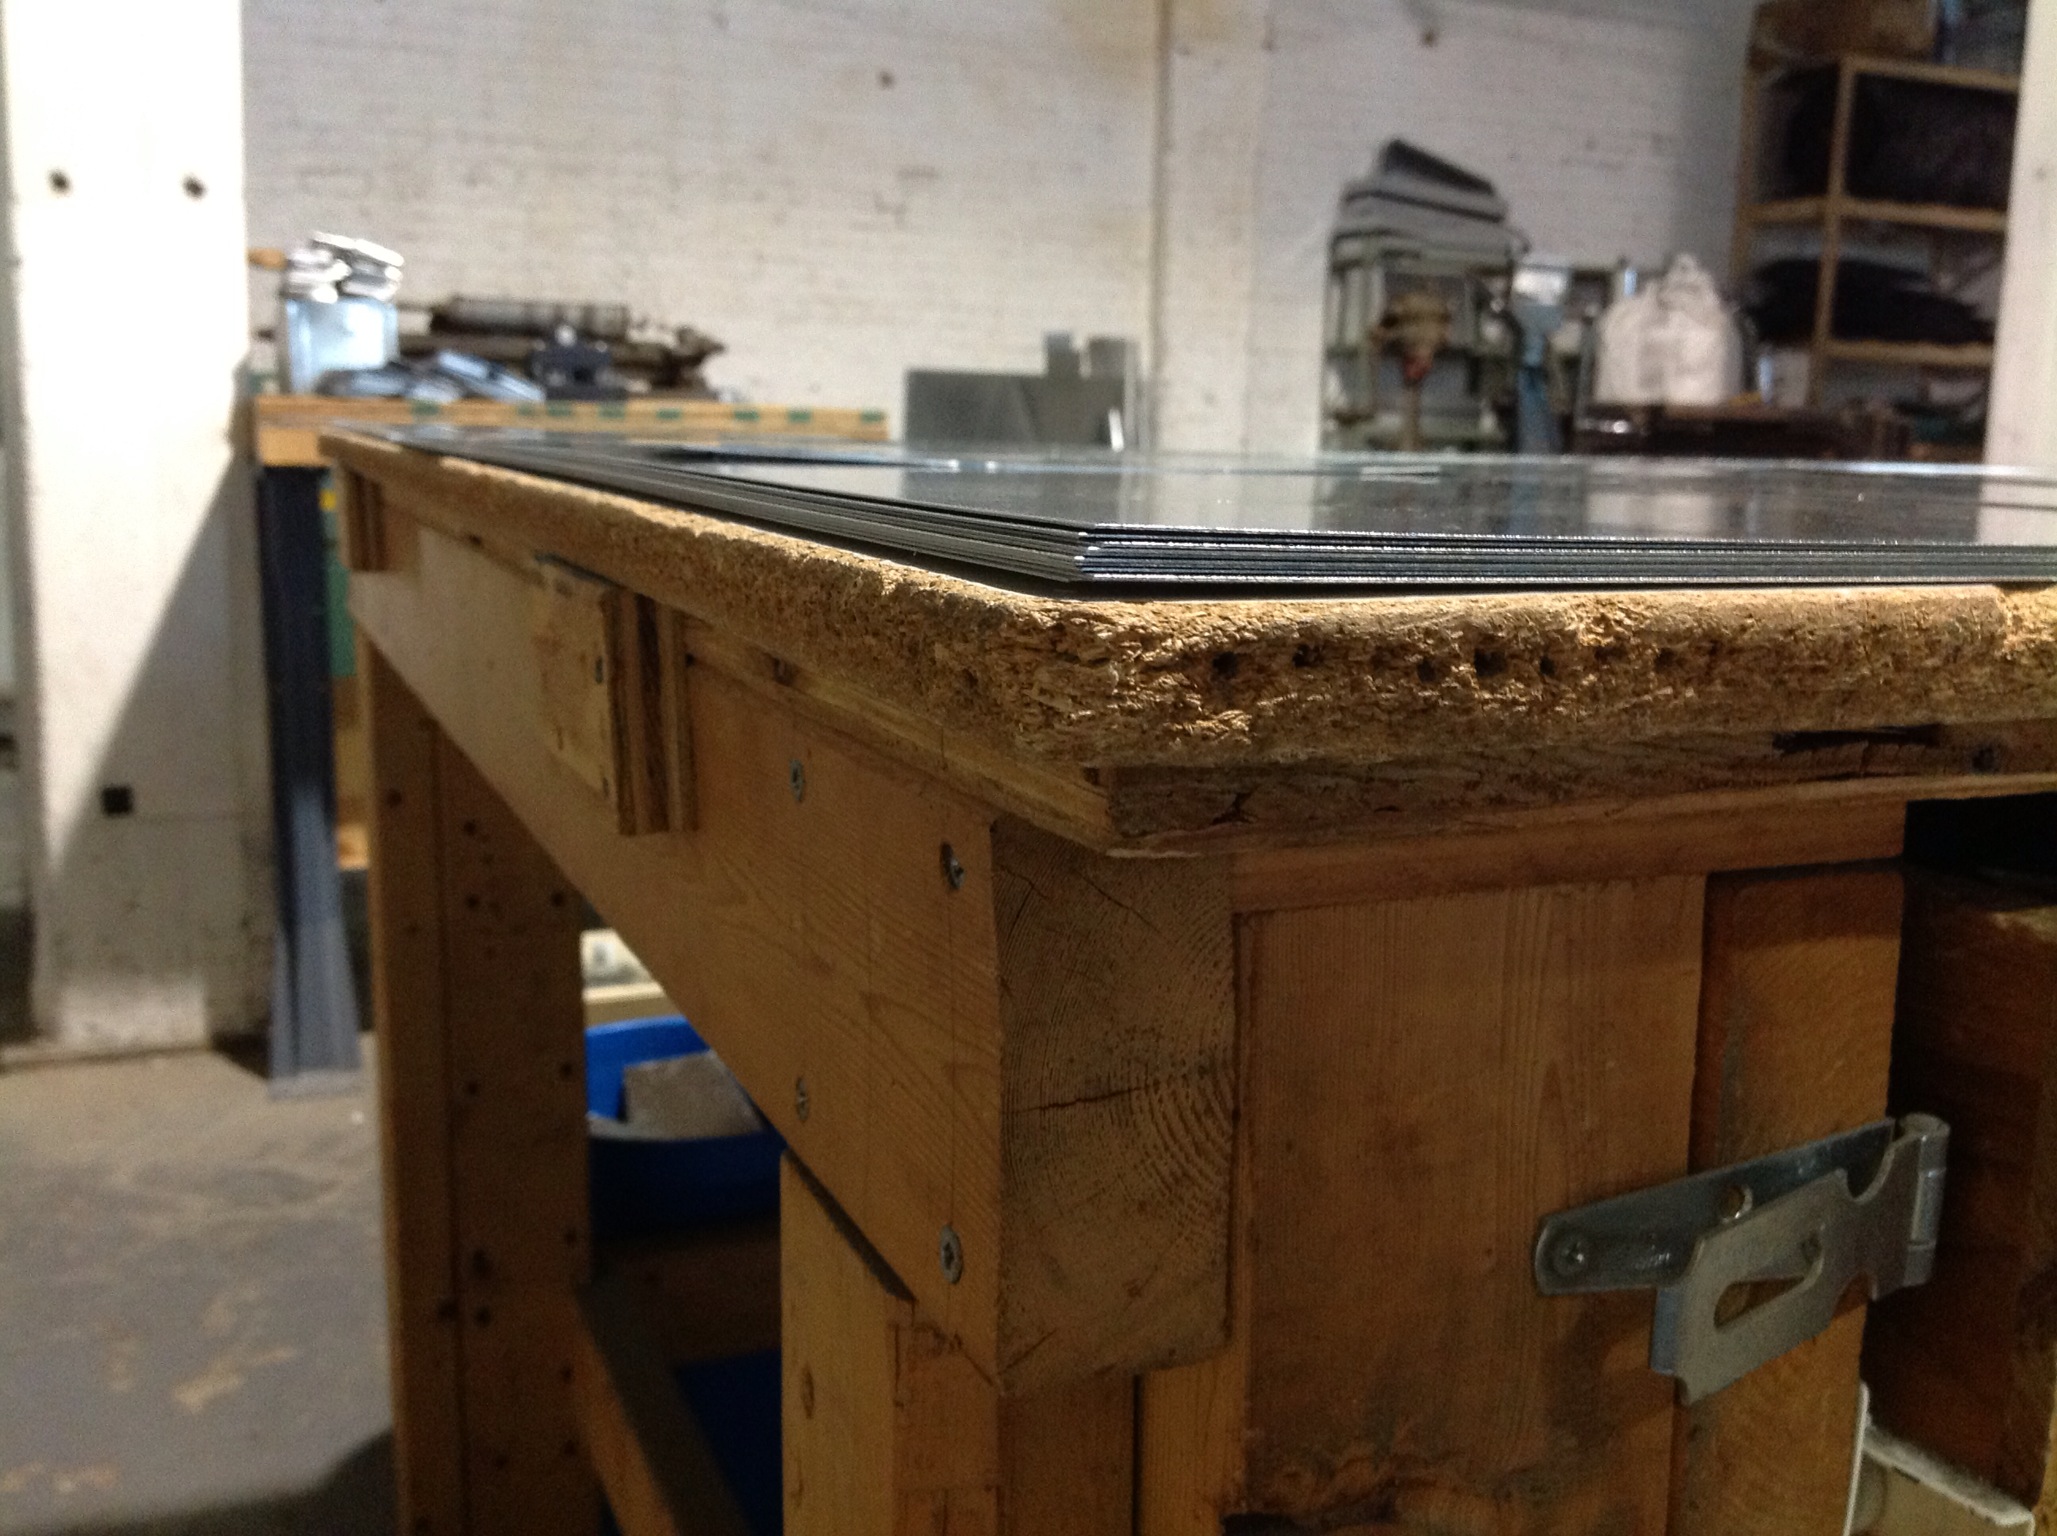
We start with a sheet of metal. Our shop is equipped with 26 gauge galvanized sheets of metal that we keep on two separate benches in the shop. For this example we will be using a 48" x 96" sheet of 26 gauge galvanized sheet metal that we have placed on our bench of the same size.
All of our galvanized sheet metal is shipped from the Albany, NY area and needs to be unloaded by hand when it gets to our fabrication shop. We have a table that can be rolled to the front of the shop for unloading, then rolled to each of our tables where it is again, hand distributed to each.
Once the sheets of metal are situated evenly on the tables we can start the process of building ductwork needed for installation.
Hand Tools of The Trade
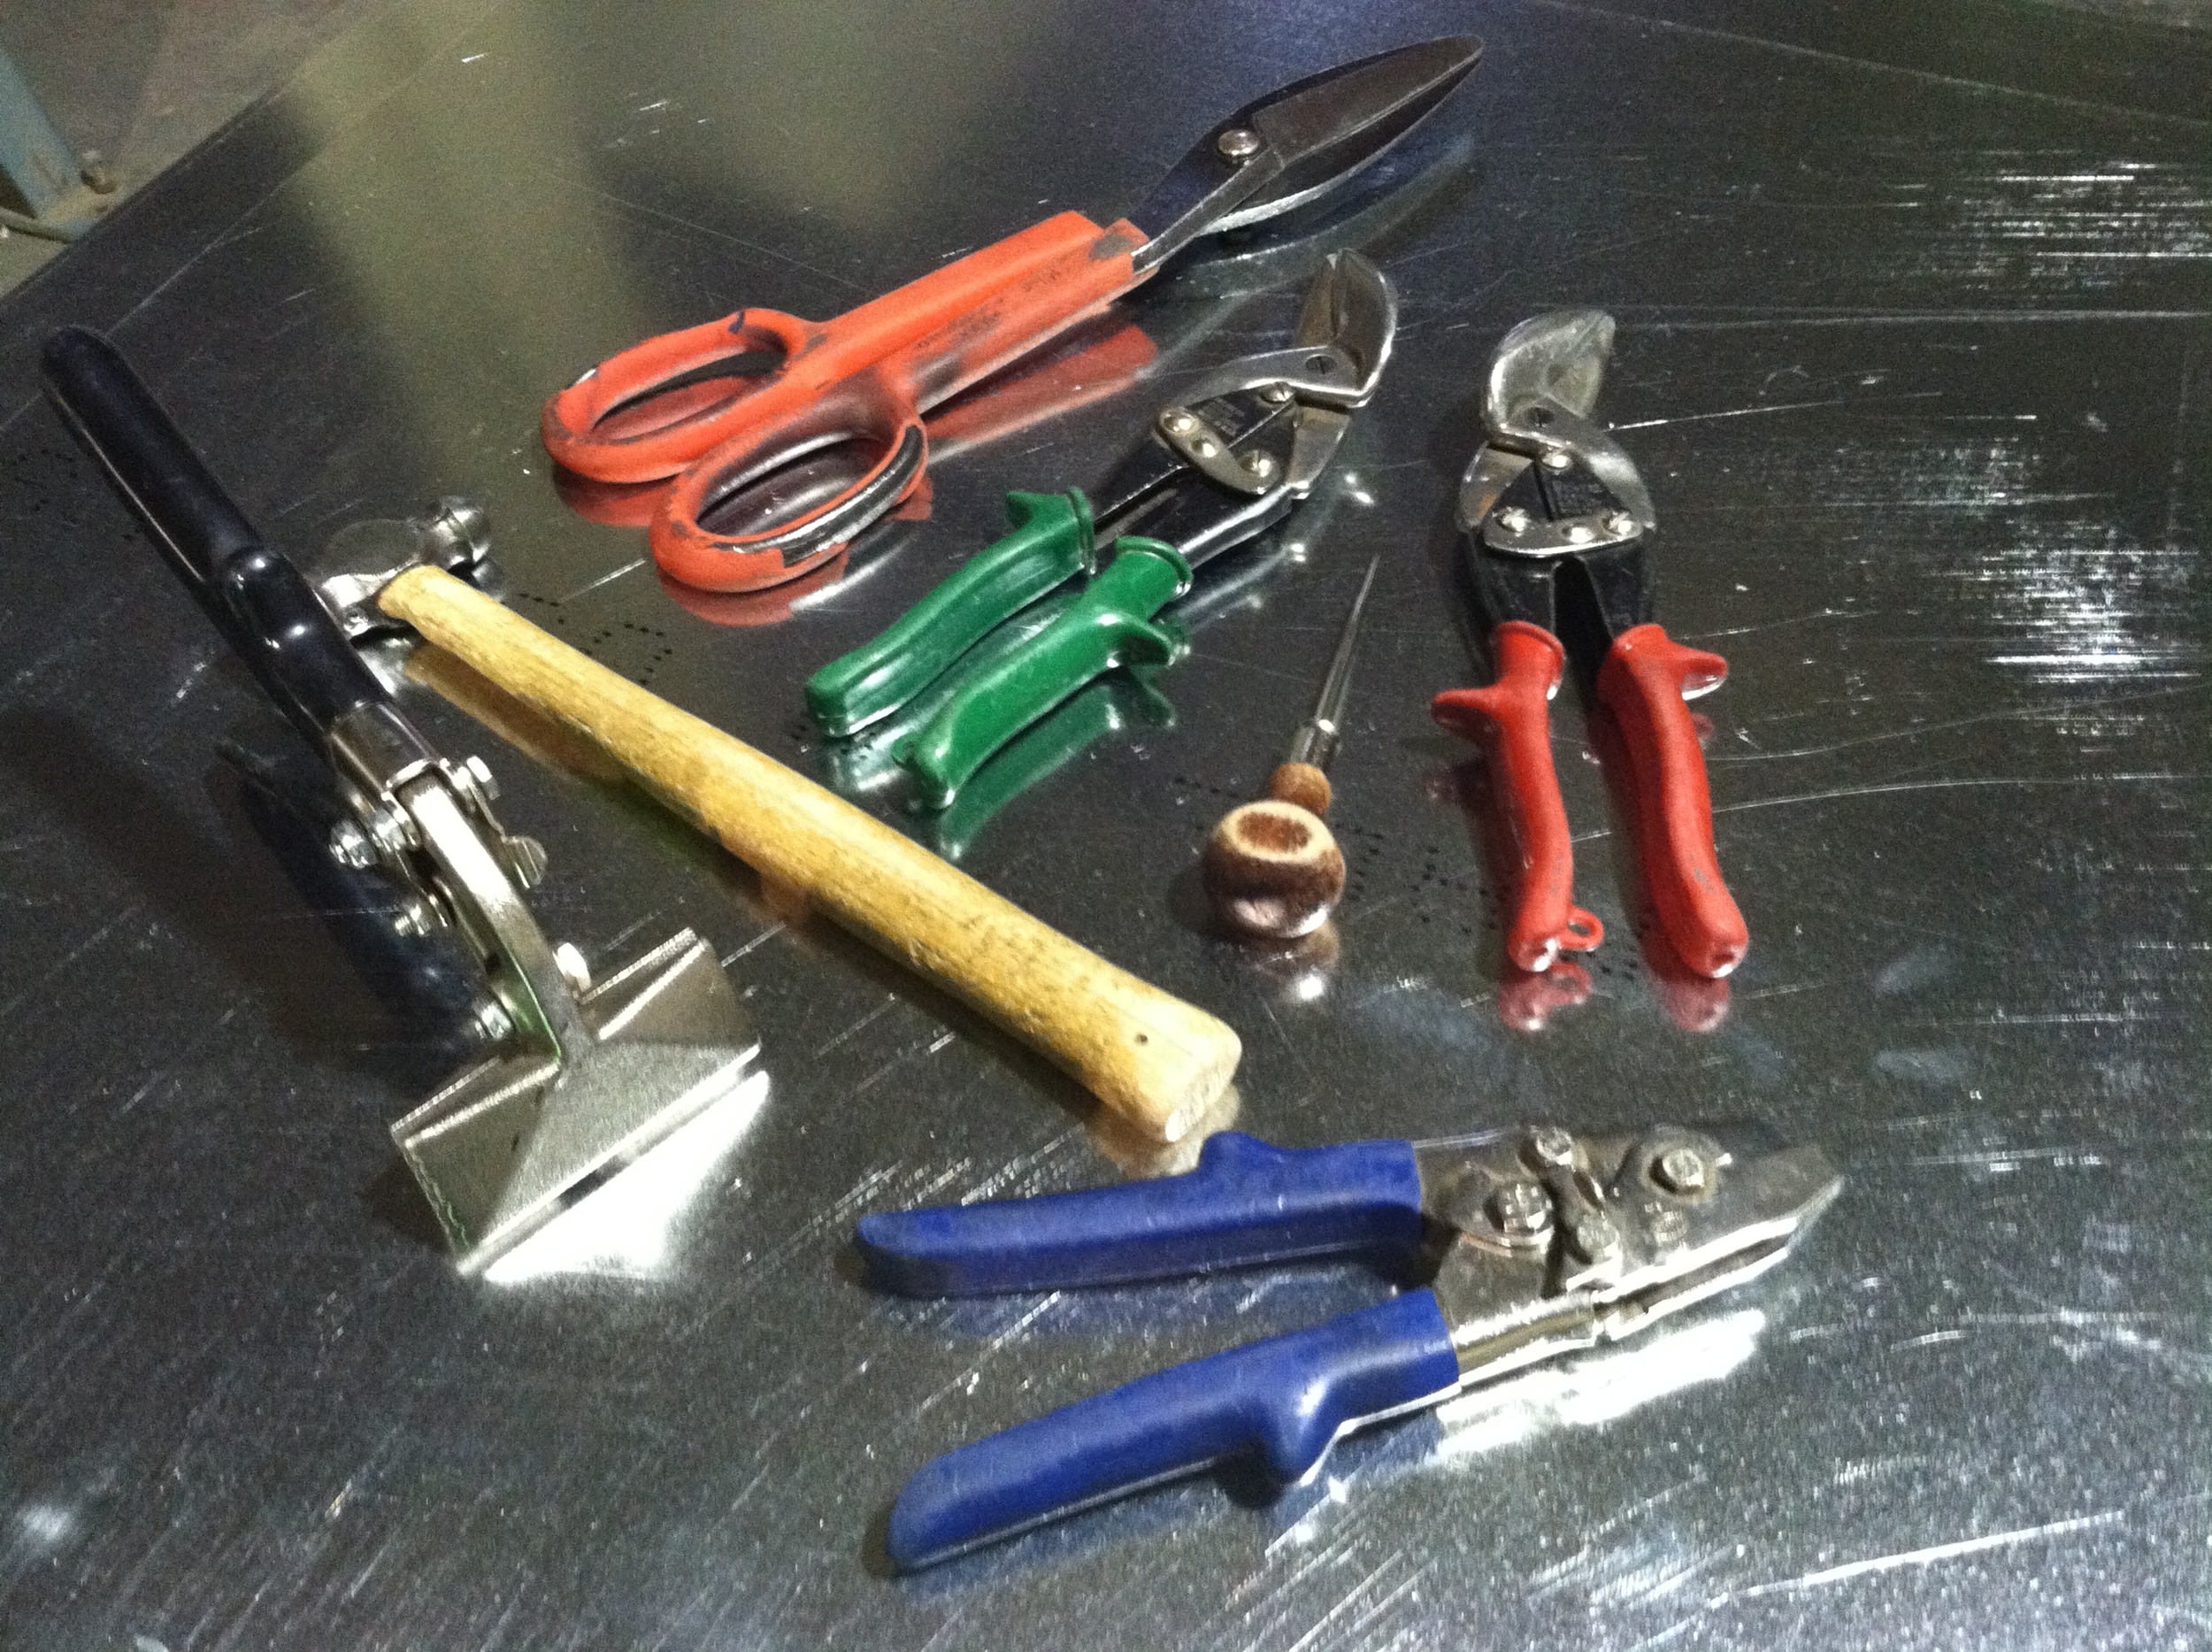
No one is ignorant enough to think we can actually cut the sheets of metal with our hands, so obviously some tools are needed to help with this task. For our shop, we use straight cut tin snips for the long cuts, across the metal to cut out flat sheet that will form each L-shape of straight trunk ductwork. If the section was an 20" x 8" x 48" section, we would measure over 20" plus 1/4" for the larger and then from that newly formed line we measure over 9" to complete the pattern for a half section of straight trunk ductwork.
Why the added 1/4" and 1" you may ask? Well, the 1/4" added to the 20" measurement is for a 1/4" ninety degree bend with our 8' wide manual hand brake and the 1" added to the 8" measurement is for the process of a formed Pittsburgh joint. We will get to both these processes as the post progresses.
We mark the lines necessary in this process with a scribe or awl that etches a fine mark for cutting with the straight tin snips. Once our lines are formed, we make our cut on the second mark that we made because this will eventually be formed into an L-shape of custom straight trunk ductwork. Cutting on the line is crucial and comes with much practice, not to mention building the forearm muscle for making the cuts day after day.
After the main blank of flat sheet metal is cut we can now mark the corners for notching with the proper aviator snips and hand notching tool. The top and bottom of the flat sheet receive a 1" etched scribe all the way across, while the longer, 48" sides get a 1/4" etched scribe on the left side and a 1" etched scribe on the right. After marks are made, each corner and center line--the 20 1/4" mark--are notched for proper loading into the brake and Pittsburgh forming machines.
Rise of The Machines
Our business can be trying enough because we continue to fabricate with an older method. However, the task would be almost impossible if we bent and riveted the straight trunk ductwork with hand tools. Because we are running a business, getting the product to our customers as quick as possible is still a priority, so the rise of some simple machinery is paramount.
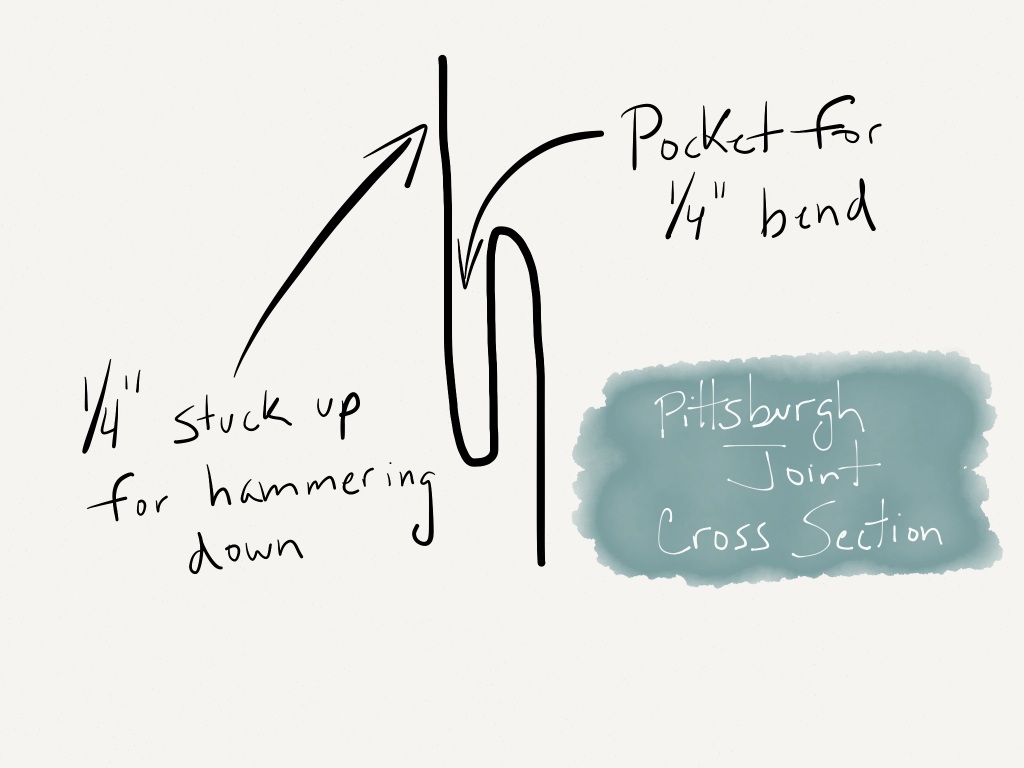
Before going any further we should probably chat about the anatomy of a section of trunk ductwork L-shapes. Each L-section has a 1/4" bend and a formed Pittsburgh bend. The 1/4" bend is just a simple 90 degree bend, formed with the brake and it's primary function is to fit inside the marrying Pittsburgh joint.
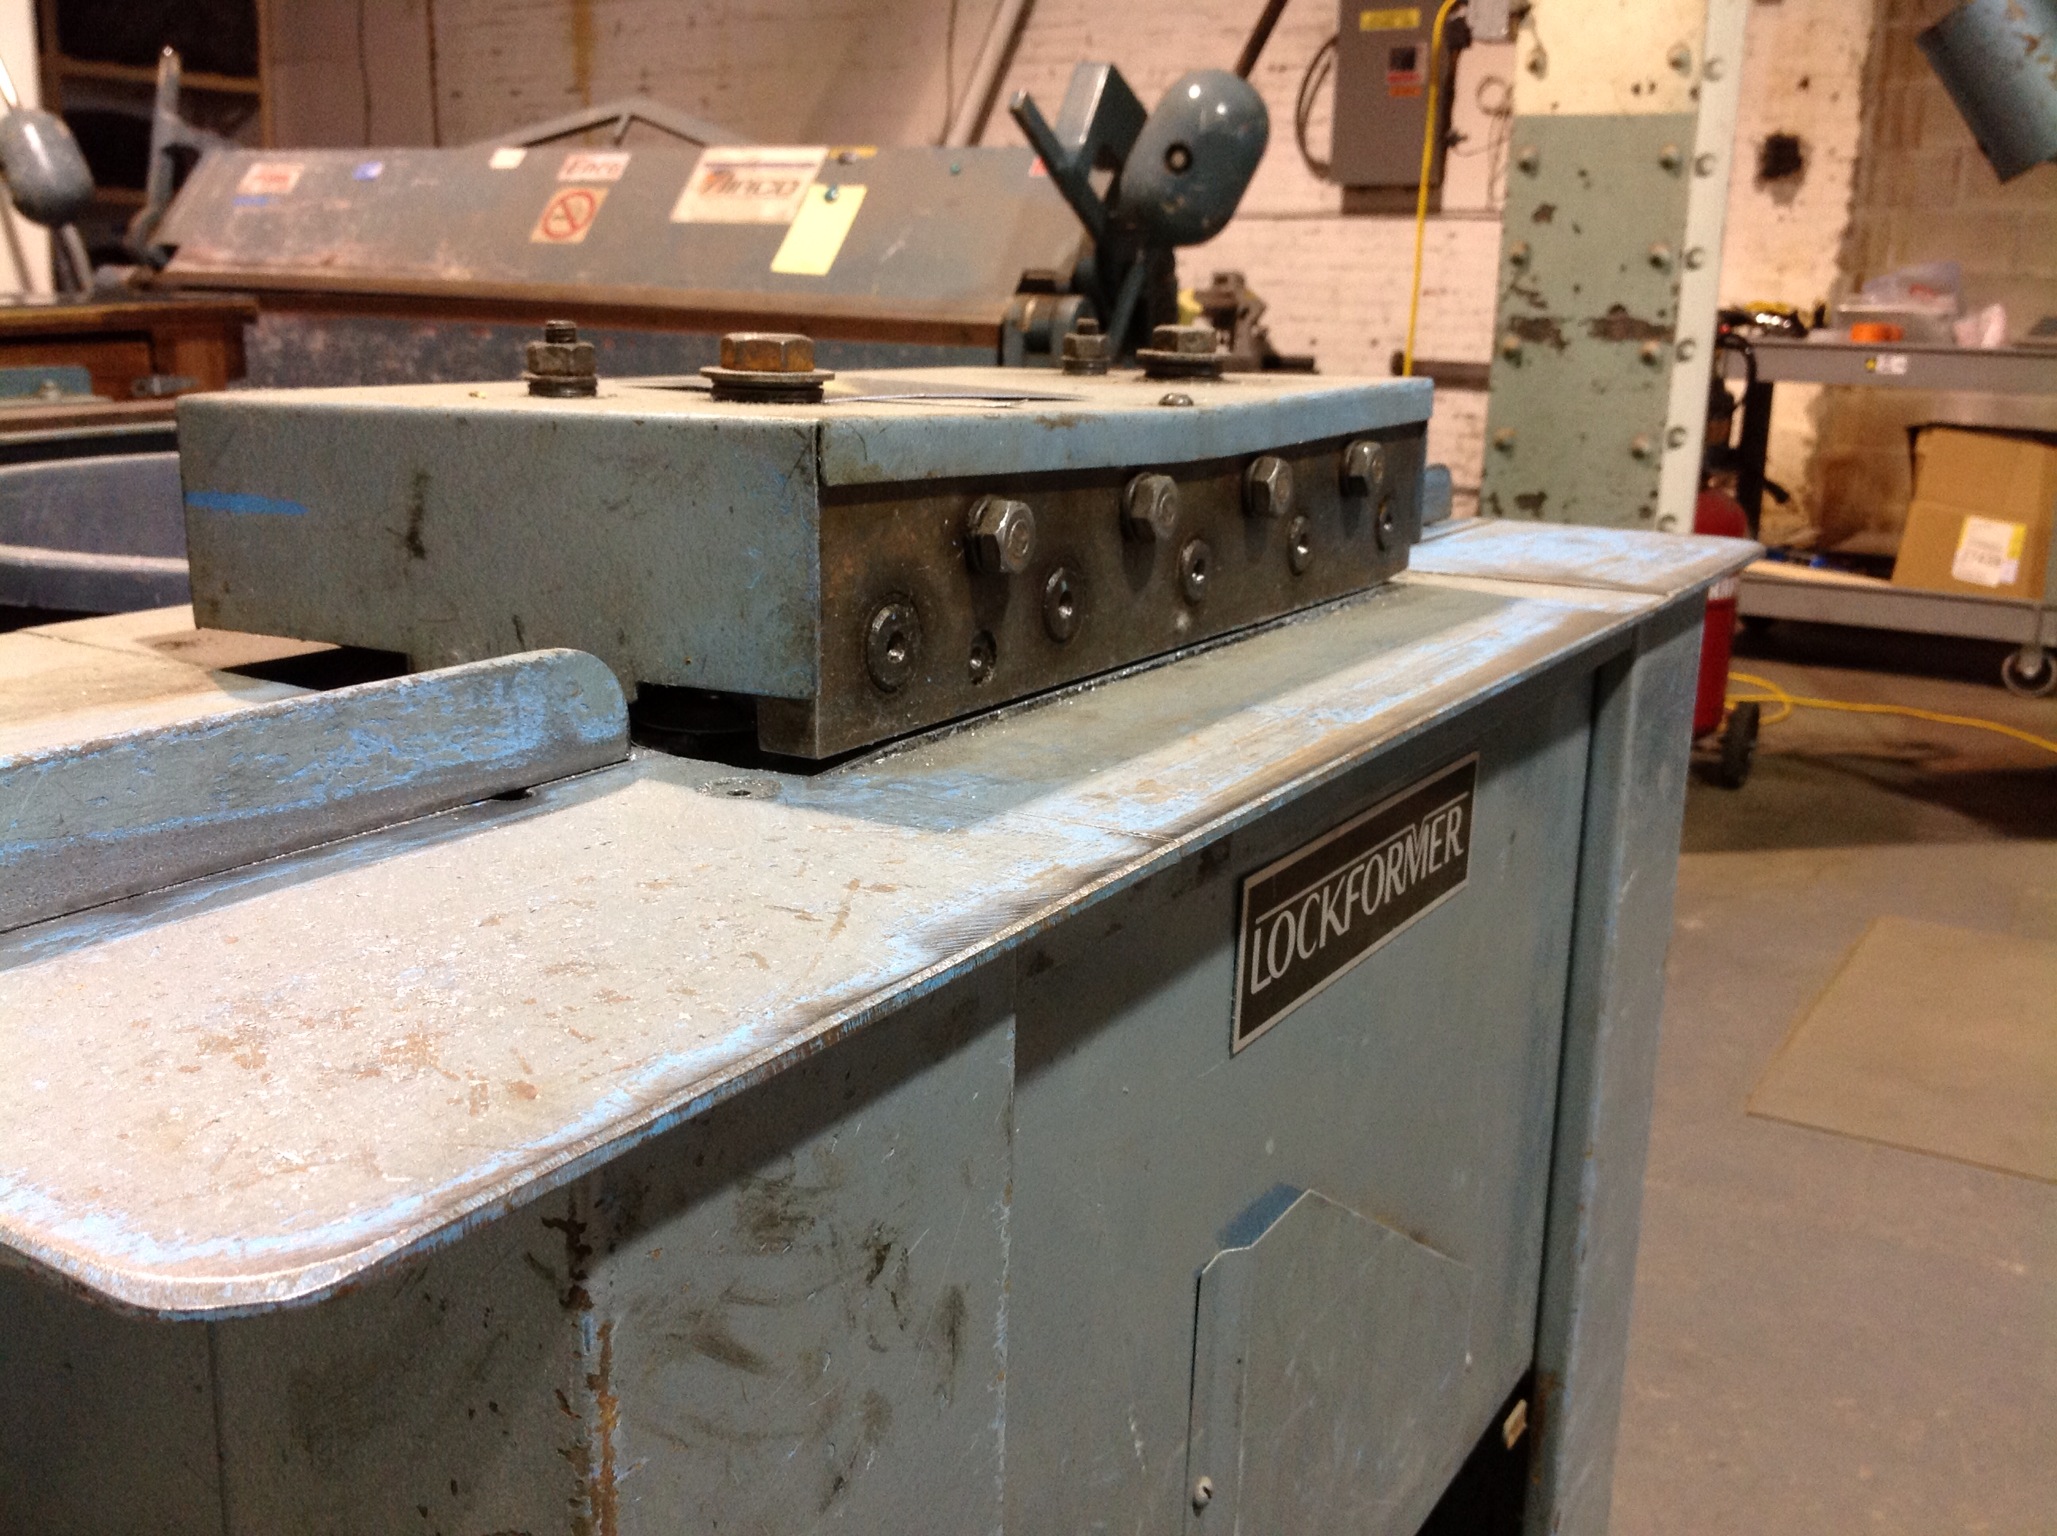
The Pittsburgh joint is made by hand feeding the flat metal--cut earlier--into what is called a Pittsburgh machine, hence the name. Building ductwork is almost impossible without one of these glorious machines. When the sheet metal is fed through the rollers, the machine creates a pocket with a 1/4" extension that will later be hammered over to form the lock that assembles the finished section of straight trunk ductwork.
Before we do either of the aforementioned bending and feeding, we place the flat sheet metal inside the jaw of our 8' wide manual hand brake to ever so slightly bend a crisscross pattern on the larger, 20" section of the flat sheet metal. After complete, we hand carry over to the Pittsburgh machine and feed the 1" notched, 48" long side through the machine rollers, making sure to keep the flat sheet metal against the fence fixated on the Pittsburgh machine to keep the sheet straight and true.
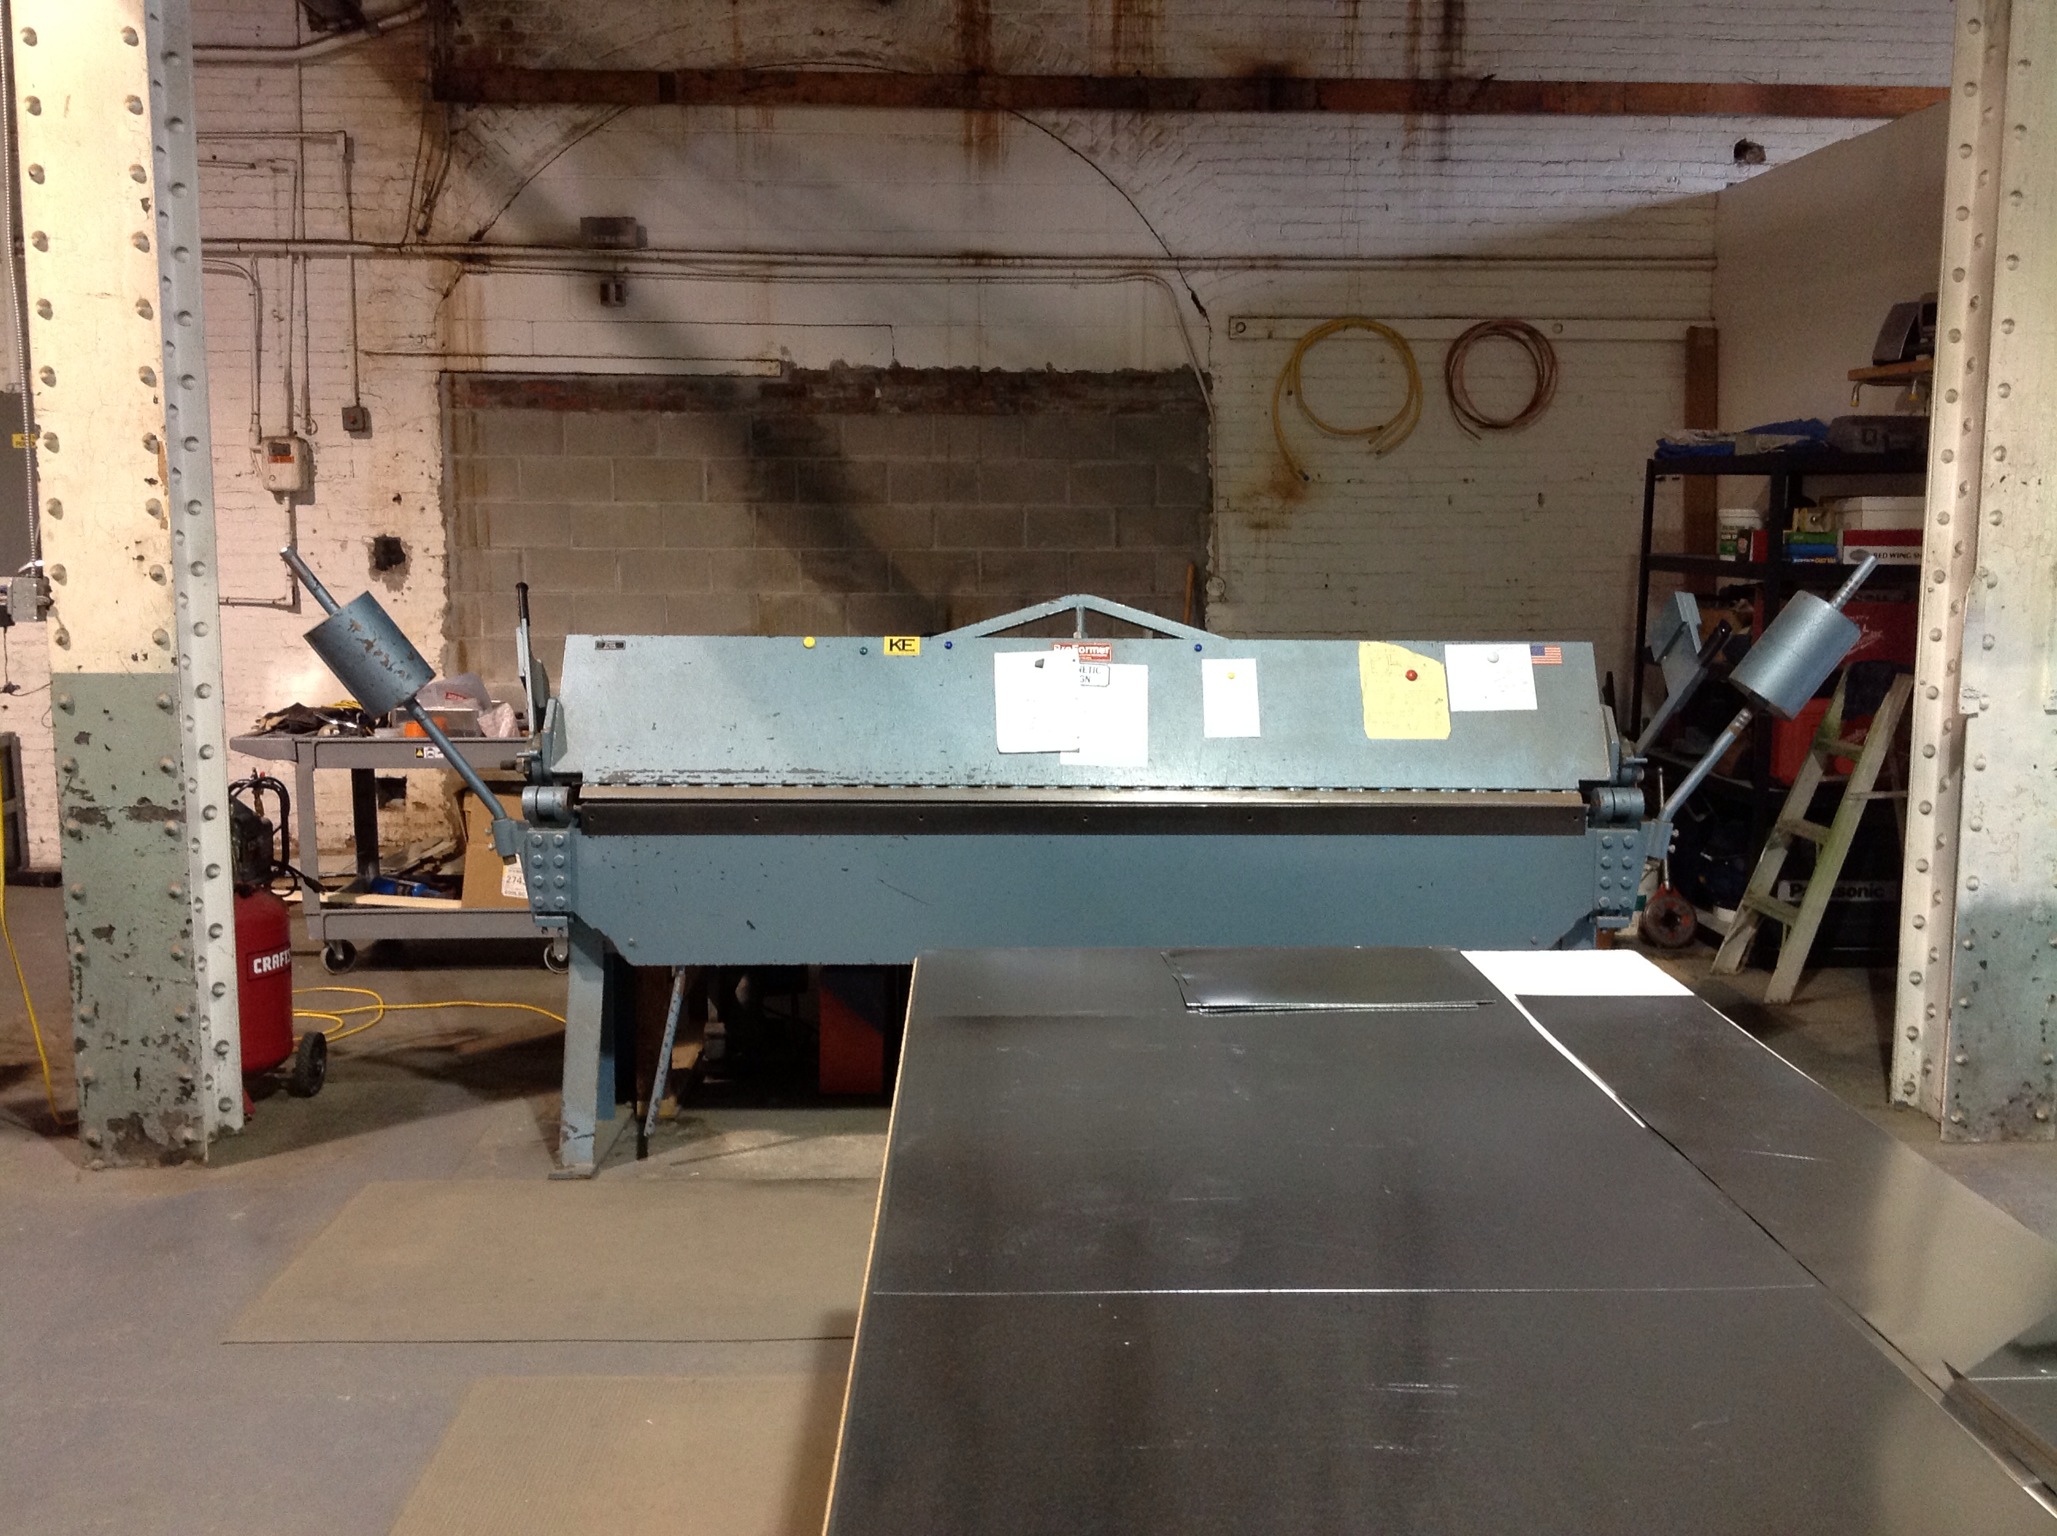
After the Pittsburgh joint is formed we go back over to the hand brake and line up the jaw with our 1/4" scribe'd line that is opposite the Pittsburgh joint. When all is aligned we hand bend and "brake" the sheet metal 90 degrees to form our 1/4" bend. The jaw is opened and we slide the sheet metal out to line up the line we formed in the first measuring process, aligning the jaw of the brake with the line we measured at 20 1/4". The brake is locked down by hand and another 90 degree bend is made to finish one half or L-shape of the complete section of straight trunk duct.
The process is repeated to create another L-shape so that we can finish our section of 20" x 8" x 48" straight trunk ductwork.
Why They Call Us Tin Knockers
The building ductwork process is not complete until we assemble both of our fabricated L-shape sections. The task is simple but time consuming and keeping with the handmade narrative, we use an 8oz. ball pein hammer to get the job done.
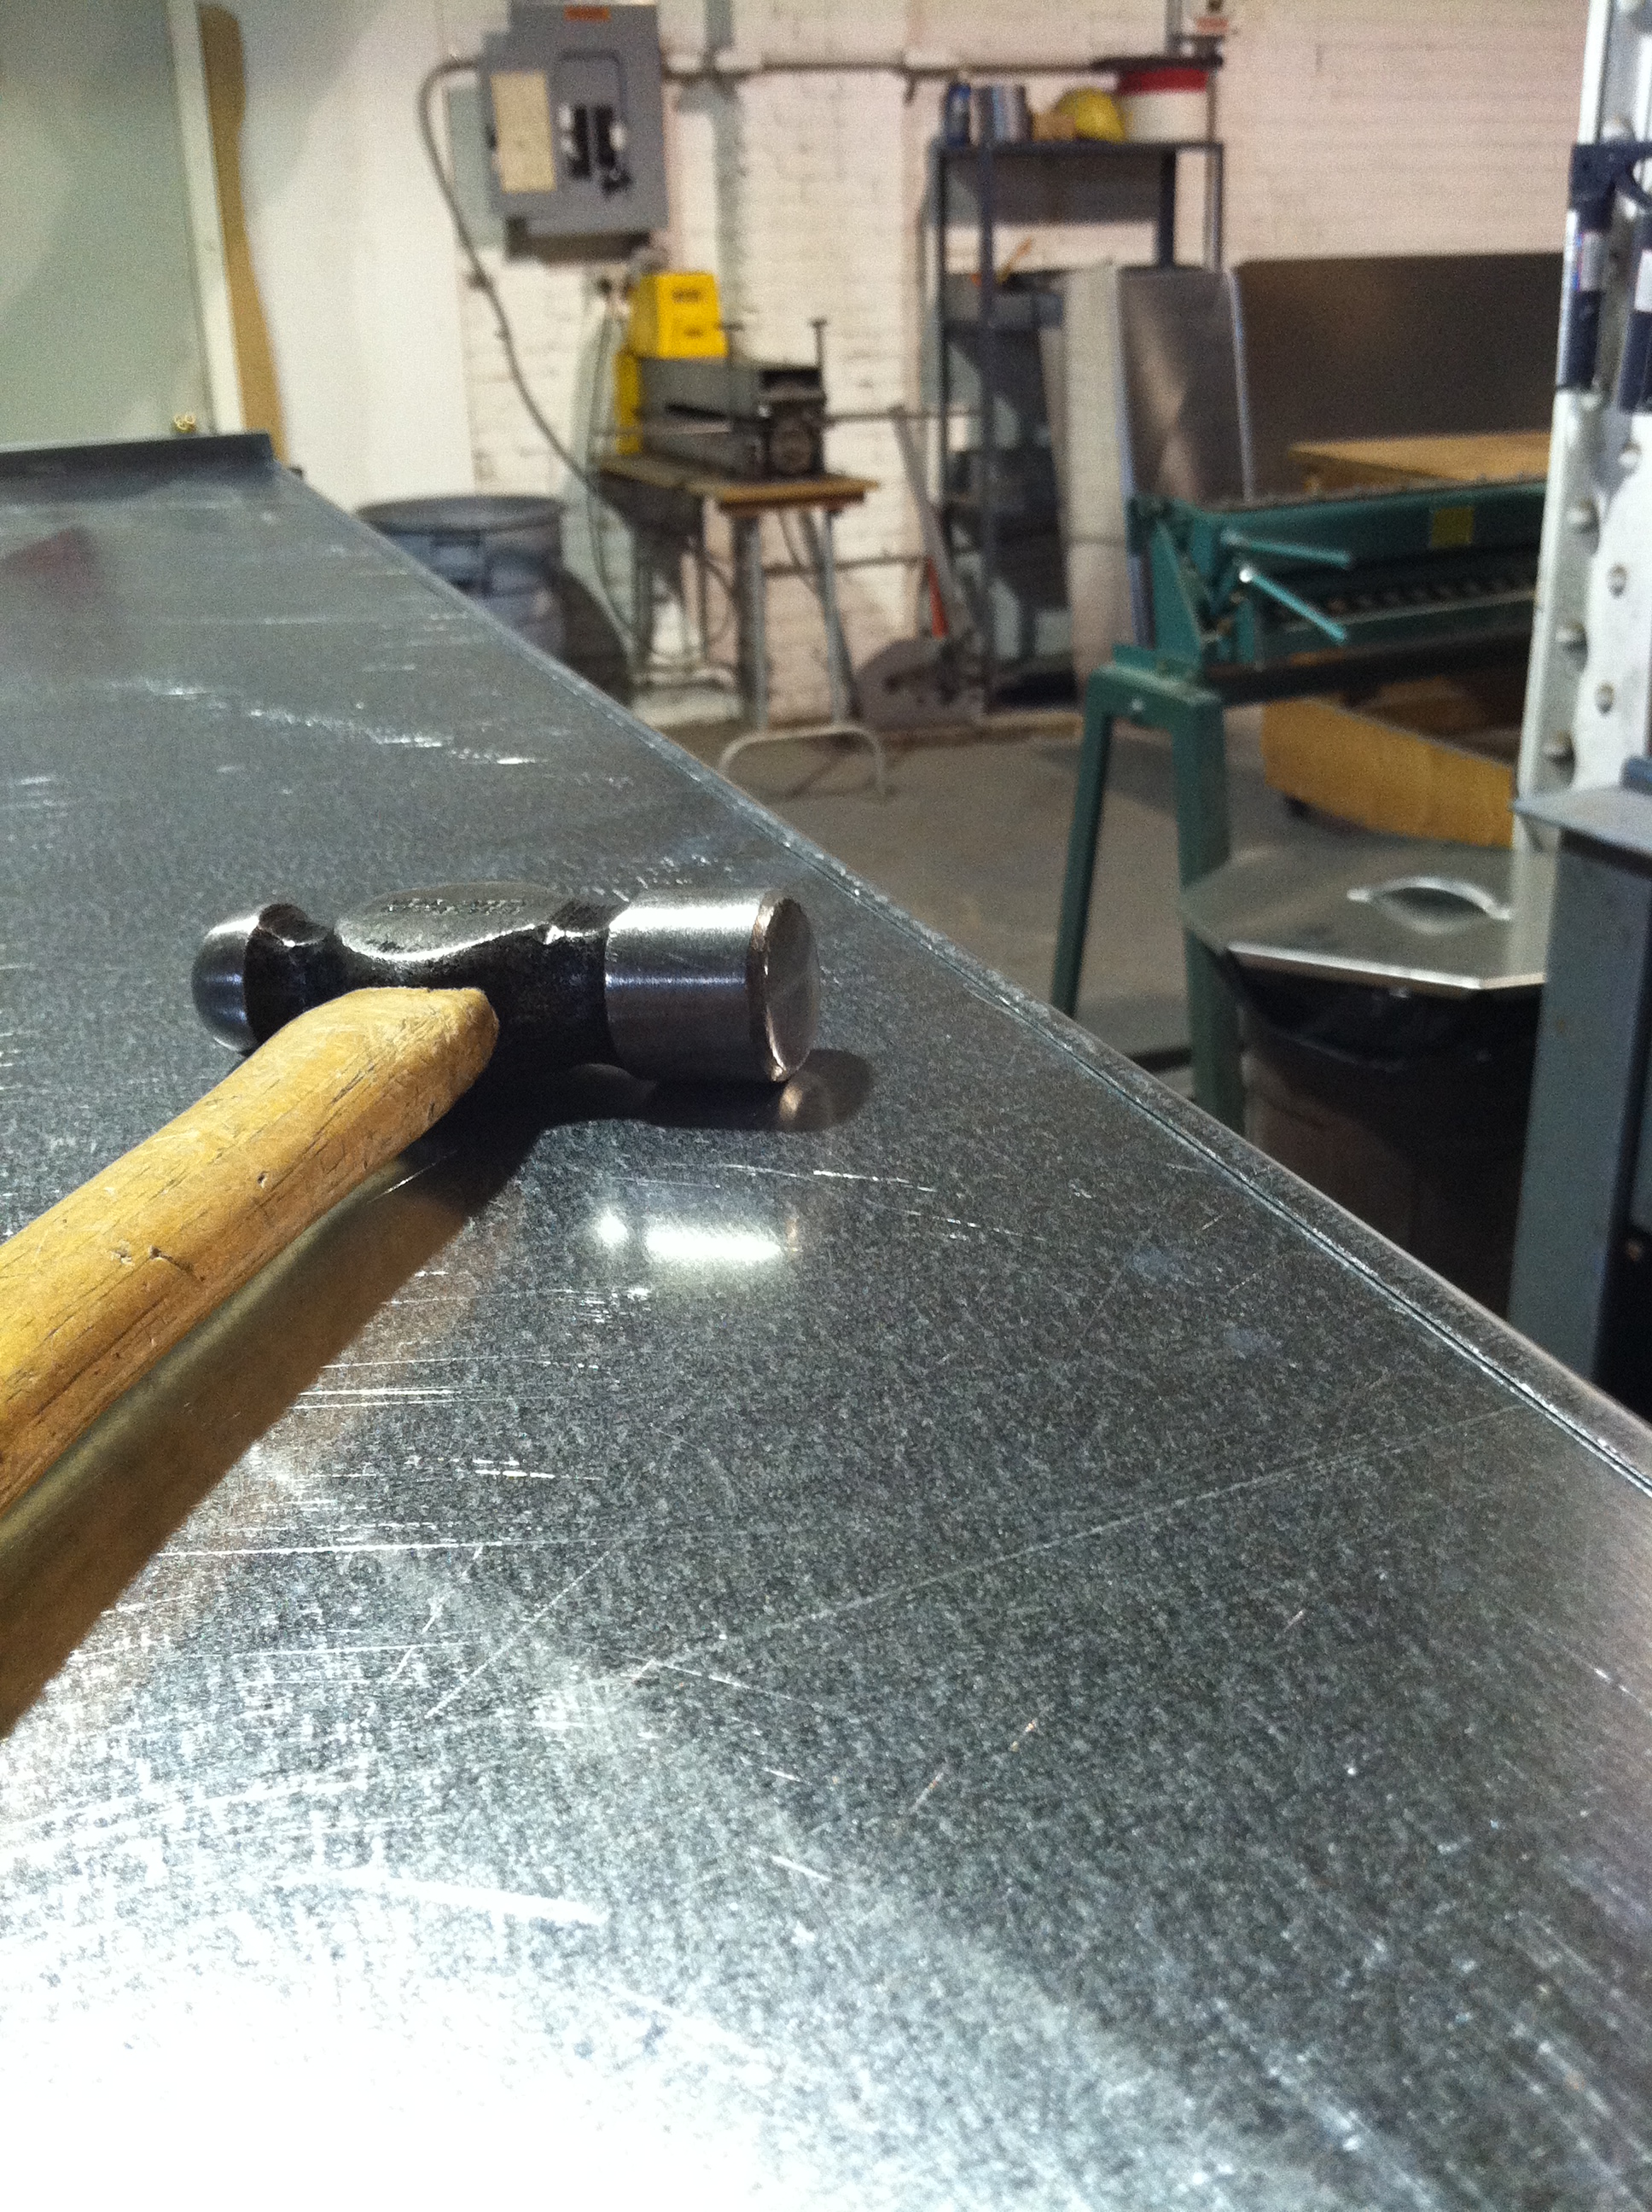
First, we place one L-shaped section of trunk duct on the fabrication bench, Pittsburgh joint up. Next, we flip the other half section, placing the the 1/4" male side into the female Pittsburgh joint pocket. You will be left with a 1/4" sticking straight up in the air. Now we take our hammer and pound over or knock down that 1/4" at a 90 degree angle to finish the Pittsburgh lock joint.
Finish the full section by flipping it over and repeating the latter directions, completing the assembly of a full straight 20" x 8" x 48" trunk ductwork section.
We have been building ductwork for over 20 years and the entire process described takes 10 minutes from beginning to end. Seems short, until an order of 80 to 100 feet of straight trunk ductwork hits the wires.
Clearly we don't actually fabricate the finished product completely with our bare hands. However, in an industry that looks for speed and efficiency like any other, finding a shop that fabricates completely like we do is rare.
Twenty years ago more shops like ours existed, building ductwork the same way we do, but have slowly been going extinct because of lower price and speed. Not being able to keep up with mass production and the lower price points has forced many small job shops out of business. We are still kickin', but there is a daily pressure, questioning what we need to do in order to keep existing business and make it last.
Pretty common in any industry I would imagine.
Three Must Have Hand Tools Every Fabrication Job Shop Needs
Must have hand tools are the backbone of our business and the methods by which we fabricate could be seen as archaic to some. Manually cutting, bending and hammering sheet metal to form metal duct and fittings that will reside in a local Glens Falls, NY area home or business. We take pride in the process by which we perform our trade. There are no computerized machines inside our fabrication shop, everything is produced with sheet metal forming hand tools, manually fed brakes, machinery and assembled with the force of human muscle and sweat. Part of this method is based on a dearth of funds for modern machinery and part the way by which my father and I learned the sheet metal fabrication trade. The intricacy of hand tools, bespoke notches and bends, each one different than the other to form the finished sheet metal duct and fittings.
There are three must have hand tools that I use on a daily basis and ones that should be first in your arsenal as a new or aspiring HVAC sheet metal fabricator.
1. Straight Pattern Tinners Snips

Today I realize the importance of a quality tool to perform my job and learned trade, make a living and trying to grow a micro-business in our local community. The straight pattern snips are my most used and important hand tool each and every work day. Honestly, without them I would be out of business. There are multiple pairs on the shop bench, a pair in my tool bag for outside fabrication work and even a pair in my garage for those home projects. As must have hand tools for sheet metal fabrication go, this one is the holy grail.
2. Adjustable Sheet Metal Scribe

The scribing process can be tedious, but necessary. From belt scribes to hand scribes, there are many different types you can use to get the necessary line for cutting and bending. I keep one on my belt (Belt Sheet Metal Scribe [Misc.]) and one on the bench for scribing marks when bending flanges, 1/4" marks for the male pittsburgh bend and much much more. The scribe is as important as the artists drafting pencil, easily making the must have hand tools list.
3. 3-Inch Offset Handle - HVAC Hand Seamer

For the entire 13 years I have worked for K & E we have not owned a box and pan brake for making many of those inside and flanged bends. Getting creative has been the only way to make the bending process easier and hand seamers are the number one must have hand tool to help that creative bending process. Whether in the sheet metal shop or on the job site, sheet metal bending hand seamers are a must have tool for any working or aspiring sheet metal fabricator.
Mine have been an extension of my arm for a long time, sometimes straight for those intense bends and angled for the harder to reach places on top of the duct line or bending out flanges on the sheet metal plenums. A must have.
A new tradesman never knows where to start when assembling a tool set for performing their craft. For the new sheet metal fabricator I would suggest these three must have hand tools to start any set of fabrication tools. There are many more that will be necessary to make the most of your sheet metal job shop, but this is a great place to begin the journey.
Want some more hand tool ideas or just want to replace some of those old sheet metal hand tools? Check out our online sheet metal tool shop.