
Your Custom Text Here
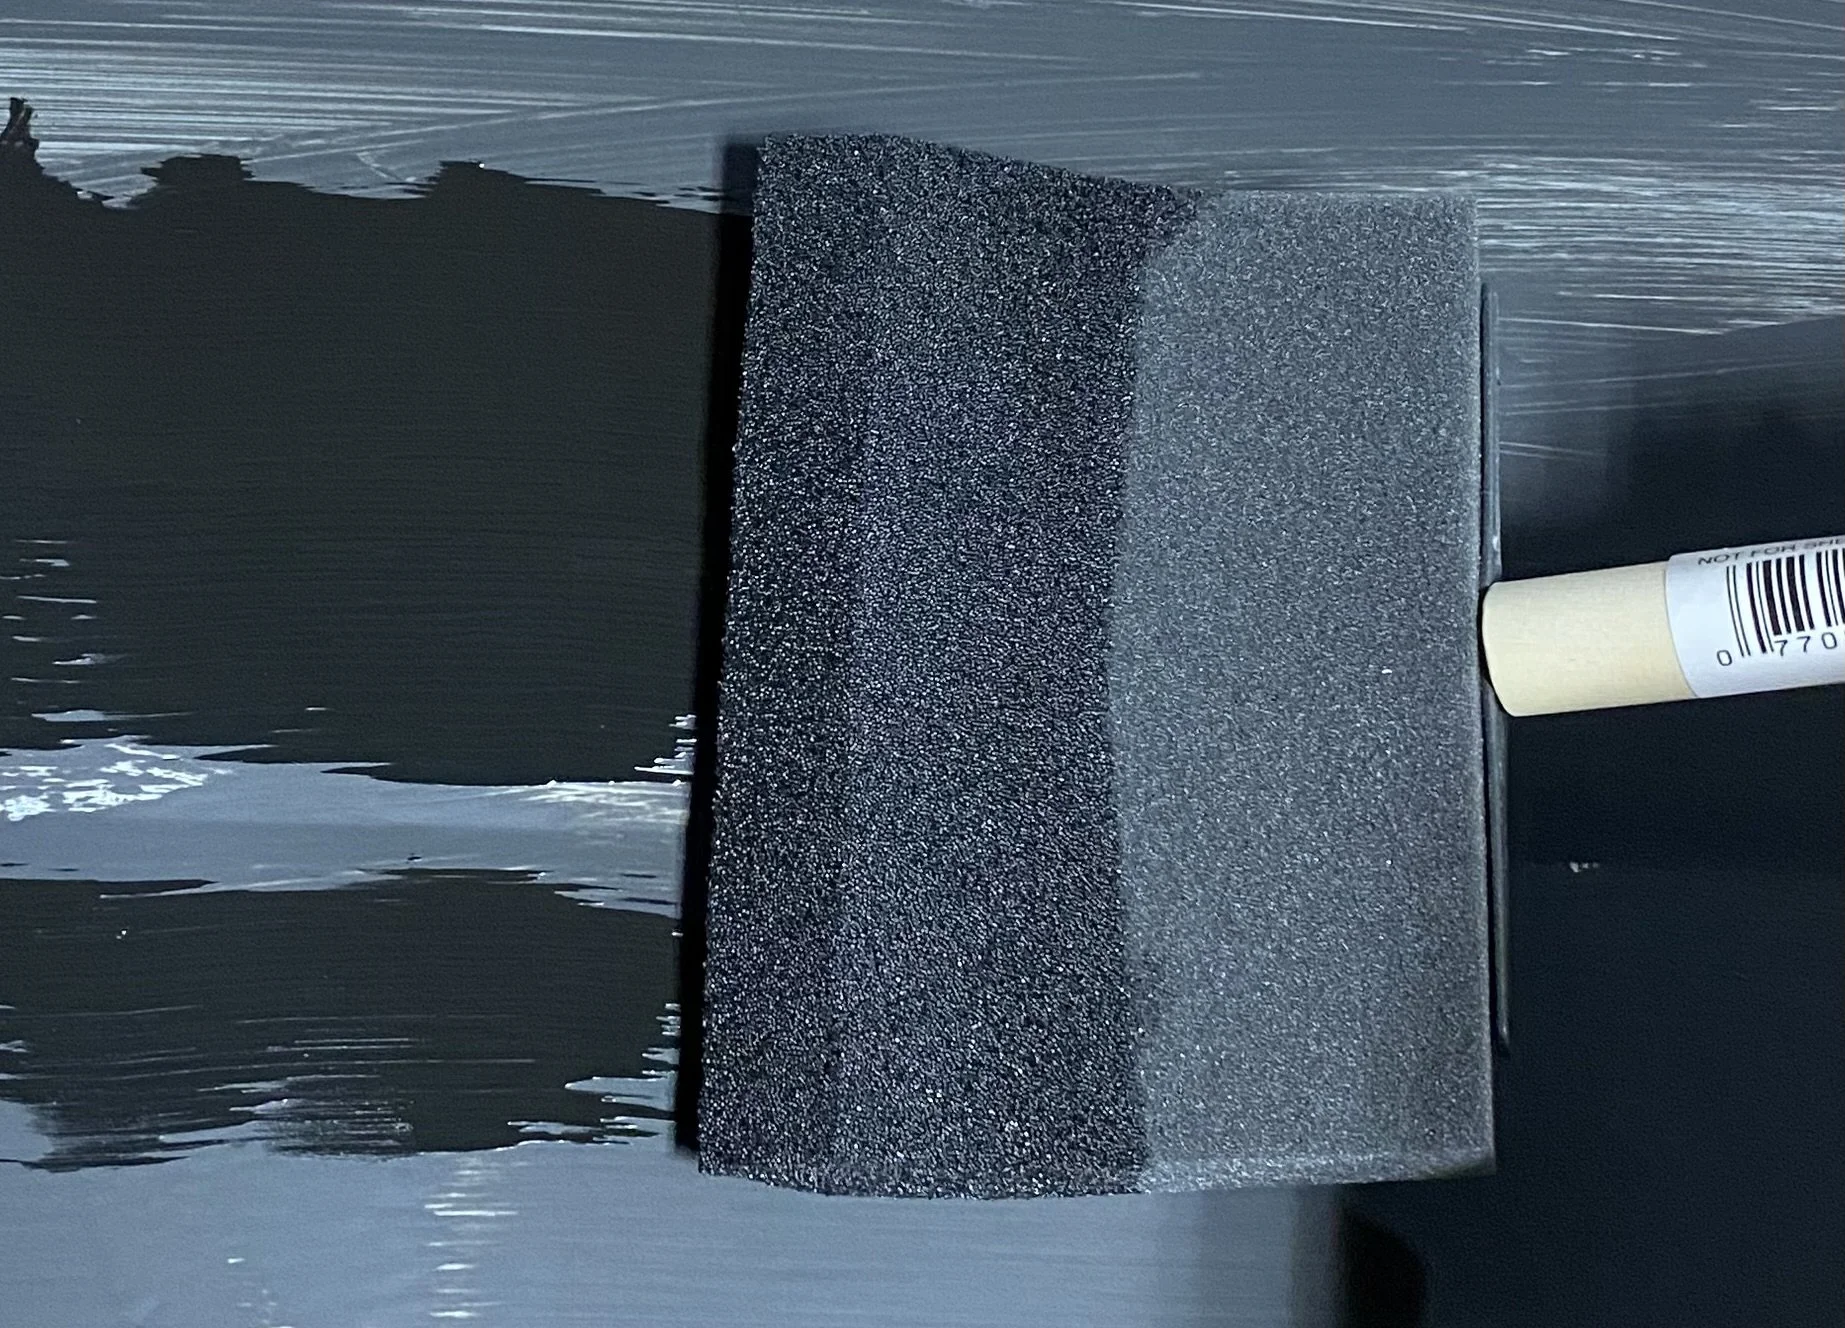
The Best Way to Paint Galvanized Metal
Painting galvanized metal requires some preparation to ensure proper adhesion and durability. Galvanized metal has a zinc coating to protect it from corrosion, but this coating can make it challenging for paint to adhere. Here's the best process:
1. Clean the Surface
Remove dirt and grease: Use a degreaser or soapy water to remove any oils, dirt, or grease from the surface. Rinse thoroughly and allow it to dry.
Eliminate white rust: If there is white rust (a chalky residue from the zinc), scrub it off with a wire brush or fine-grit sandpaper.
2. Scuff the Surface
Use fine sandpaper (120–150 grit) or a scuff pad to lightly roughen the surface. This helps the primer and paint adhere better.
Wipe down the surface with a clean, damp cloth to remove sanding dust.
3. Choose the Right Primer
Use a primer specifically designed for galvanized metal, such as a zinc-rich or self-etching primer. These primers adhere well to zinc-coated surfaces and create a good base for paint.
Apply the primer in thin, even coats according to the manufacturer’s instructions. Allow it to dry completely.
4. Select the Proper Paint
Opt for an acrylic latex paint or a paint specifically formulated for galvanized metal. Avoid alkyd- or oil-based paints unless they are explicitly labeled for galvanized surfaces, as these can react poorly with the zinc coating.
5. Paint Application
Apply the paint using a brush, roller, or spray, depending on the size and shape of the surface.
Use thin, even coats and let each coat dry completely before applying the next one. Typically, two coats are sufficient for full coverage.
6. Cure and Protect
Allow the paint to cure fully before subjecting the surface to heavy use or outdoor elements.
For additional protection, you can apply a clear sealant or topcoat if needed.
Tips:
New galvanized metal: If the metal is newly galvanized, it may have a shiny surface that makes adhesion difficult. Let it weather for a few weeks or use a vinegar solution (1:1 vinegar and water) to etch the surface before priming.
Test adhesion: Before painting a large area, test the primer and paint on a small, inconspicuous spot to ensure they adhere well.
Following these steps will ensure your painted galvanized metal is durable and looks great for years.
Custom Galvanized Sheet Metal Ash Box
The benefit of our fabrication shop is the ability to fabricate small numbers of custom projects for a range of products. Our main focus being HVAC custom ductwork and fittings, but we fabricate a lot of specialty items for many of our customers.
Last week I received a request through our website for a custom 15" x 15" x 15" ash box with a sliding top cover.
The benefit of our fabrication shop is the ability to fabricate small numbers of custom projects for a range of products. Our main focus being HVAC custom ductwork and fittings, but we fabricate a lot of specialty items for many of our customers.
Last week I received a request through our website for a custom 15" x 15" x 15" ash box with a sliding top cover. For some reason my immediate thought was urn or something like it. However, I was completely wrong, the customer was only looking for a box to rake old ash and embers from an outdoor grilling station.
I had a tiny idea of what he might be talking about, growing up in a house with a wood stove and many family members with the same. Nevertheless, asking for any documentation or drawings is always worth asking. I emailed a request for a picture or something he could draw to give me a starting point. Surprising to me, he had a picture of exactly what he needed.
Receiving a quality photo of what the customer needs is rare, with me usually coming up with something on the fly or deciphering a crude drawing on a scrap sheet of paper. This is a rare and extremely beneficial occasion.

The customer requested I do my best to keep it as waterproof as possible because the box would reside outside most of the time. My goal was to keep the simplicity of the box he had sent me thereby keeping the cost down. Needless to say this was not the most difficult of fabrications, but that doesn't mean I don't keep all customer requests in mind and do my best with each order.
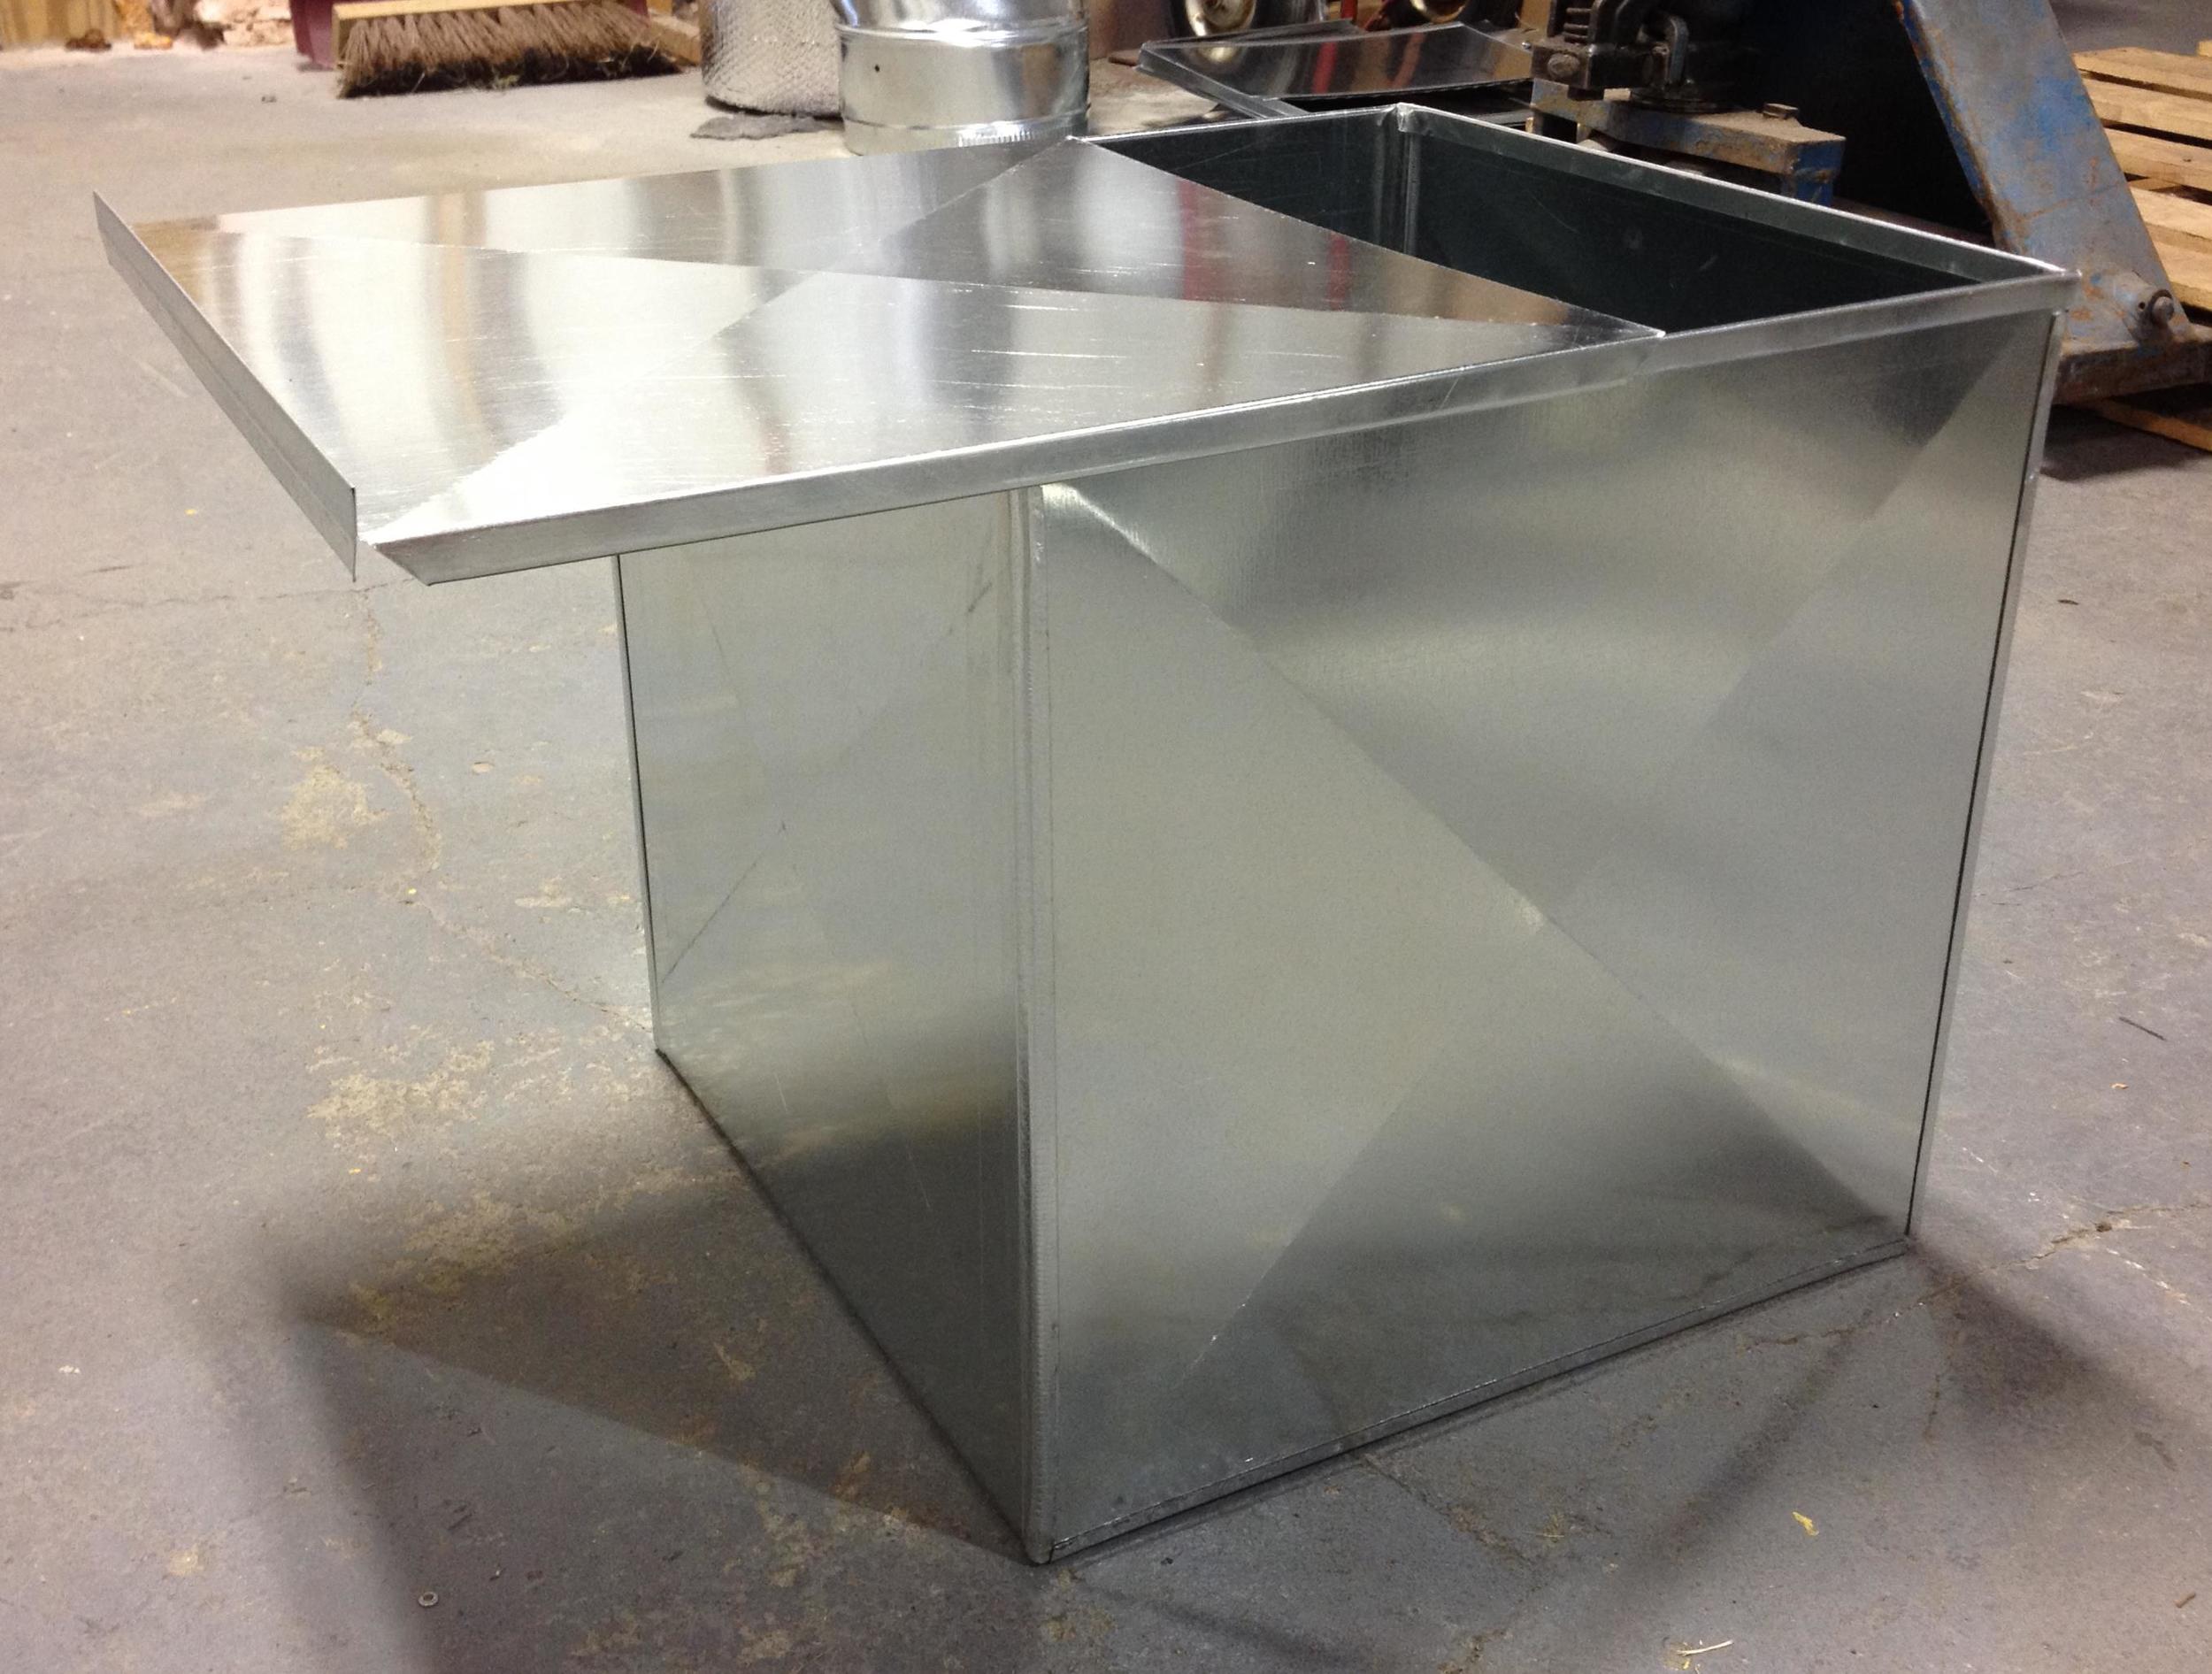
I got to work and basically made the same box with a few minor adjustments to the original design with the biggest one being to the sliding cover. The extended handle was unnecessary, so I simply rolled a hem flange up with a 1/2" extension down to help keep any water from running down inside the box. You can see this depicted in one of the photos below.
The finished box is not completely waterproof mind you, but any chance to keep water out is a good thing and something I kept in mind. Hence the cross break on the cover, helping runoff of any water, keeping it from pooling on the top. There is also a 1/4" extension at the opposite end of the cover to help with water drainage.


My goal with any customer is to make sure they get what they're paying for no matter how simple the request may be. It's always fun to fabricate the more intricate items, but the simple pieces are the ones people remember because they usually solve a simple problem. Every customer is important.
Plus, they're the first ones to promote you when things come up in conversation.