5 Venting Issues When Installing Your New Built in Microwave

Are you installing a new built in microwave for the first time? Before you rip the box open, take a minute to make sure you have checked out the area where you will be installing the microwave first. Over the years I have helped many customers who have entered the fabrication shop looking for duct fittings needed to vent their brand new microwave oven.

Here are five of the most common venting issues they have conveyed to me.


Read more

How to Assemble a Pittsburgh Seam for Sheet Metal Plenums

Have you gone to your local HVAC supply house to buy a plenum with a Pittsburgh seam that was not assembled? If you are an HVAC professional or do-it-yourselfer, more than likely you have. The purpose of this short tutorial is to show how to assemble a Pittsburgh seam in a few simple steps, with a couple simple tools.

Read more

Custom Duct Transitions For AC Coil

Installing a new AC coil

There are times when installing a new AC coil to existing duct work can be simple and times when the task can be difficult. Usually you can get the proper cased AC coil for the furnace you are installing and either easily transition the duct to the existing duct line or you can have a custom plenum made fitting the coil to the furnace.  

Then there are times when you need to transition from your furnace to the size of the uncased AC coil and then back again to the custom size of your existing duct work. When this happens your first call should be to us, K & E Sheet Metal, because this is exactly why we exist. Custom plenums and transitions are our specialty :)

Read more

Building Ductwork With Your Hands

Well, we don't go about building ductwork completely with our hands, but when it comes to fabricating a section of trunk duct for installation, our method is as close to handmade as one might get. Most of the mass produced sections of trunk ductwork and duct fittings are fabricated by machines with giant coils of sheet metal that are mechanically fed. Many of the laborers in these shops are there to monitor and assemble the sections or pieces as they come off the line.

Here at K & E Sheet Metal, building ductwork is a little different. The steps we use to fabricate a section of straight trunk ductwork are old school to most of the fabricators you will come across these days.

So where does the whole process start?

Bingo! You guessed it...

Flat_Galvanized_Sheet_Metal

We start with a sheet of metal. Our shop is equipped with 26 gauge galvanized sheets of metal that we keep on two separate benches in the shop. For this example we will be using a 48" x 96" sheet of 26 gauge galvanized sheet metal that we have placed on our bench of the same size.

All of our galvanized sheet metal is shipped from the Albany, NY area and needs to be unloaded by hand when it gets to our fabrication shop. We have a table that can be rolled to the front of the shop for unloading, then rolled to each of our tables where it is again, hand distributed to each.

Once the sheets of metal are situated evenly on the tables we can start the process of building ductwork needed for installation.

Hand Tools of The Trade

Sheet_Metal_Hand_Tools

No one is ignorant enough to think we can actually cut the sheets of metal with our hands, so obviously some tools are needed to help with this task. For our shop, we use straight cut tin snips for the long cuts, across the metal to cut out flat sheet that will form each L-shape of straight trunk ductwork. If the section was an 20" x 8" x 48" section, we would measure over 20" plus 1/4" for the larger and then from that newly formed line we measure over 9" to  complete the pattern for a half section of straight trunk ductwork.

Why the added 1/4" and 1" you may ask? Well, the 1/4" added to the 20" measurement is for a 1/4" ninety degree bend with our 8' wide manual hand brake and the 1" added to the 8" measurement is for the process of a formed Pittsburgh joint. We will get to both these processes as the post progresses.

We mark the lines necessary in this process with a scribe or awl that etches a fine mark for cutting with the straight tin snips. Once our lines are formed, we make our cut on the second mark that we made because this will eventually be formed into an L-shape of custom straight trunk ductwork. Cutting on the line is crucial and comes with much practice, not to mention building the forearm muscle for making the cuts day after day.

After the main blank of flat sheet metal is cut we can now mark the corners for notching with the proper aviator snips and hand notching tool. The top and bottom of the flat sheet receive a 1" etched scribe all the way across, while the longer, 48" sides get a 1/4" etched scribe on the left side and a 1" etched scribe on the right. After marks are made, each corner and center line--the 20 1/4" mark--are notched for proper loading into the brake and Pittsburgh forming machines.

Rise of The Machines

Our business can be trying enough because we continue to fabricate with an older method. However, the task would be almost impossible if we bent and riveted the straight trunk ductwork with hand tools. Because we are running a business, getting the product to our customers as quick as possible is still a priority, so the rise of some simple machinery is paramount.

Pittsburgh_Cross_Section

Before going any further we should probably chat about the anatomy of a section of trunk ductwork L-shapes. Each L-section has a 1/4" bend and a formed Pittsburgh bend. The 1/4" bend is just a simple 90 degree bend, formed with the brake and it's primary function is to fit inside the marrying Pittsburgh joint.

Pittsburgh_Machine
Pittsburgh_Machine

The Pittsburgh joint is made by hand feeding the flat metal--cut earlier--into what is called a Pittsburgh machine, hence the name. Building ductwork is almost impossible without one of these glorious machines. When the sheet metal is fed through the rollers, the machine creates a pocket with a 1/4" extension that will later be hammered over to form the lock that assembles the finished section of straight trunk ductwork.

Before we do either of the aforementioned bending and feeding, we place the flat sheet metal inside the jaw of our 8' wide manual hand brake to ever so slightly bend a crisscross pattern on the larger, 20" section of the flat sheet metal. After complete, we hand carry over to the Pittsburgh machine and feed the 1" notched, 48" long side through the machine rollers, making sure to keep the flat sheet metal against the fence fixated on the Pittsburgh machine to keep the sheet straight and true.

Brake
Brake

After the Pittsburgh joint is formed we go back over to the hand brake and line up the jaw with our 1/4" scribe'd line that is opposite the Pittsburgh joint. When all is aligned we hand bend and "brake" the sheet metal 90 degrees to form our 1/4" bend. The jaw is opened and we slide the sheet metal out to line up the line we formed in the first measuring process, aligning the jaw of the brake with the line we measured at 20 1/4". The brake is locked down by hand and another 90 degree bend is made to finish one half or L-shape of the complete section of straight trunk duct.

The process is repeated to create another L-shape so that we can finish our section of 20" x 8" x 48" straight trunk ductwork.

Why They Call Us Tin Knockers

The building ductwork process is not complete until we assemble both of our fabricated L-shape sections. The task is simple but time consuming and keeping with the handmade narrative, we use an 8oz. ball pein hammer to get the job done.

Pittsburgh_Hammer_Lock

First, we place one L-shaped section of trunk duct on the fabrication bench, Pittsburgh joint up. Next, we flip the other half section, placing the the 1/4" male side into the female Pittsburgh joint pocket. You will be left with a 1/4" sticking straight up in the air. Now we take our hammer and pound over or knock down that 1/4" at a 90 degree angle to finish the Pittsburgh lock joint.

Finish the full section by flipping it over and repeating the latter directions, completing the assembly of a full straight 20" x 8" x 48" trunk ductwork section.

We have been building ductwork for over 20 years and the entire process described takes 10 minutes from beginning to end. Seems short, until an order of 80 to 100 feet of straight trunk ductwork hits the wires.

Clearly we don't actually fabricate the finished product completely with our bare hands. However, in an industry that looks for speed and efficiency like any other, finding a shop that fabricates completely like we do is rare.

Twenty years ago more shops like ours existed, building ductwork the same way we do, but have slowly been going extinct because of lower price and speed. Not being able to keep up with mass production and the lower price points has forced many small job shops out of business. We are still kickin', but there is a daily pressure, questioning what we need to do in order to keep existing business and make it last.

Pretty common in any industry I would imagine.

Three Must Have Hand Tools Every Fabrication Job Shop Needs

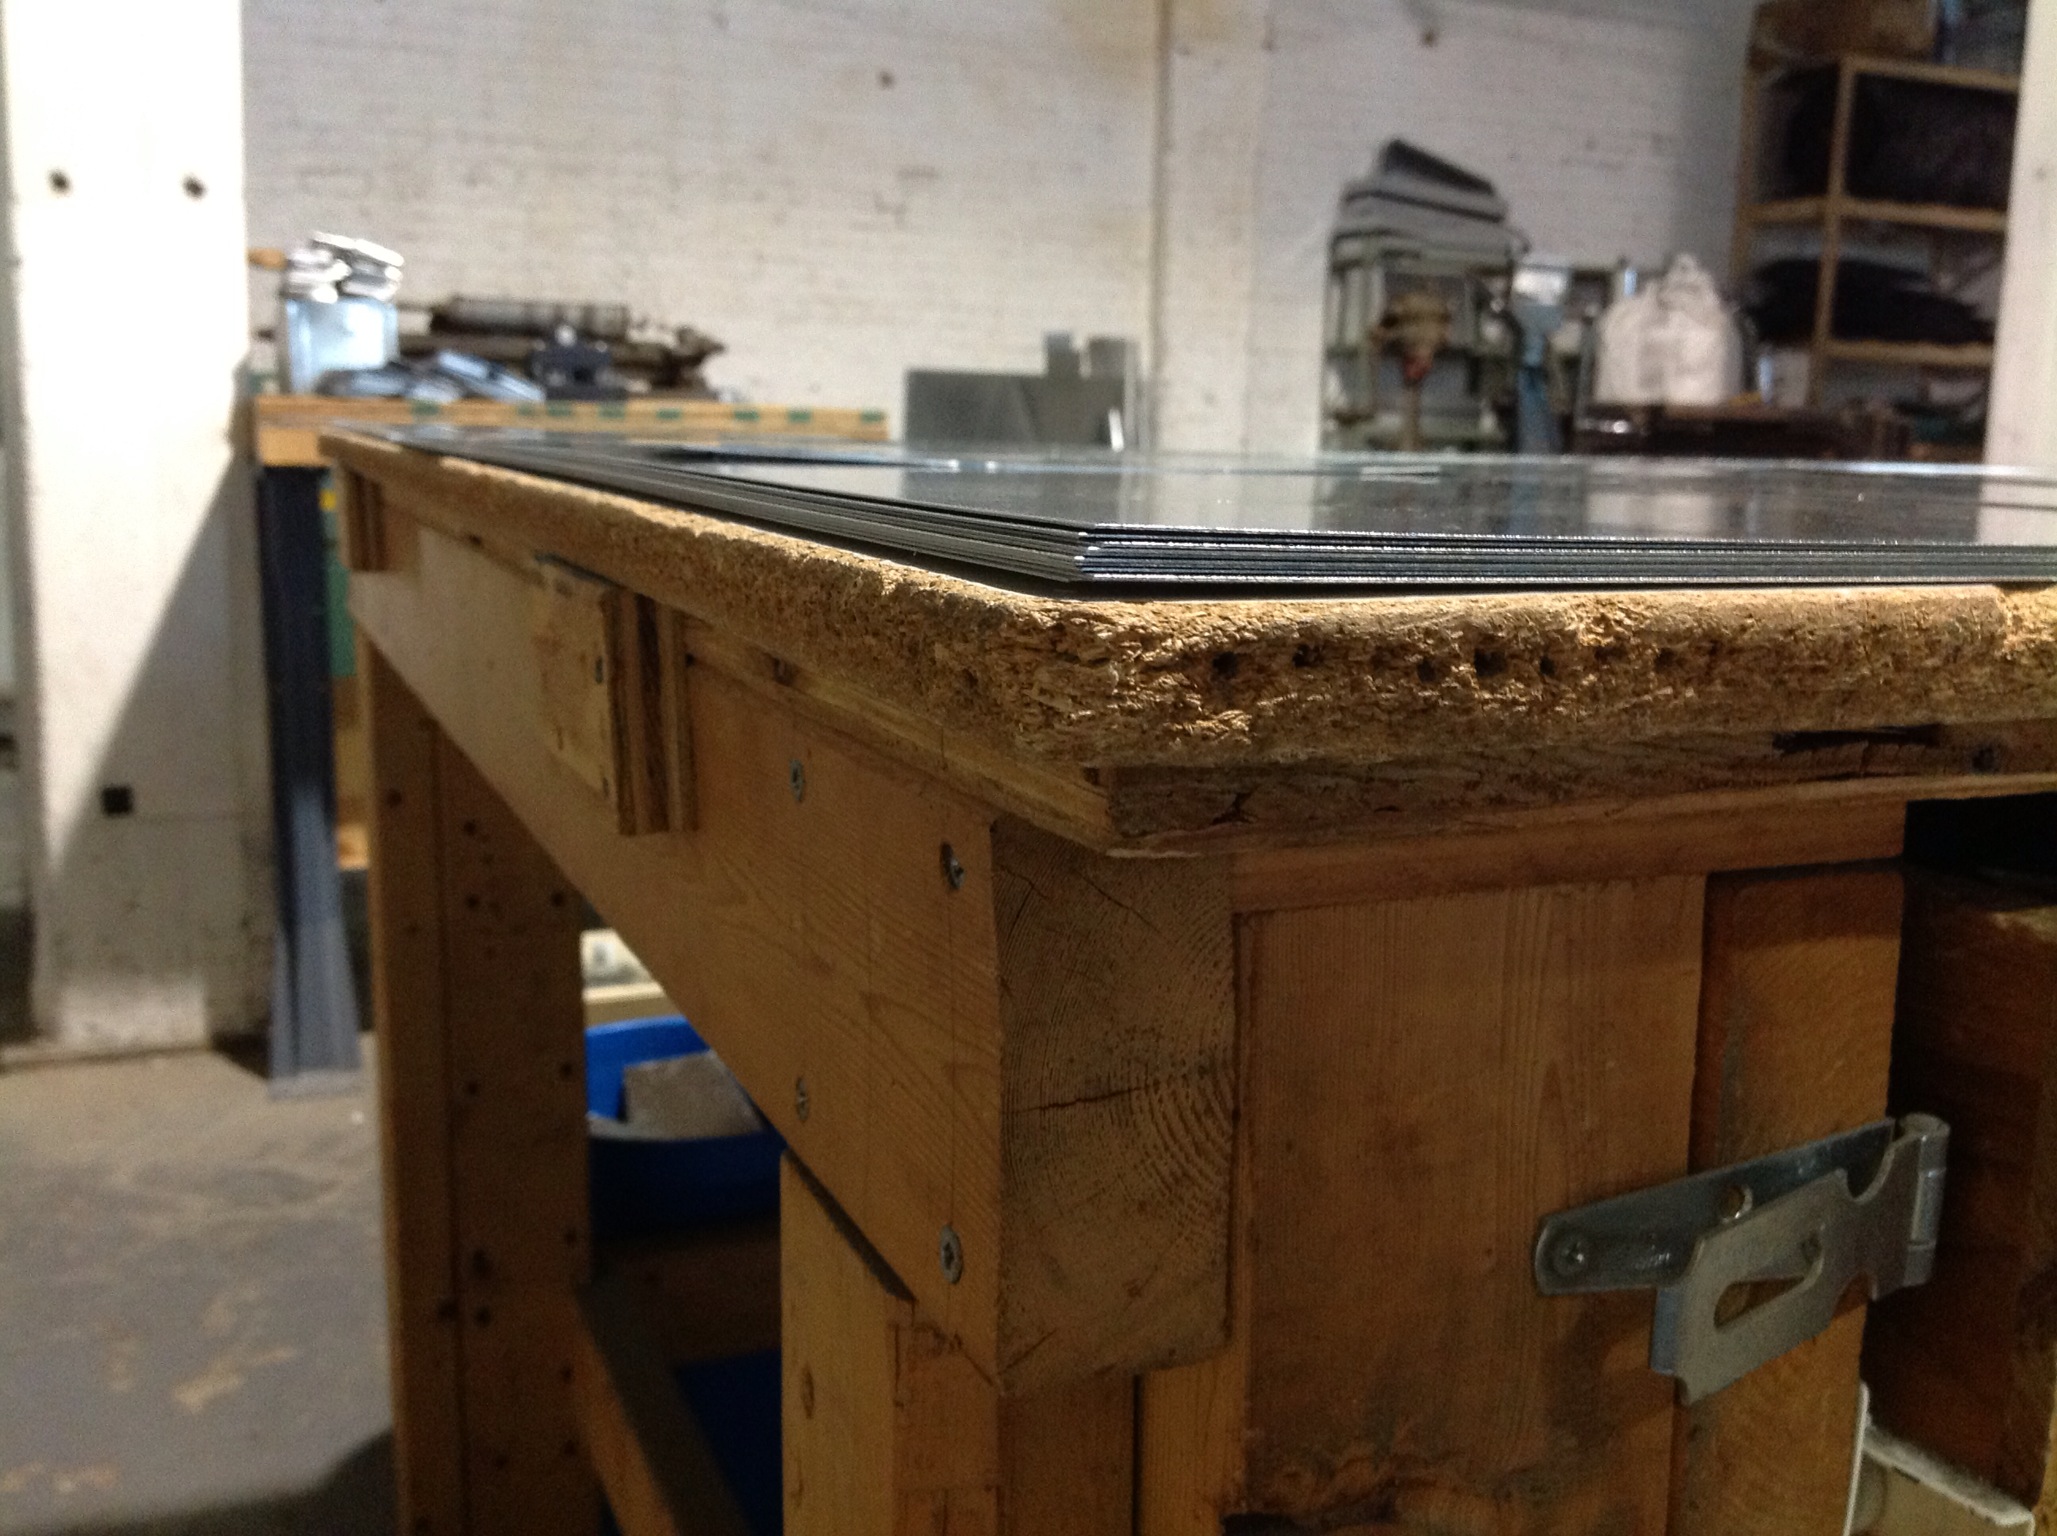
Must have hand tools are the backbone of our business and the methods by which we fabricate could be seen as archaic to some. Manually cutting, bending and hammering sheet metal to form metal duct and fittings that will reside in a local Glens Falls, NY area home or business. We take pride in the process by which we perform our trade. 
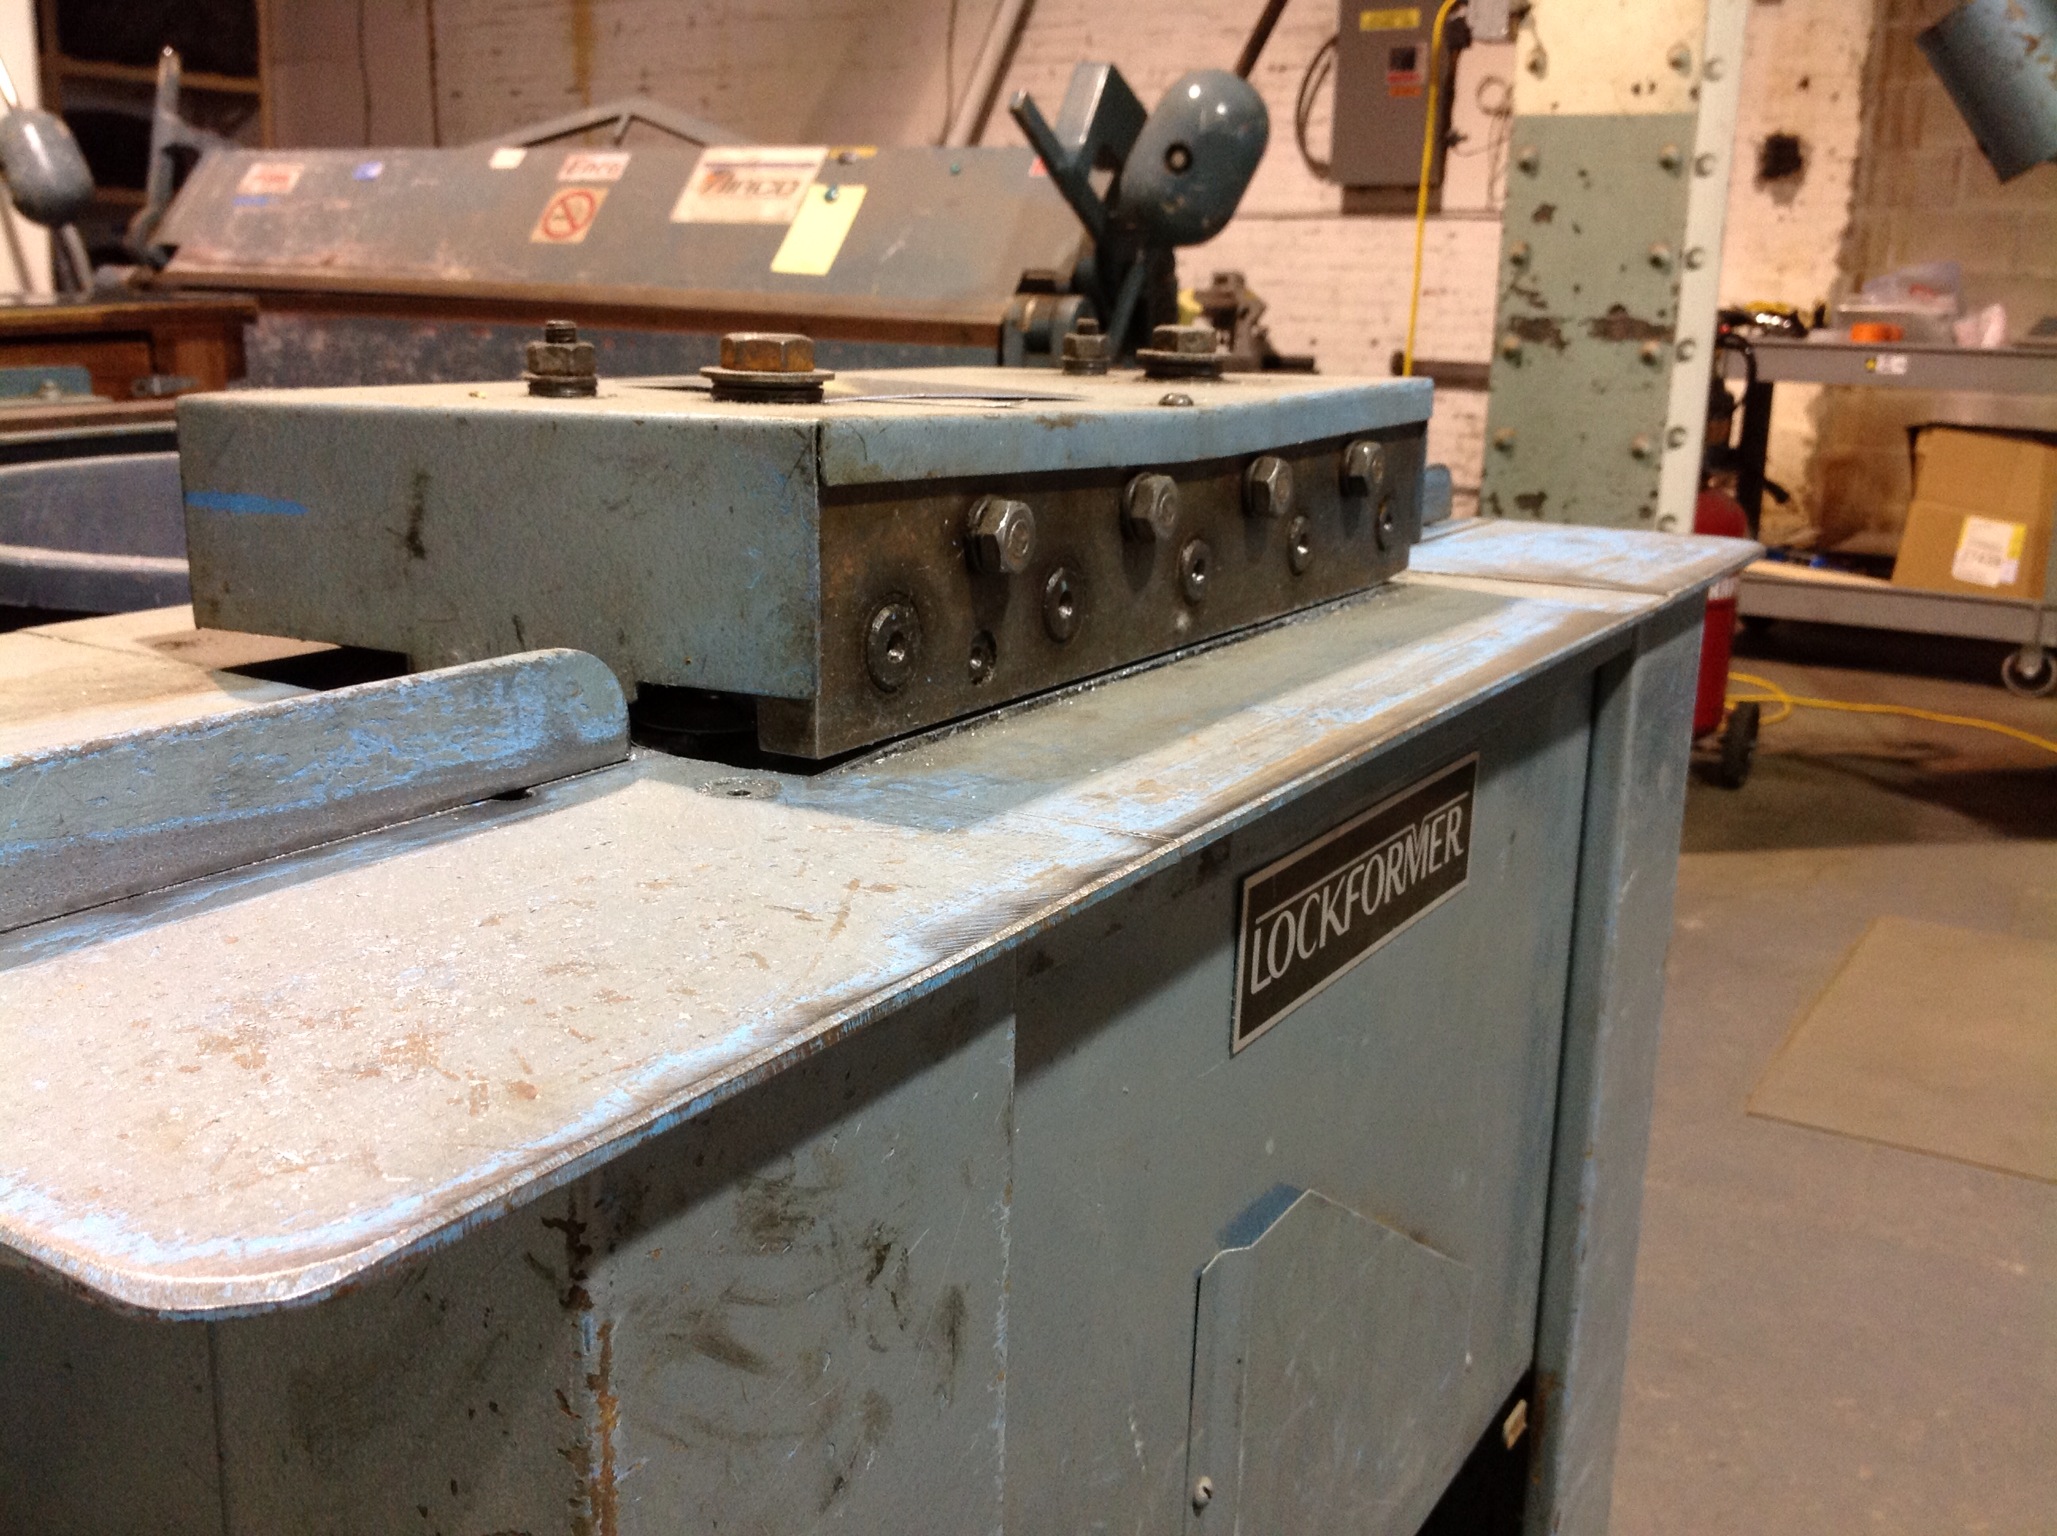
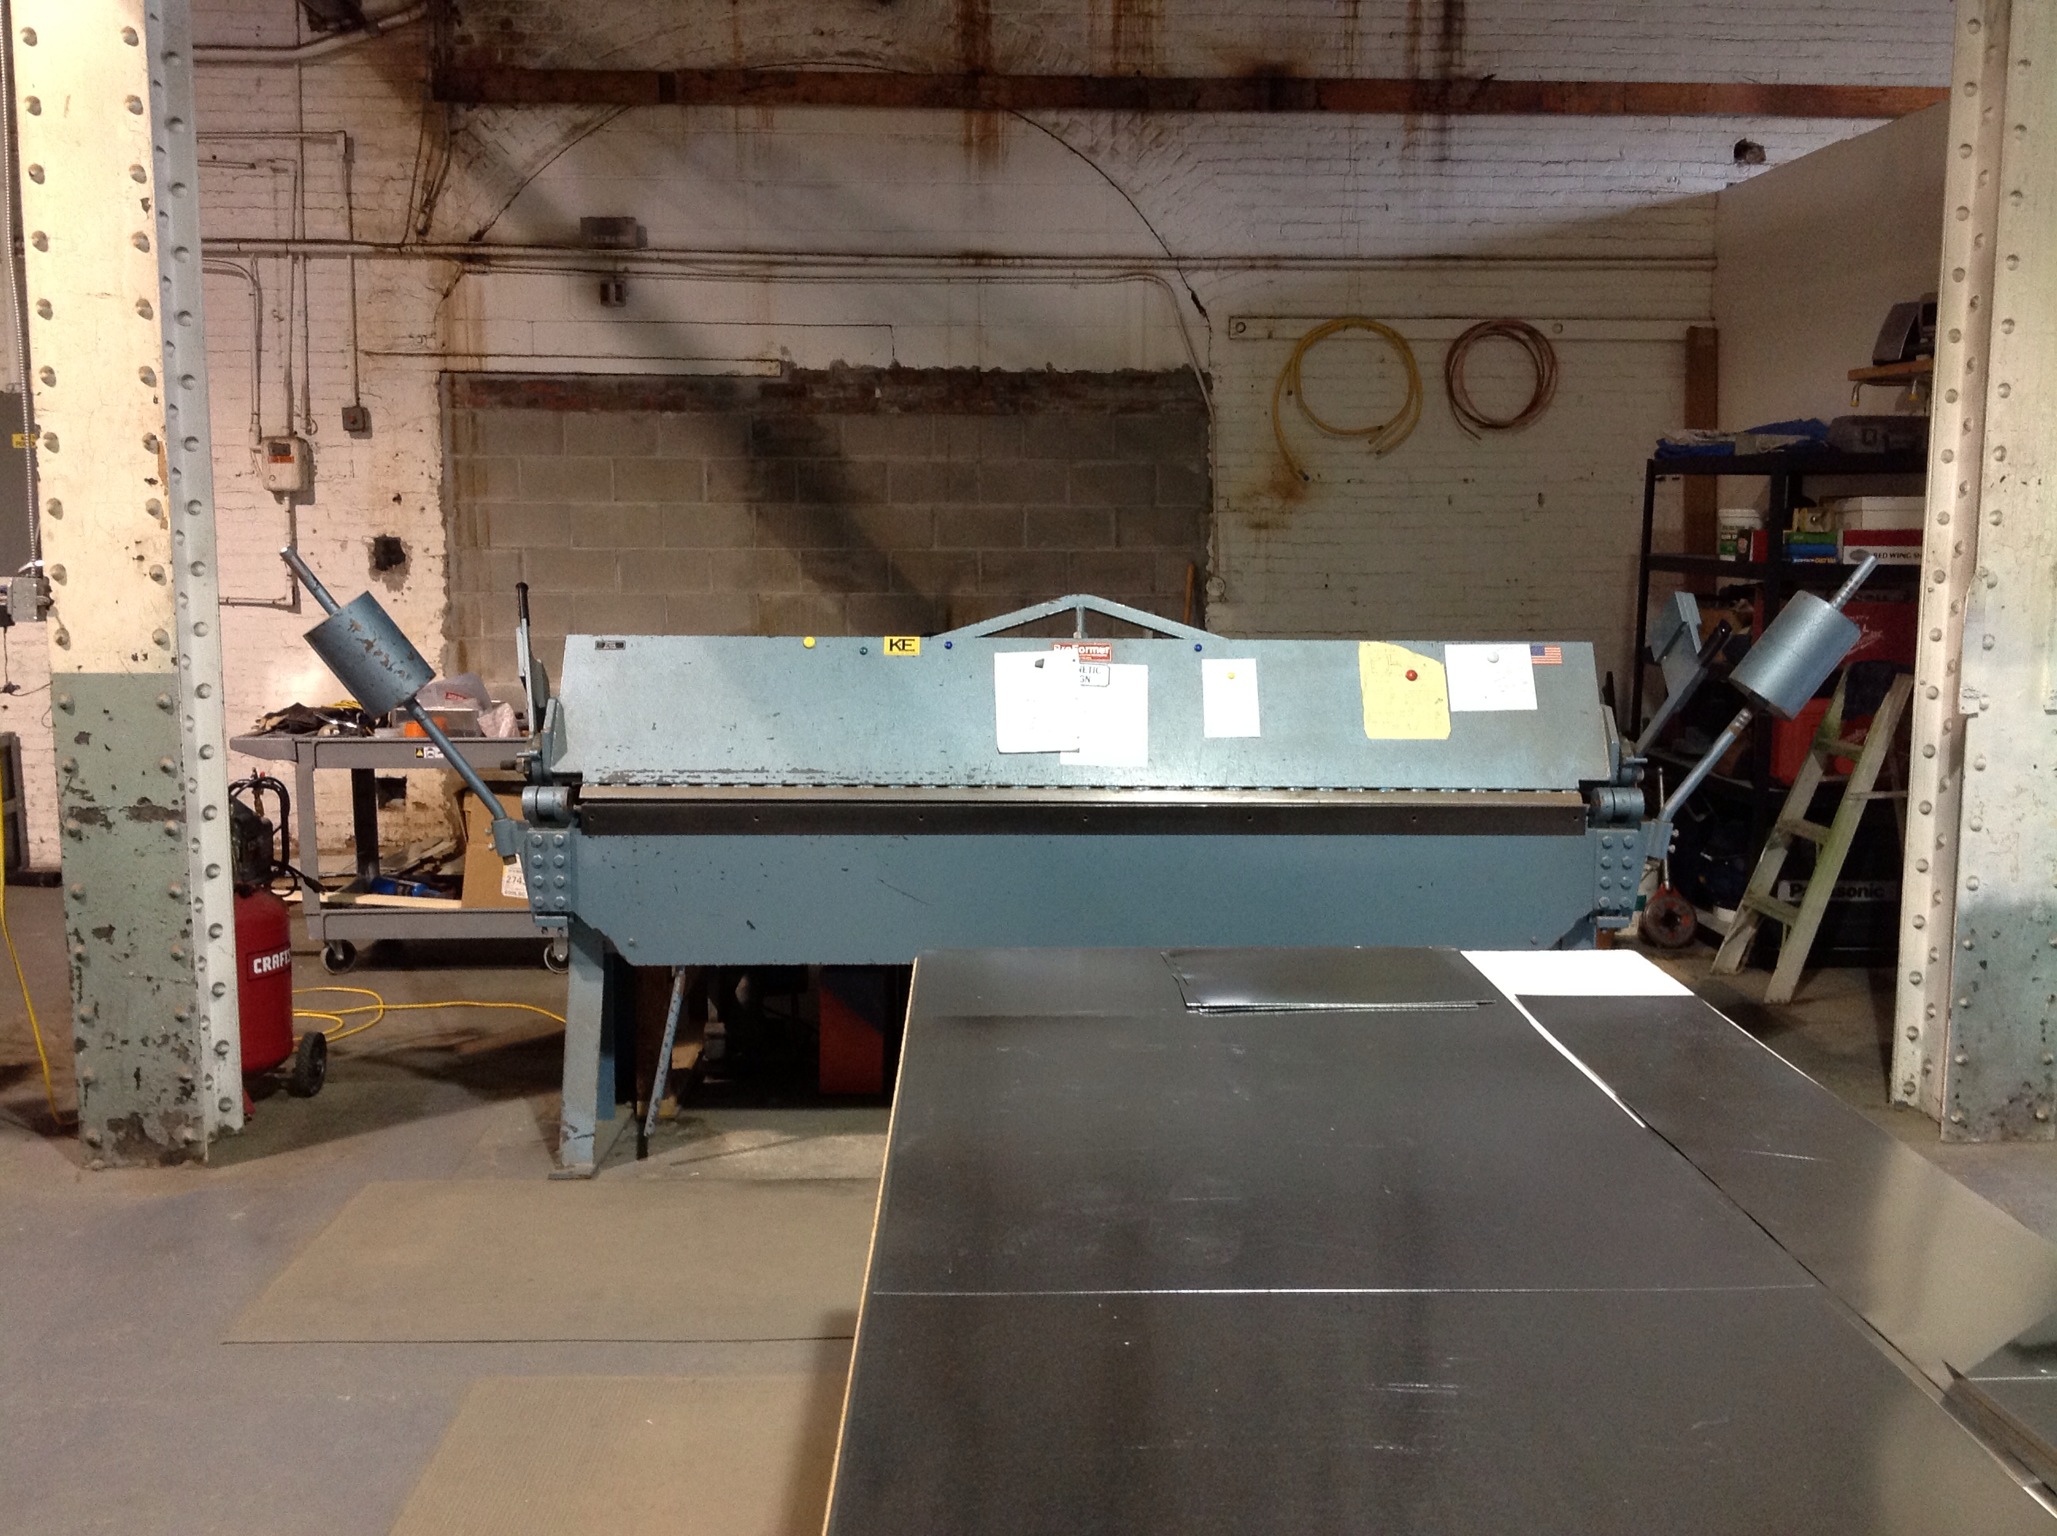
There are no computerized machines inside our fabrication shop, everything is produced with sheet metal forming hand tools, manually fed brakes, machinery and assembled with the force of human muscle and sweat. Part of this method is based on a dearth of funds for modern machinery and part  the way by which my father and I learned the sheet metal fabrication trade. The intricacy of hand tools, bespoke notches and bends, each one different than the other to form the finished sheet metal duct and fittings.

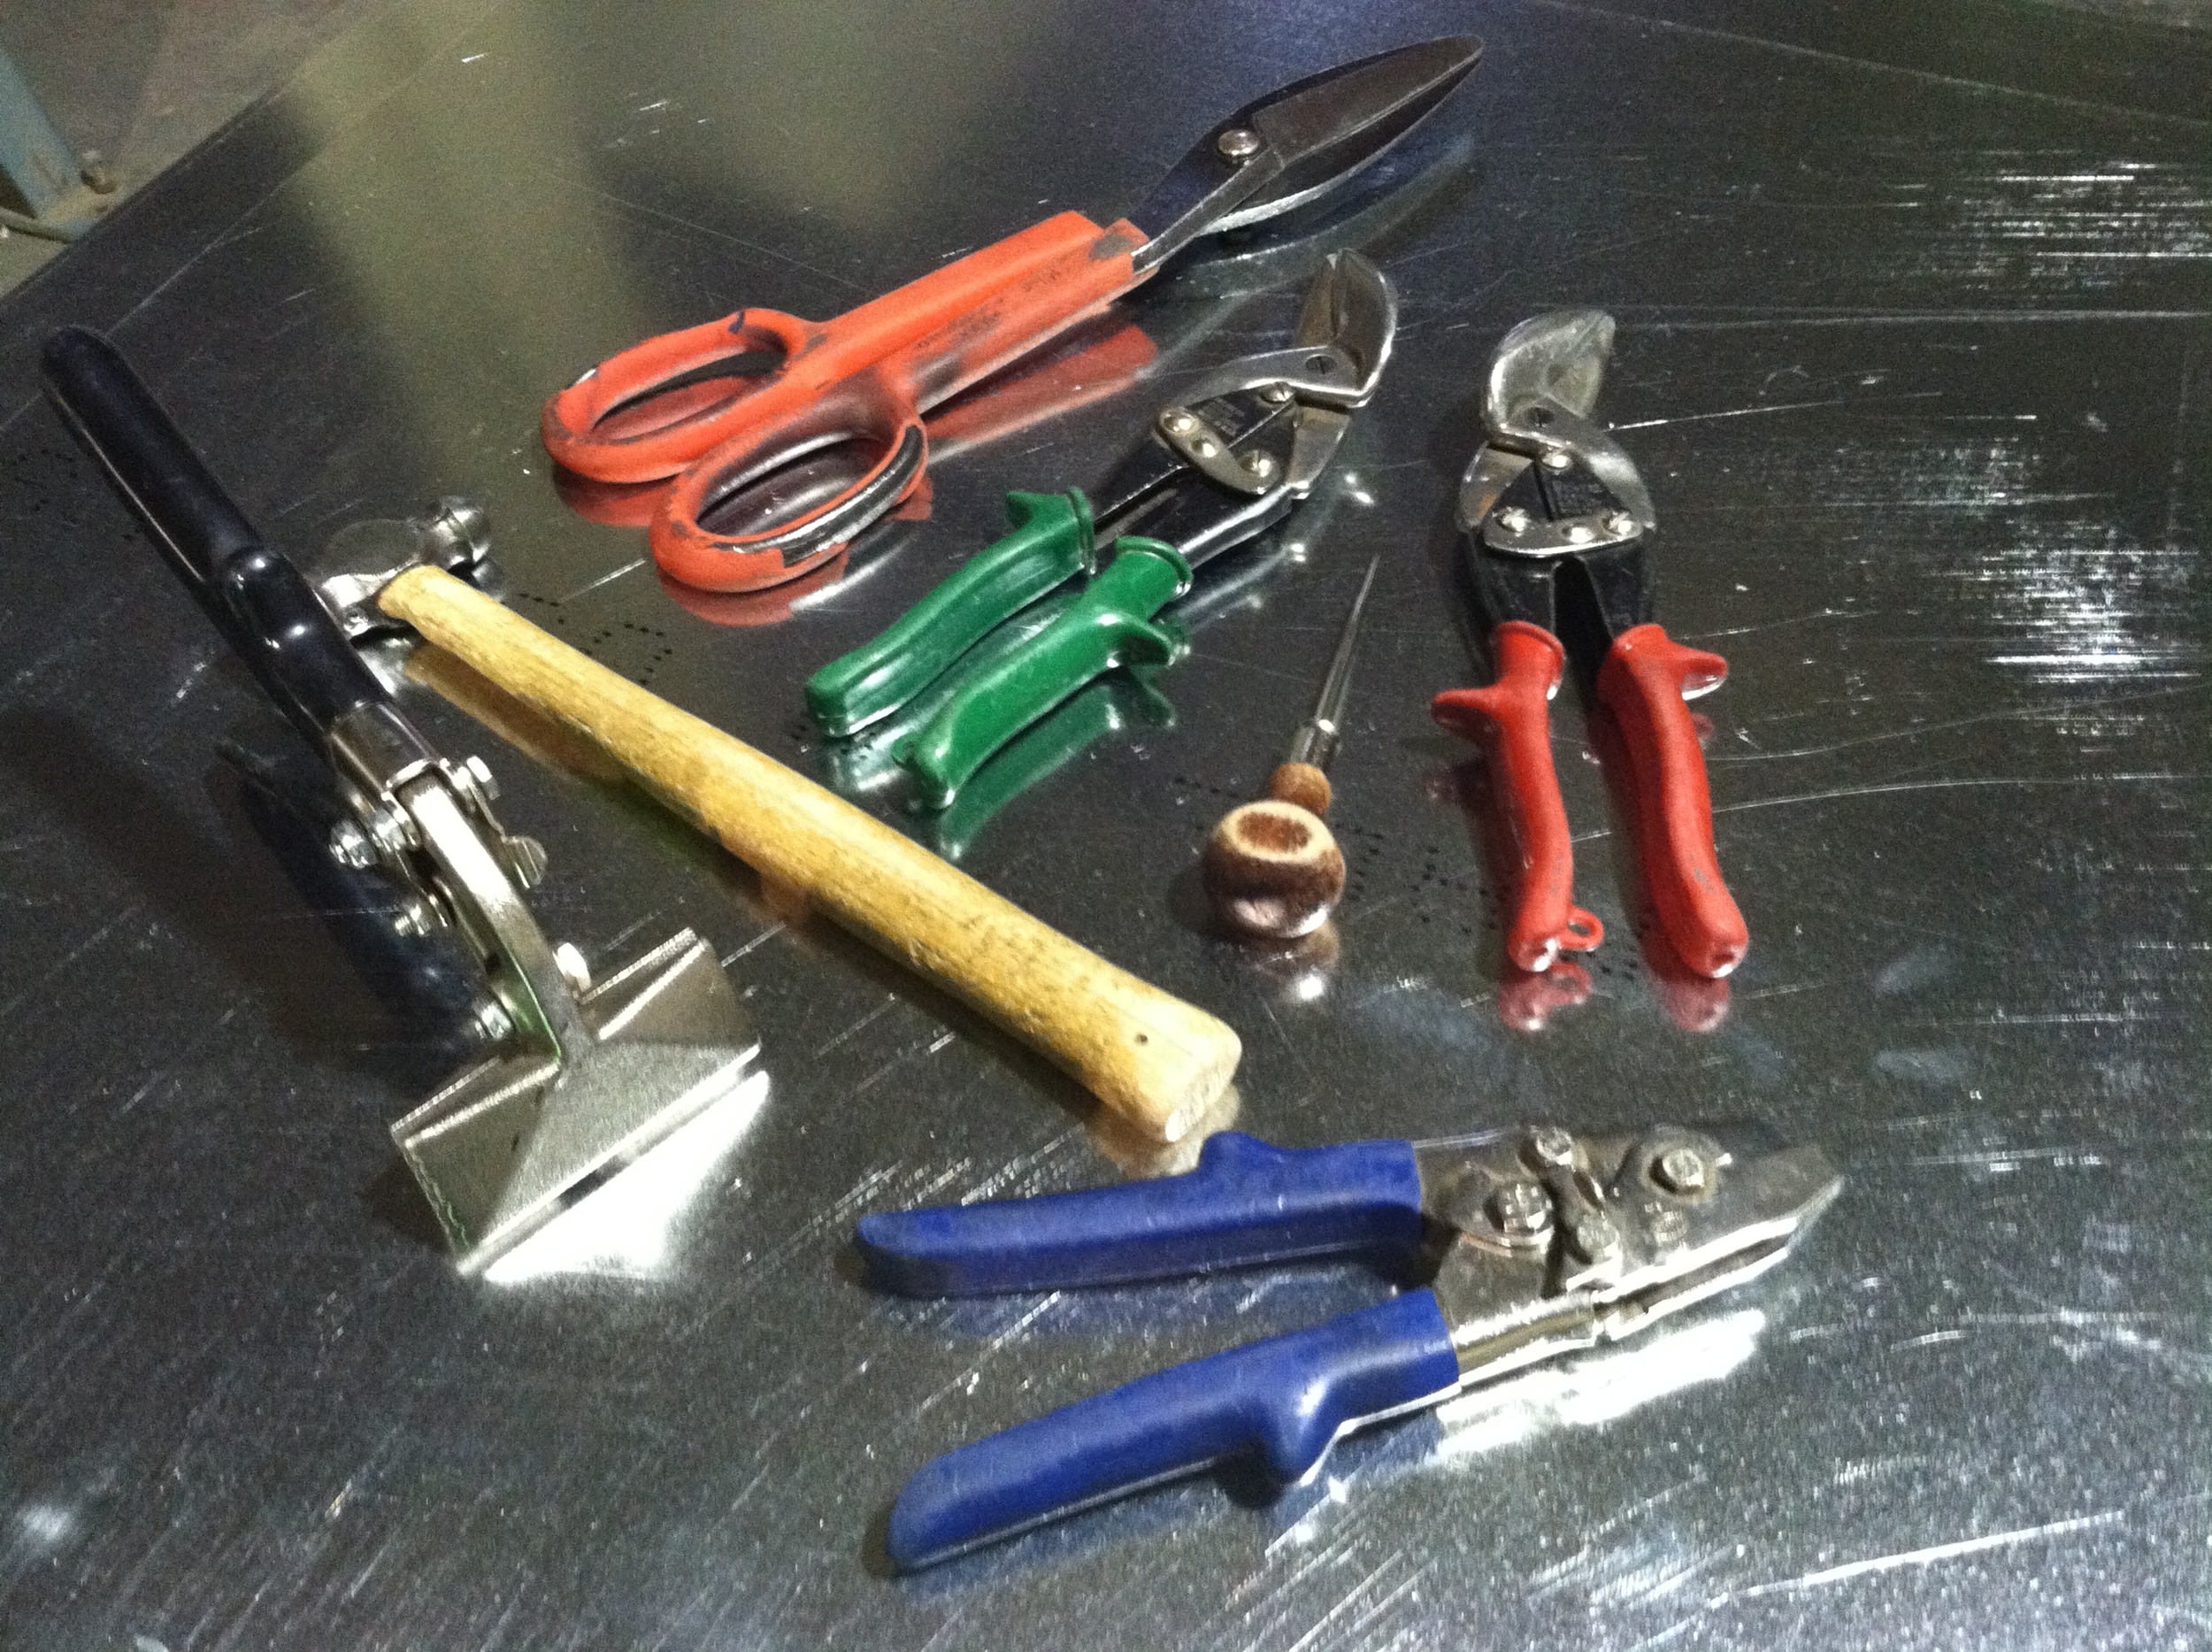
There are three must have hand tools that I use on a daily basis and ones that should be first in your arsenal as a new or aspiring HVAC sheet metal fabricator.

1. Straight Pattern Tinners Snips

When I was a gangly high school student working in my fathers sheet metal shop in the garage, the first thing I had to learn was how to cut a 48" wide sheet of 26 gauge steel all the way through on as straight a line as possible. The first cut strained my feeble arms, leaving them aching for the entire next day, maybe more. I hated working in the shop when I was young, all of it feeling like punishment instead of making a living for your family, putting food on the table.

Today I realize the importance of a quality tool to perform my job and learned trade, make a living and trying to grow a micro-business in our local community. The straight pattern snips are my most used and important hand tool each and every work day. Honestly, without them I would be out of business. There are multiple pairs on the shop bench, a pair in my tool bag for outside fabrication work and even a pair in my garage for those home projects. As must have hand tools for sheet metal fabrication go, this one is the holy grail.

2. Adjustable Sheet Metal Scribe

There is only one way to attempt cutting a straight line with the aforementioned straight pattern tin snips. Many sheet metal fabricators will use a Sharpie marker to make the necessary marks for cutting and notching. The line is thick and can add or subtract a good eighth of an inch if not cut properly. I learned a different way that has stuck with me to this day. The basic awl and sheet metal scribe create a tight line for me to cut and get the most accurate measurement for bending and hammering each fabricated item. The process may be longer, but the end product is exactly what I expect as a tradesman and what the customer expects from a business.

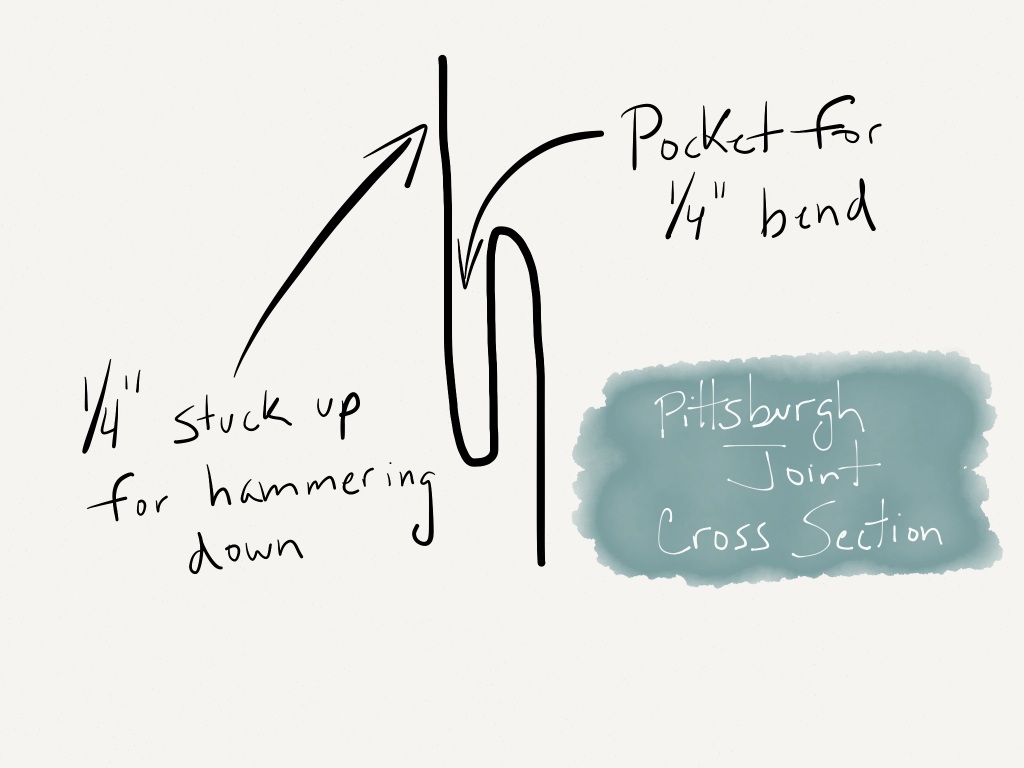
The scribing process can be tedious, but necessary. From belt scribes to hand scribes, there are many different types you can use to get the necessary line for cutting and bending. I keep one on my belt (Belt Sheet Metal Scribe [Misc.]) and one on the bench for scribing marks when bending flanges, 1/4" marks for the male pittsburgh bend and much much more. The scribe is as important as the artists drafting pencil, easily making the must have hand tools list.

3. 3-Inch Offset Handle - HVAC Hand Seamer

Not the most popular, but when our brake can't get the job done, the hand seamers can be our best friend for those pesky inside throat bends. When I fabricate a custom sheet metal 90 degree elbow, the inside throats are always bent up with angle hand seamers.

For the entire 13 years I have worked for K & E we have not owned a box and pan brake for making many of those inside and flanged bends. Getting creative has been the only way to make the bending process easier and hand seamers are the number one must have hand tool to help that creative bending process. Whether in the sheet metal shop or on the job site, sheet metal bending hand seamers are a must have tool for any working or aspiring sheet metal fabricator.

Mine have been an extension of my arm for a long time, sometimes straight for those intense bends and angled for the harder to reach places on top of the duct line or bending out flanges on the sheet metal plenums. A must have.

A new tradesman never knows where to start when assembling a tool set for performing their craft. For the new sheet metal fabricator I would suggest these three must have hand tools to start any set of fabrication tools. There are many more that will be necessary to make the most of your sheet metal job shop, but this is a great place to begin the journey.

Want some more hand tool ideas or just want to replace some of those old sheet metal hand tools? Check out our online sheet metal tool shop.


Duct Tips: Sealing Your Ductwork For Efficiency

Tips for anything are a dime a dozen. This tip is no different, except that it can save that dime over and over again.

If you have an older duct system in your home, chances are the joints of the trunk duct and pipe aren't sealed properly. This can make your heating and cooling systems run less than efficient over the long run. Costing you money.


The good news is that simple things can be done to help the efficiency of your heating and air conditioning system. One of the most important is the previously mentioned, sealing of the duct joints. This is an extremely cost effective way to save on heating cooling costs over time. Plus, it's an easy job for anyone and can be accomplished in a relatively short amount of time.

First, I am providing a PDF link for the recommended best practices when sealing your ductwork. The document provides a great overview of the process and reasons for sealing your heating and air conditioning systems. Pictures accompany much of the descriptions for a better understanding of what is being explained.
Now for some visual stimulation. Since I am no video making genius, like many of us I went to youtube and found a simple video to help illustrate my point. Enjoy!

Enhanced by Zemanta